Large Quadcopter Build

Large Quadcopter Build

    ›Miscellaneous

    Build

    • Introduction
    • Parts
    • Purchase Order
    • Batteries
    • Transmitter - Getting Started
    • Stick setup
    • Transmitter - Model Setup
    • Transmitter - Flight Modes
    • Receiver
    • Assembling the electronics
    • Binding the receiver
    • Pixhawk setup
    • F450 frame kit
    • Soldering the PDB
    • Frame assembly
    • Final assembly
    • Final assembly
    • Final setup

    Appendices

    • Pixhawk LEDs
    • Pixhawk tones
    • Pixhawk Windows device driver
    • Transmitter extras
    • Soldering
    • Stores
    • Windows VM
    • OpenTX Companion on Ubuntu
    • QGroundControl
    • Notes

    FPV quad

    • Eachine QX95
    • Inprogress QX95
    • Cleanflight Settings README
    • X-racer notes

    Followup projects

    • Video
    • Telemetry

    Miscellaneous

    • Snippets
    • Antenna mount
    • Antenna mount - version 1
    • Antenna mount - version 2
    • F450 dimensions
    • GPS mast placement
    • Notes to self
    • Pages and videos
    • Power module - XT60 To Deans
    • Receiver power
    • Receiver Windows upgrade
    • Inside the RX8R
    • Unused parts
    • Vibration damping
    • OpenTX sounds
    • Flight mode sounds
    • Case
    • Foam Outline README
    • 20181021 Rebuild Params README
    Edit

    Receiver power

    Normally the flight controller provides power to the receiver. But if you want to experiment with it on its own then it's easy to power it directly.

    The following images show it powered via a breadboard power supply, an Arduino and directly off USB.

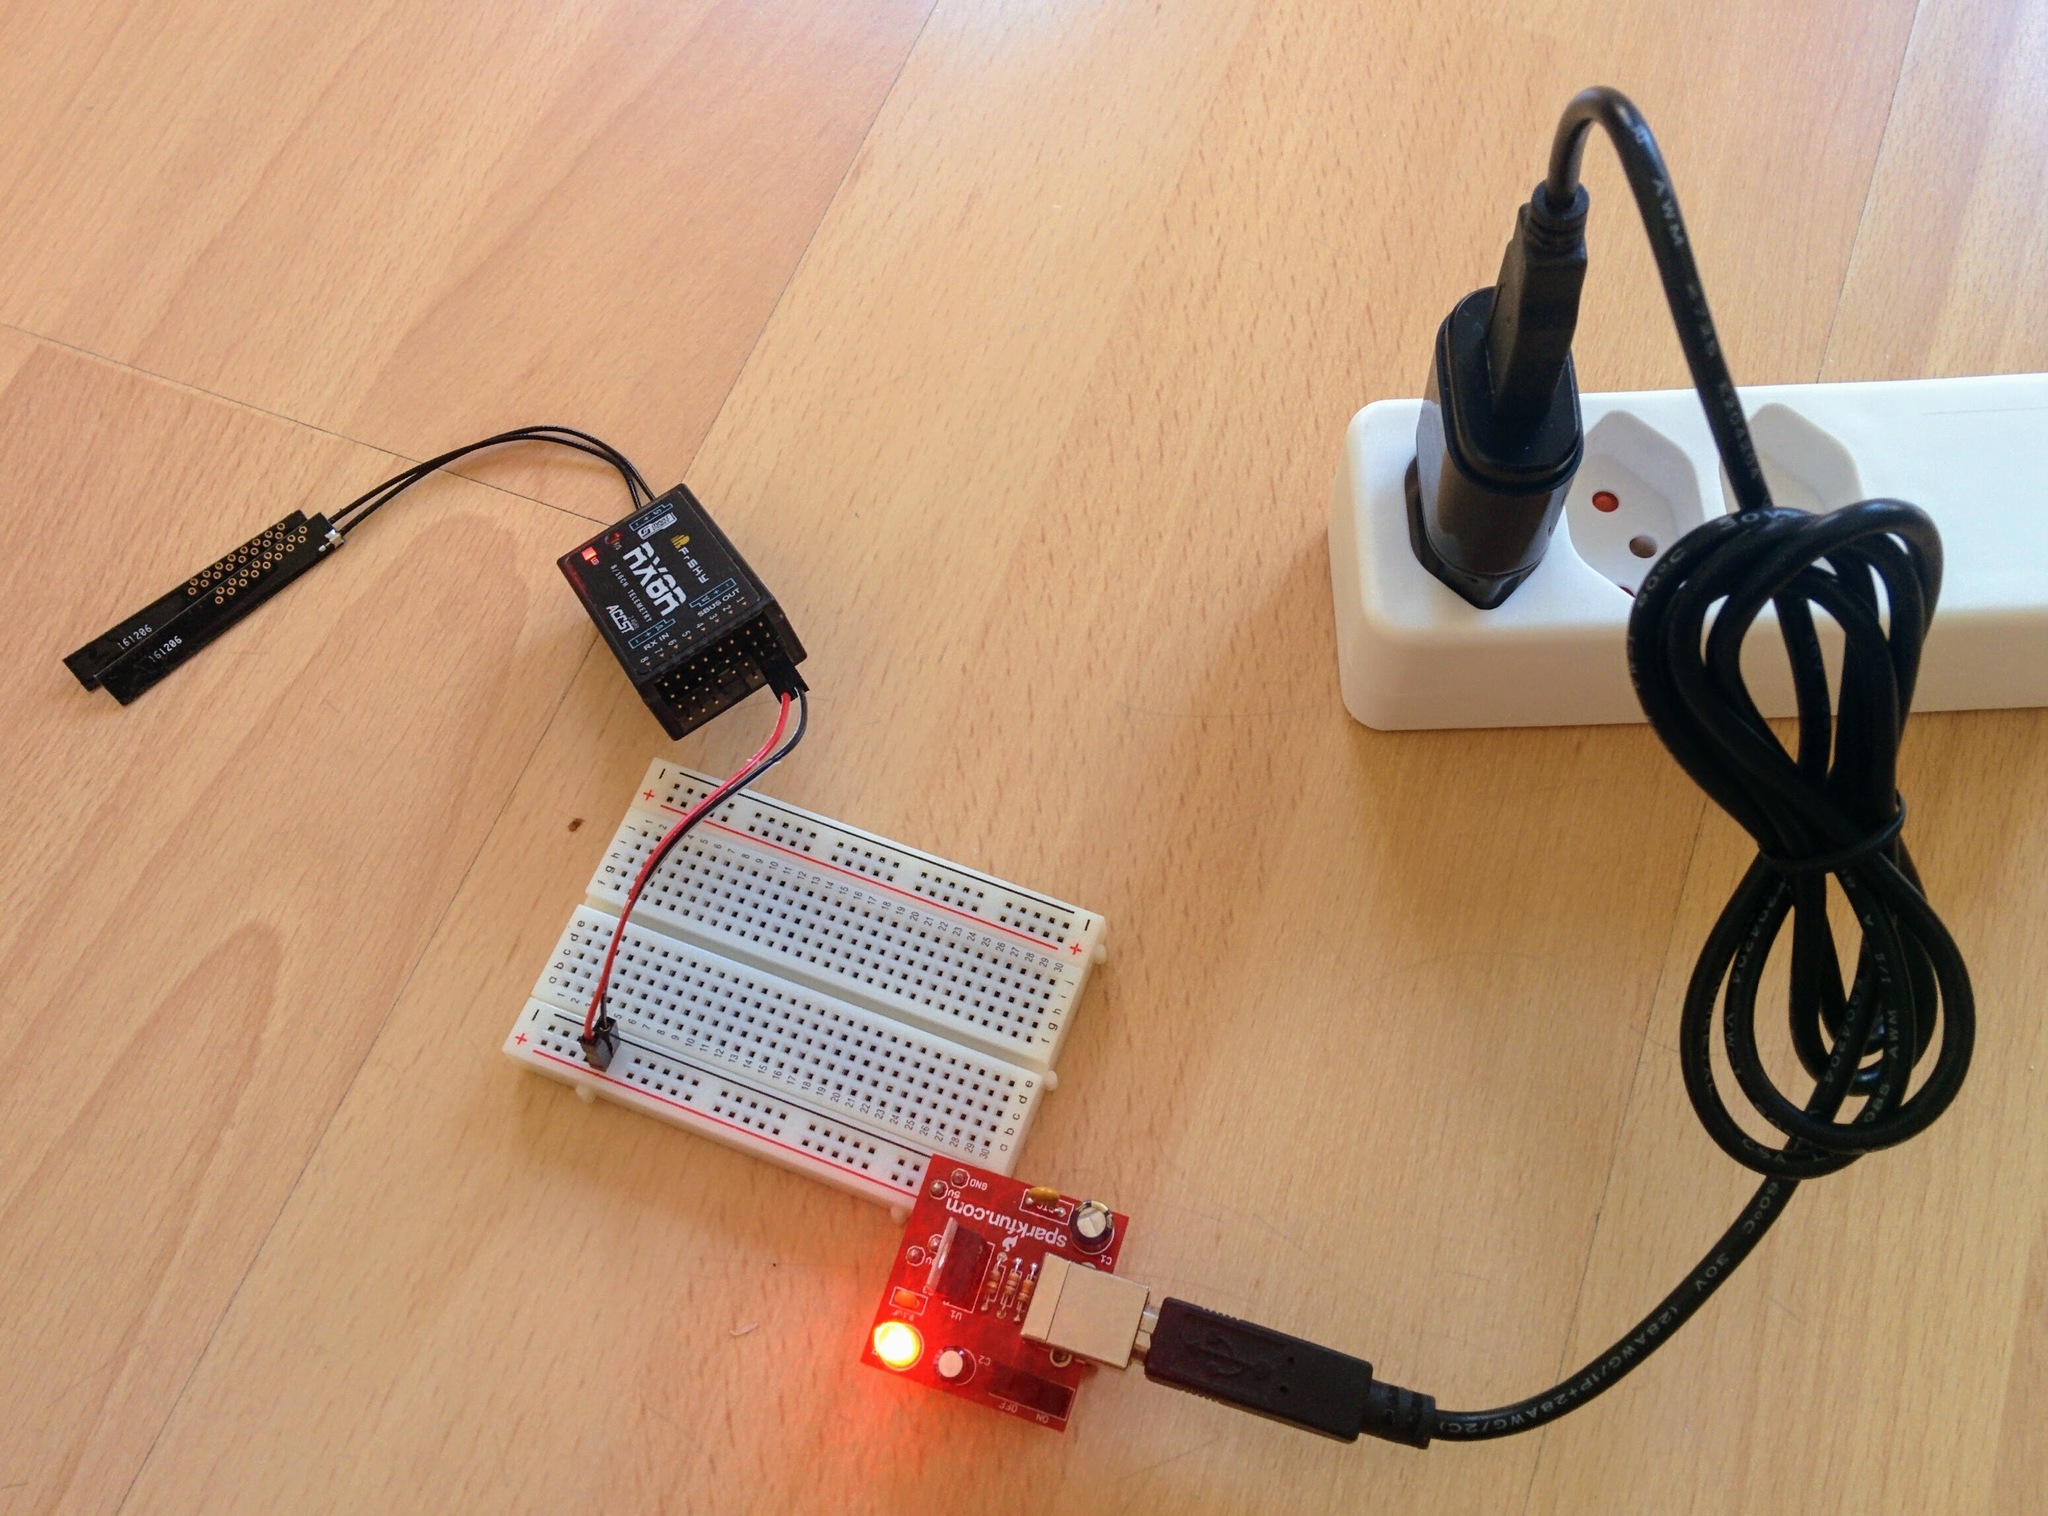
    Breadboard power supply
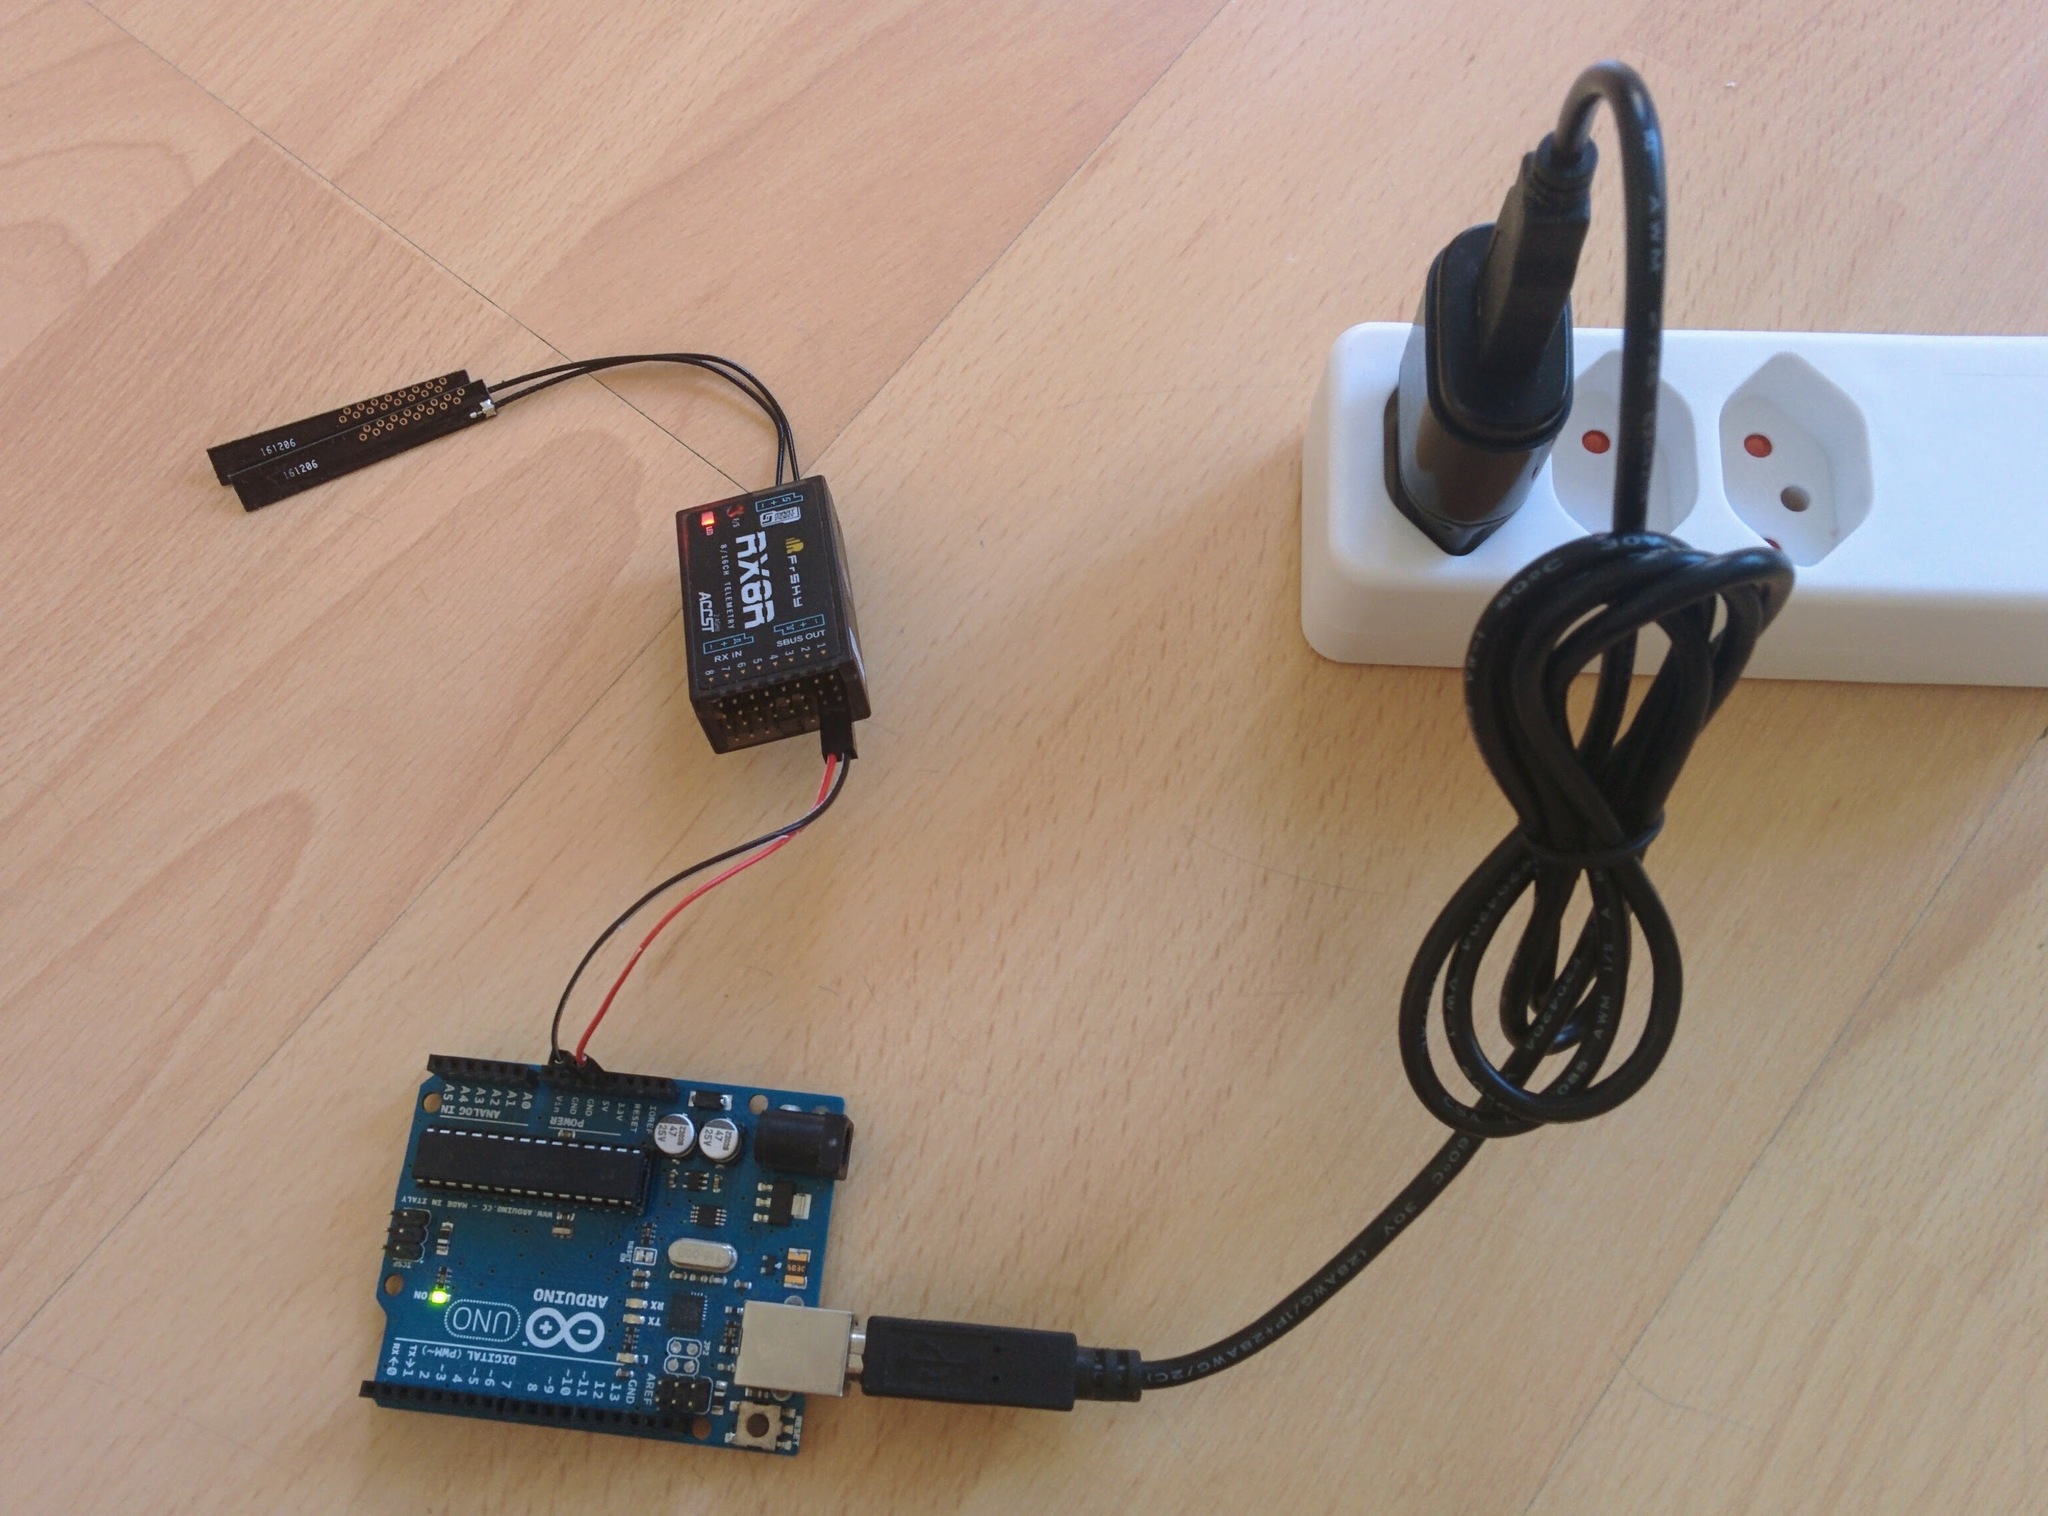
    Arduino

    USB

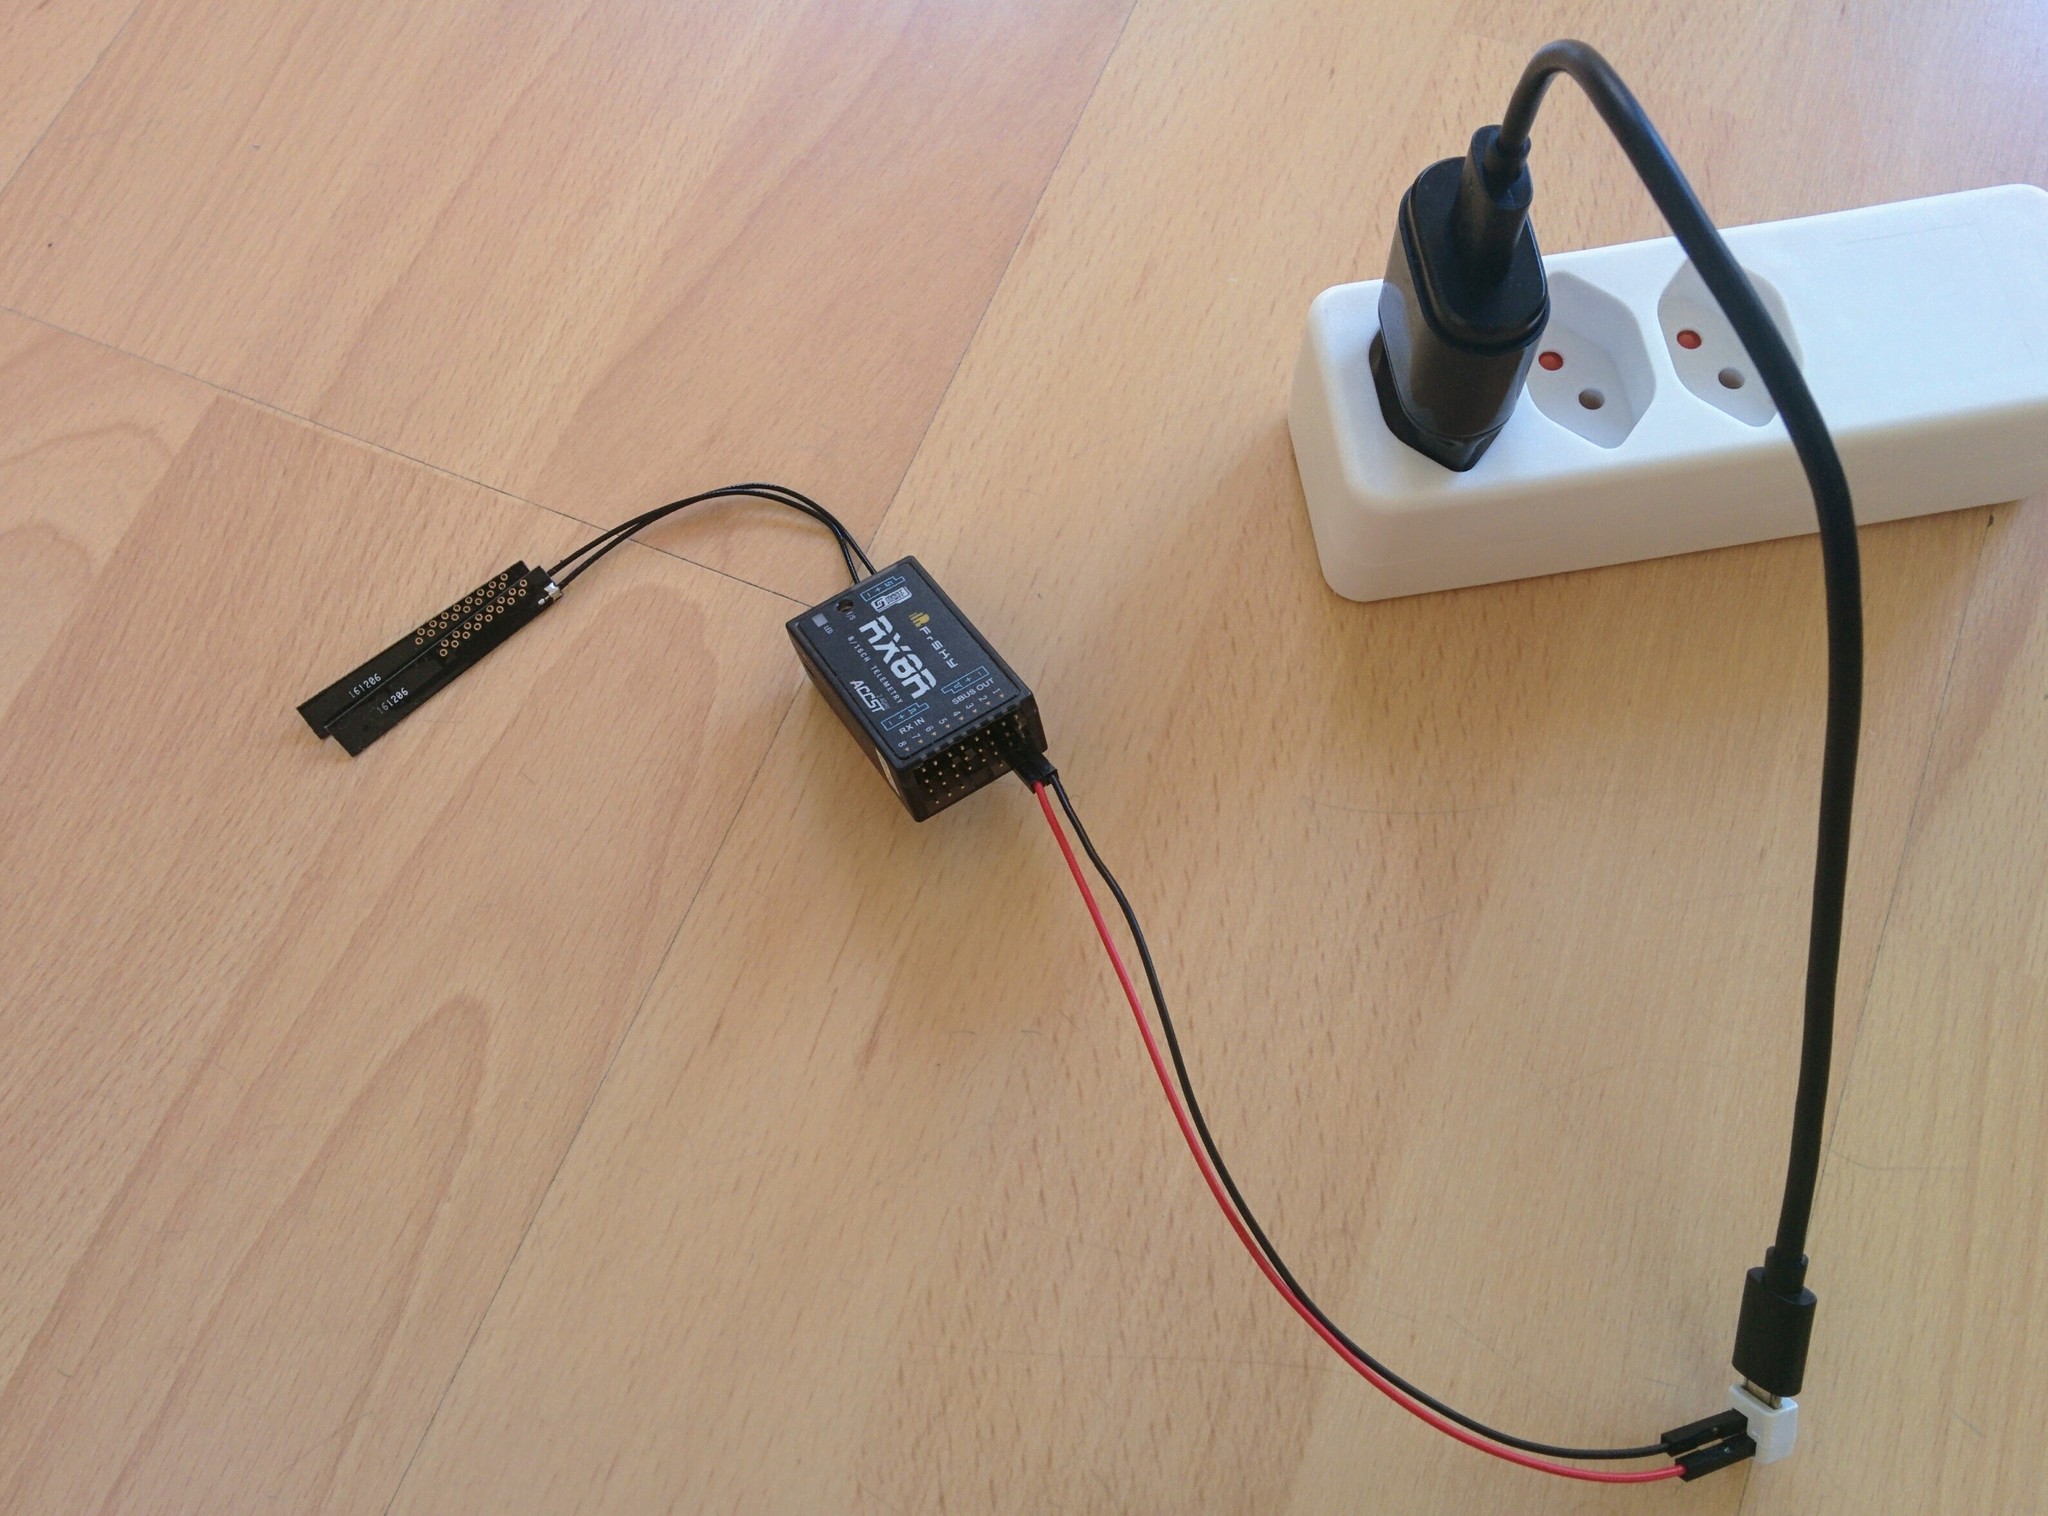
    The breadboard power supply above is a PRT-08376 from Sparkfun. For direct USB power setup the little adapter that breaks out the USB power pins came from this Kickstarter project but you could use any basic USB breakout like this one (as the receiver doesn't need any more than the 100mA that USB will provide without any extra negotiation). The Arduino shown is the classic UNO but obviously any hobbyist board, with a 5V out, will do as long as it can deliver at least 100mA (the UNO can provide up to 200mA).

    Here I've used a standard USB mains charger in all situations, obviously you could just as well use one of your computer's USB ports instead.

    Last updated on 1/16/2019
    ← Power module - XT60 To DeansReceiver Windows upgrade →