Final assembly
This is the second pass at doing the final assemebly - merge with the first version.
Flight photos
1.
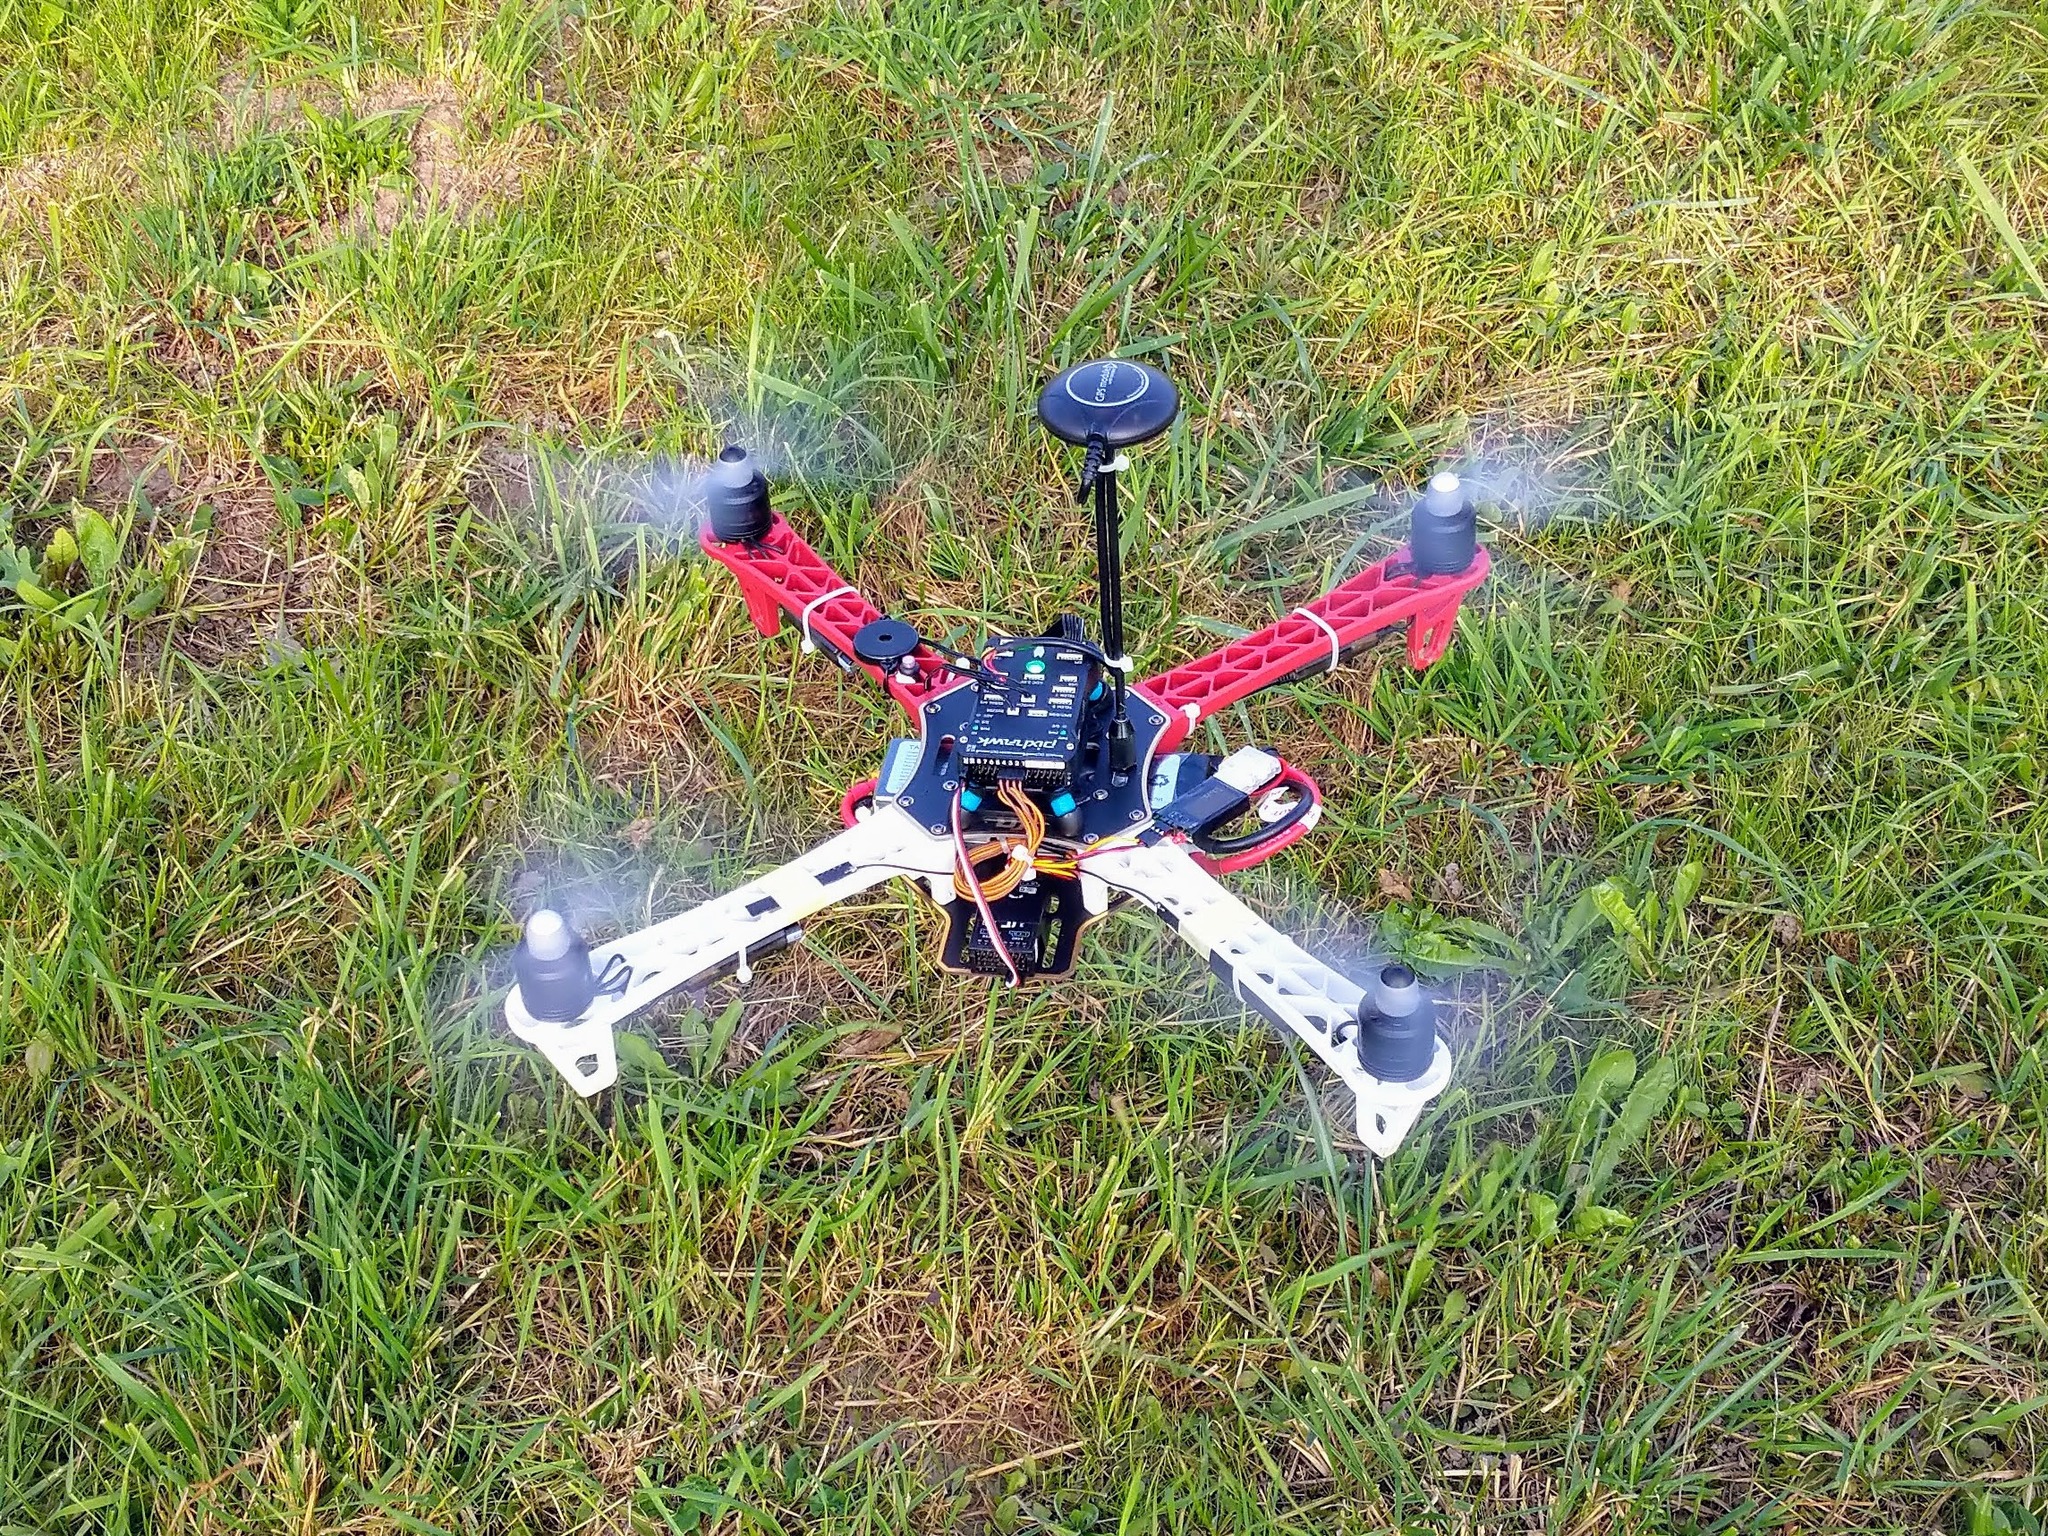
2.
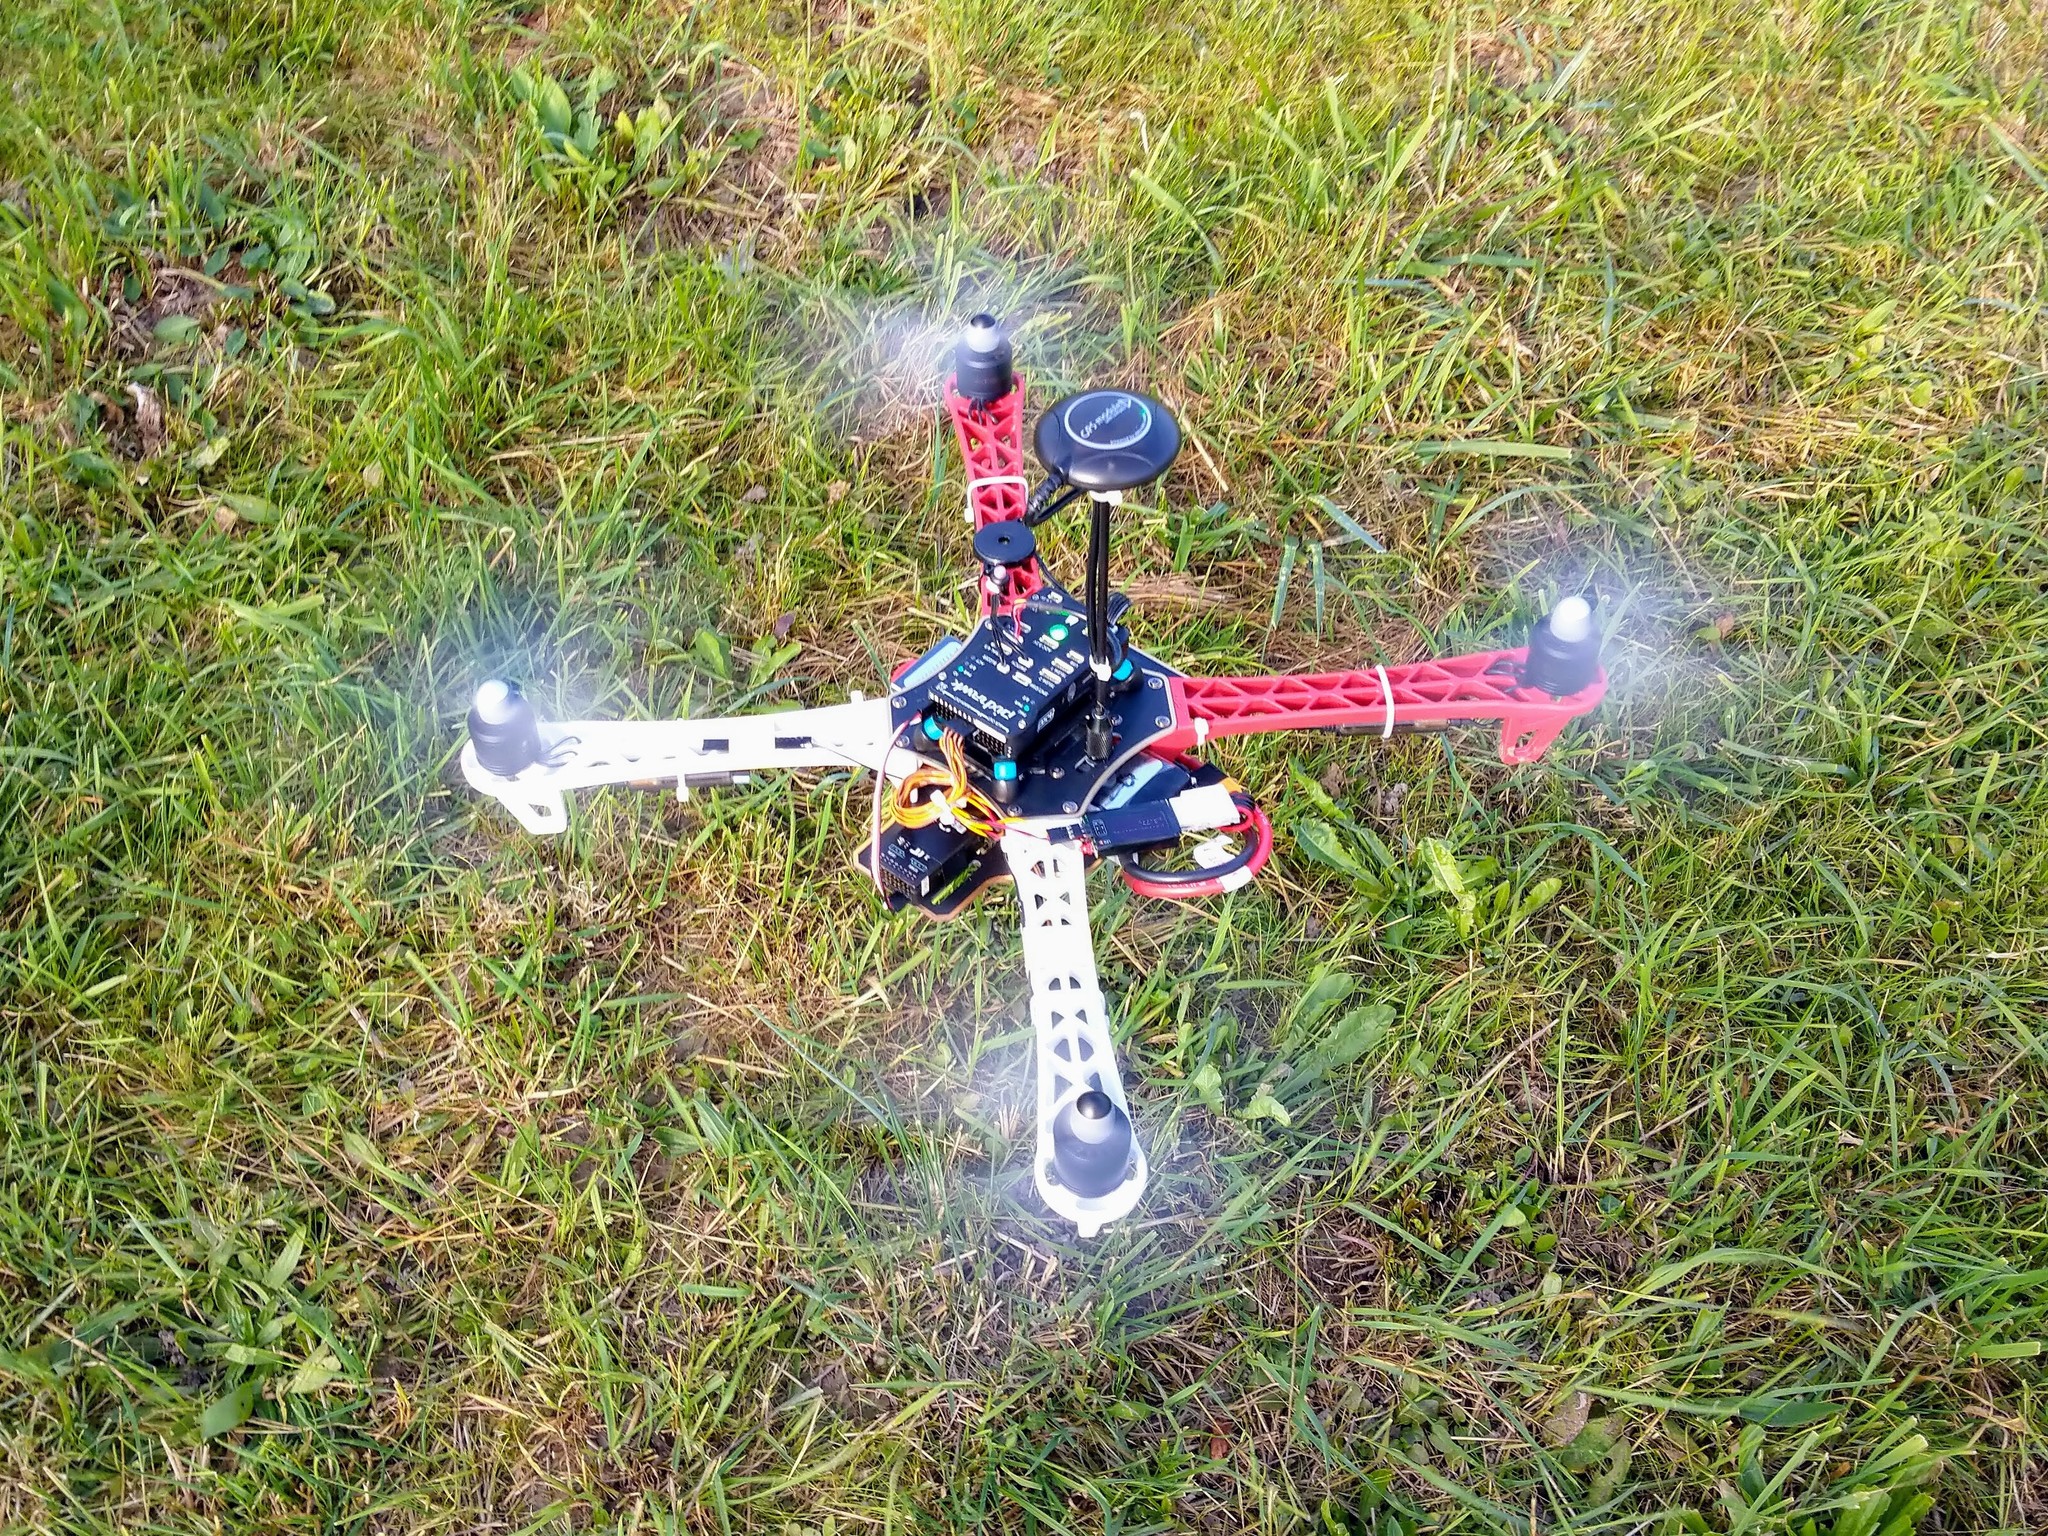
3.
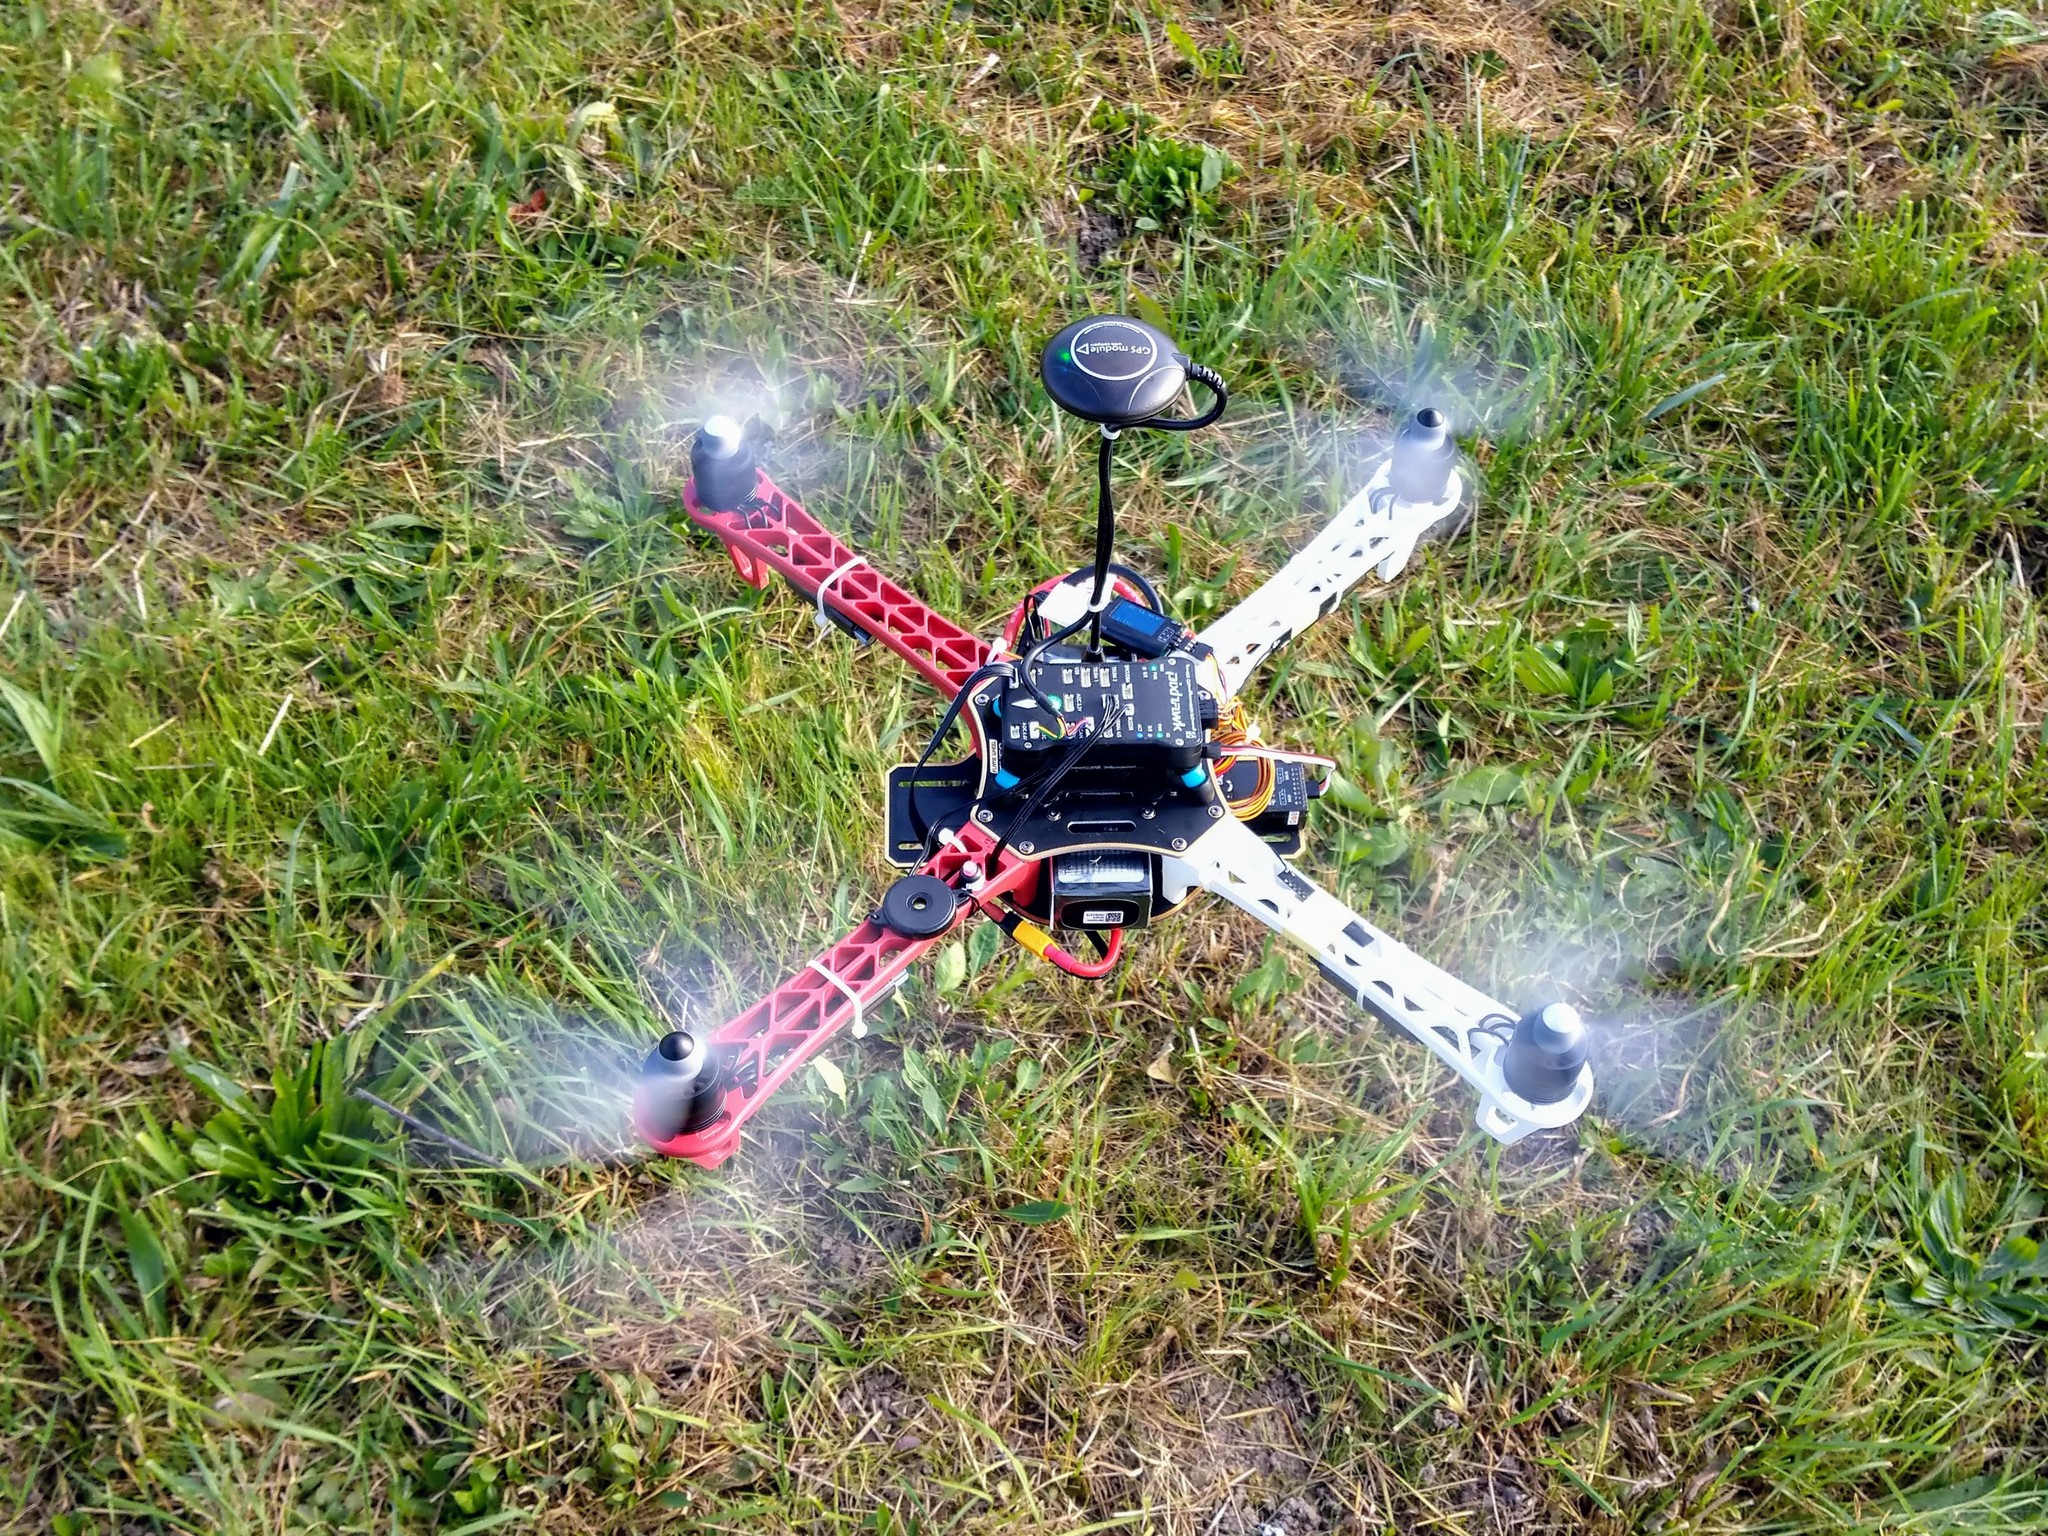
TODO: include one of the above after the final instructions for the first flight.
Soldering PDB
TODO: decide on using wire, cable or cord - see https://ell.stackexchange.com/a/104907 - maybe cable?
Roll under craft knife.
Pull off sheathing.
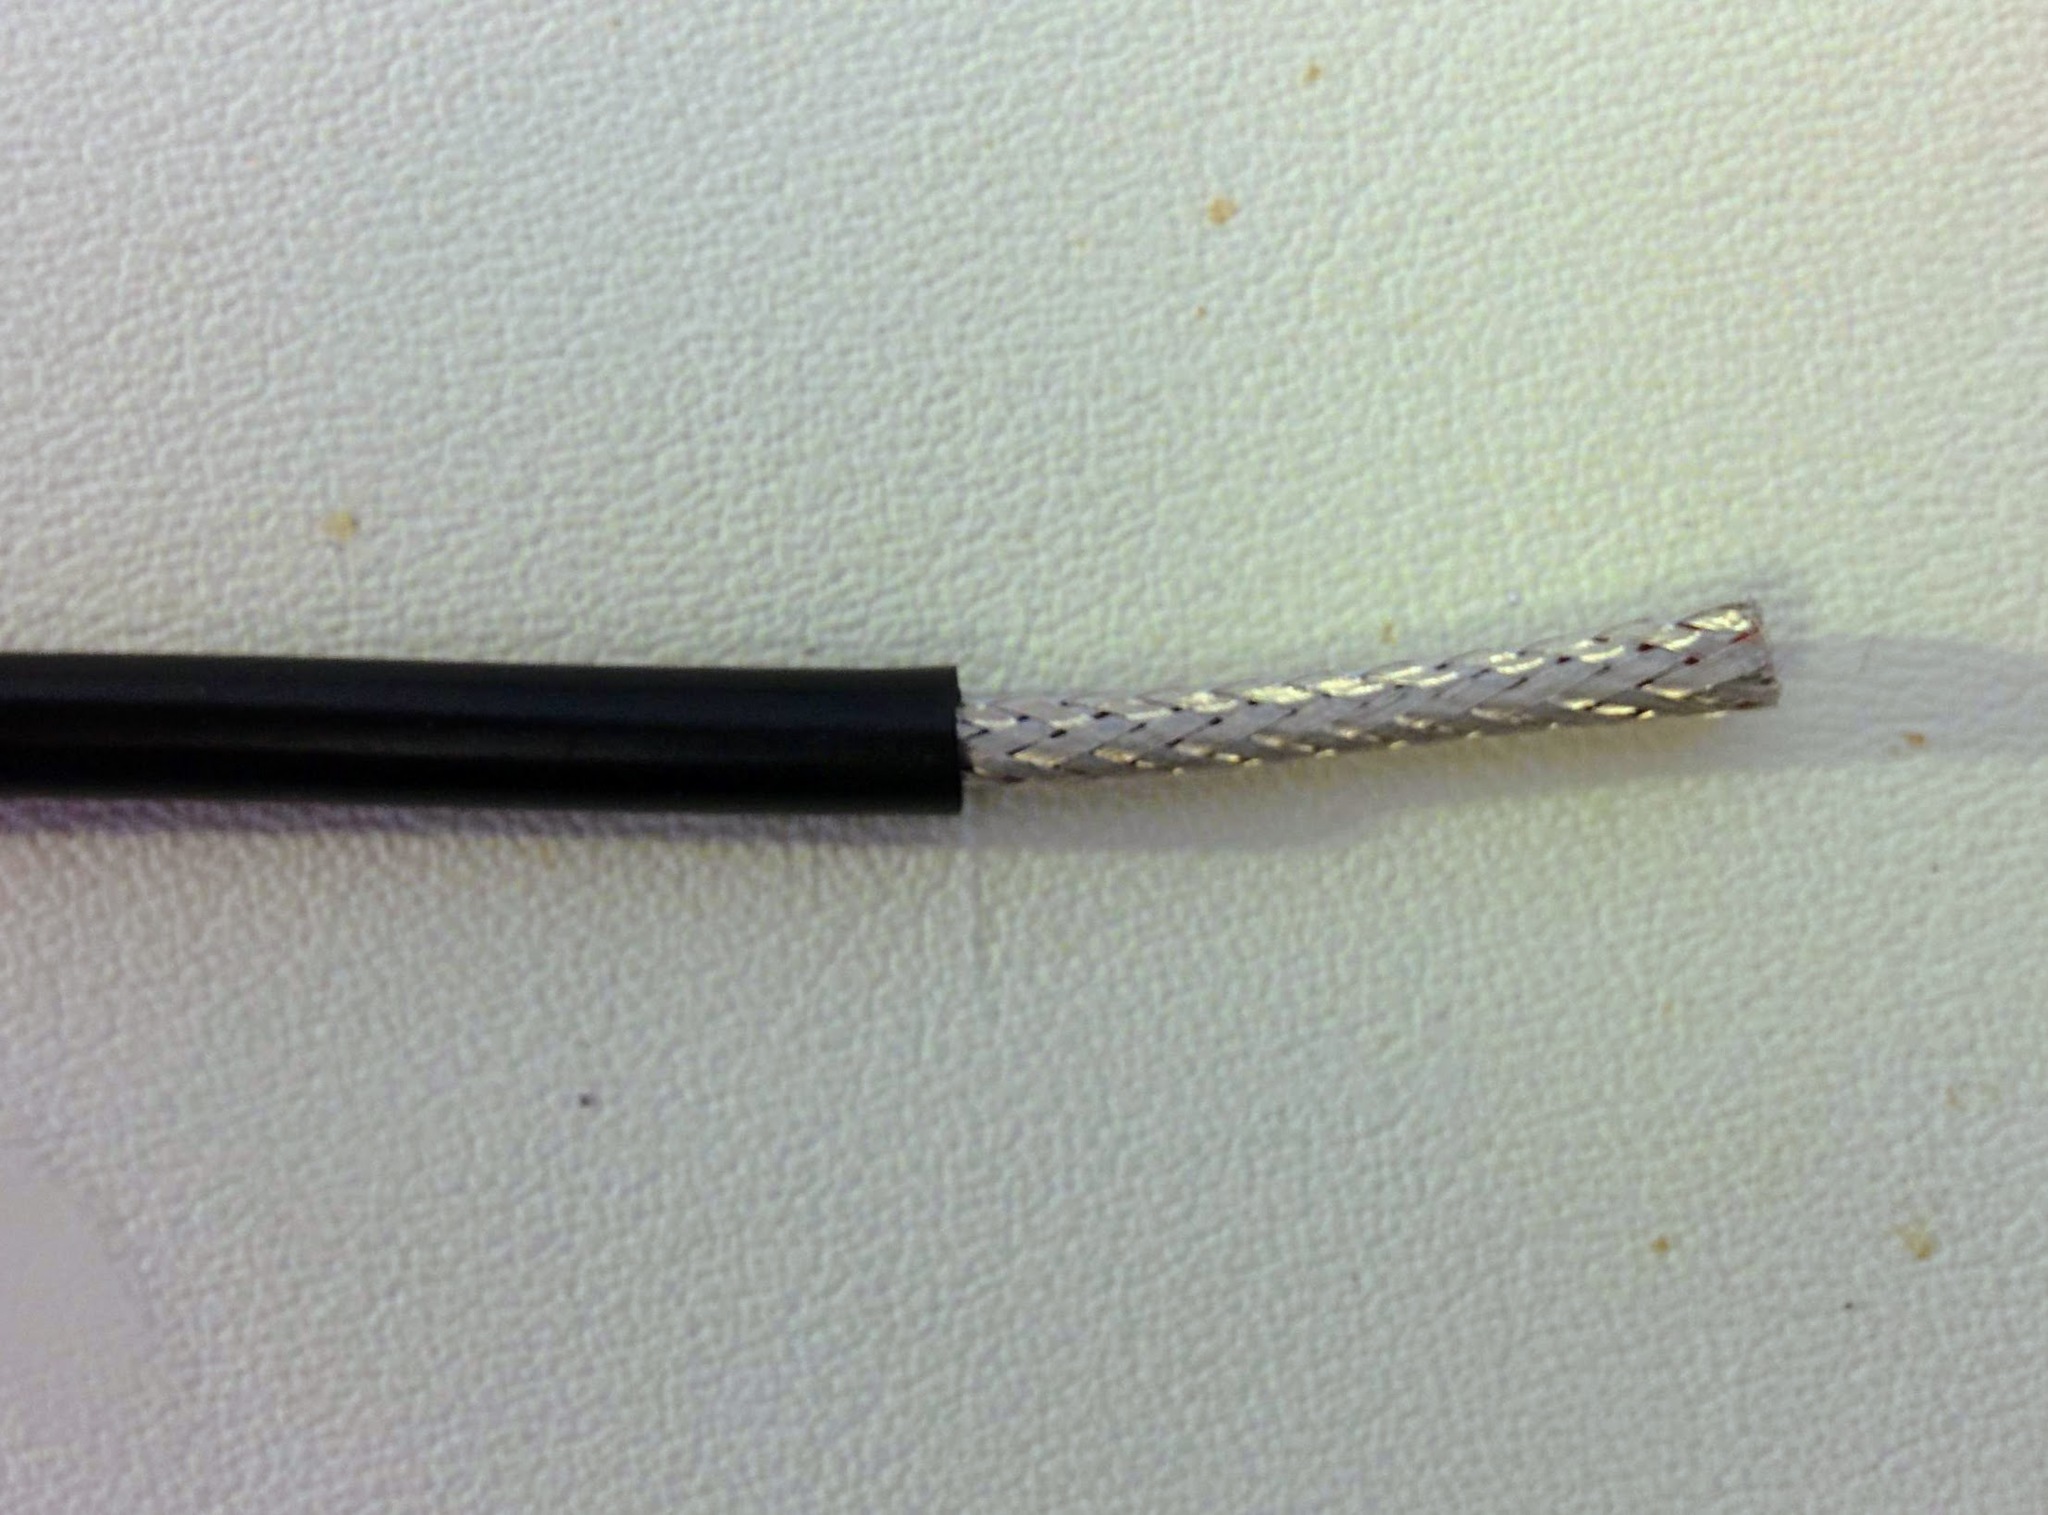
Separate strands.
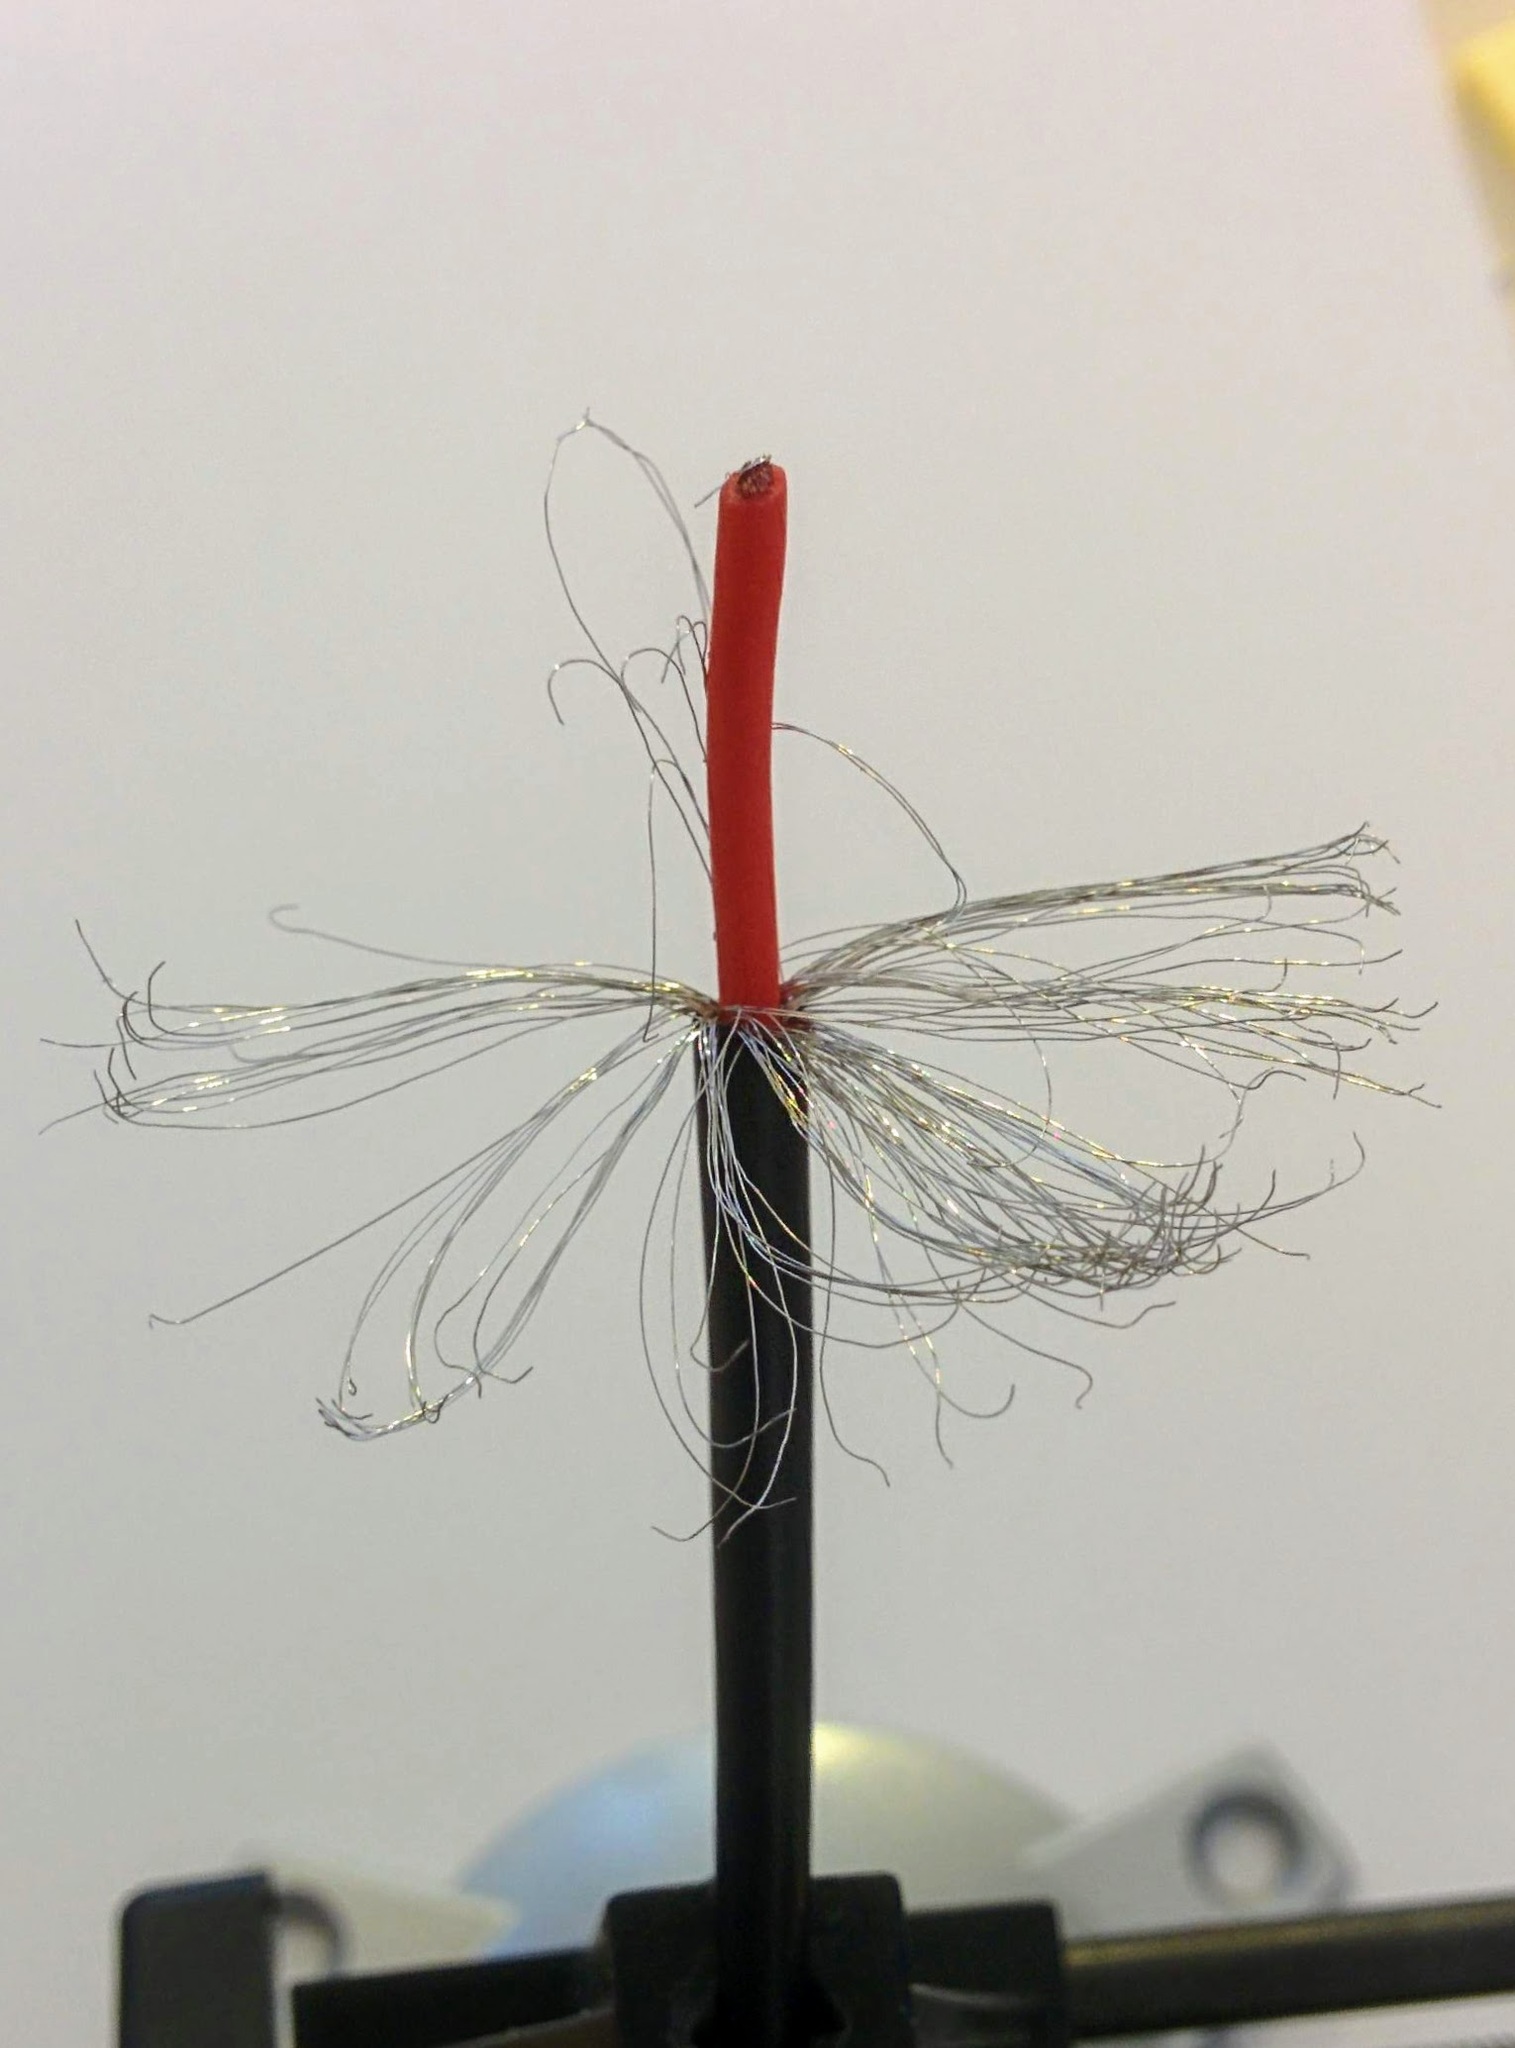
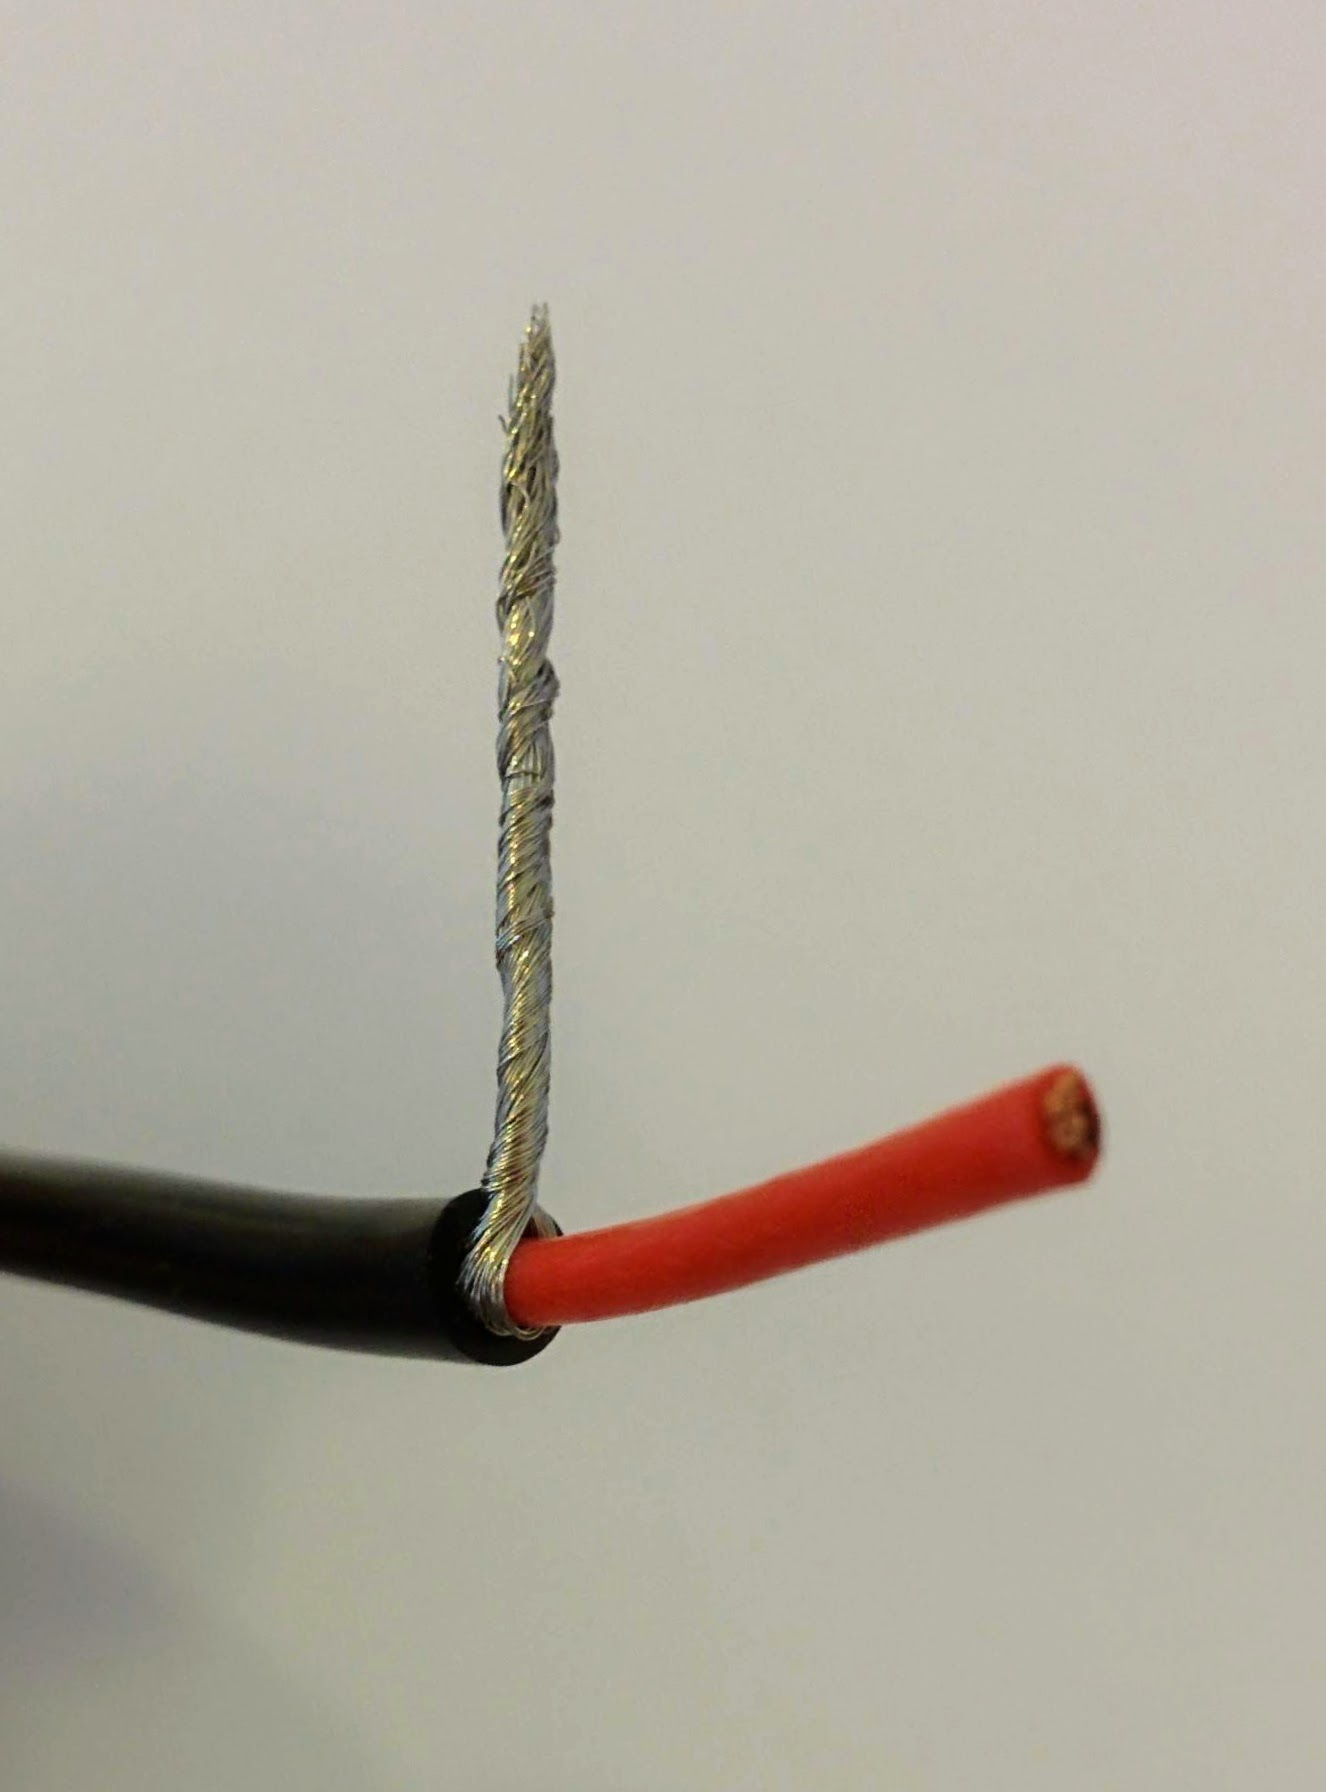
Pull strands to one side.

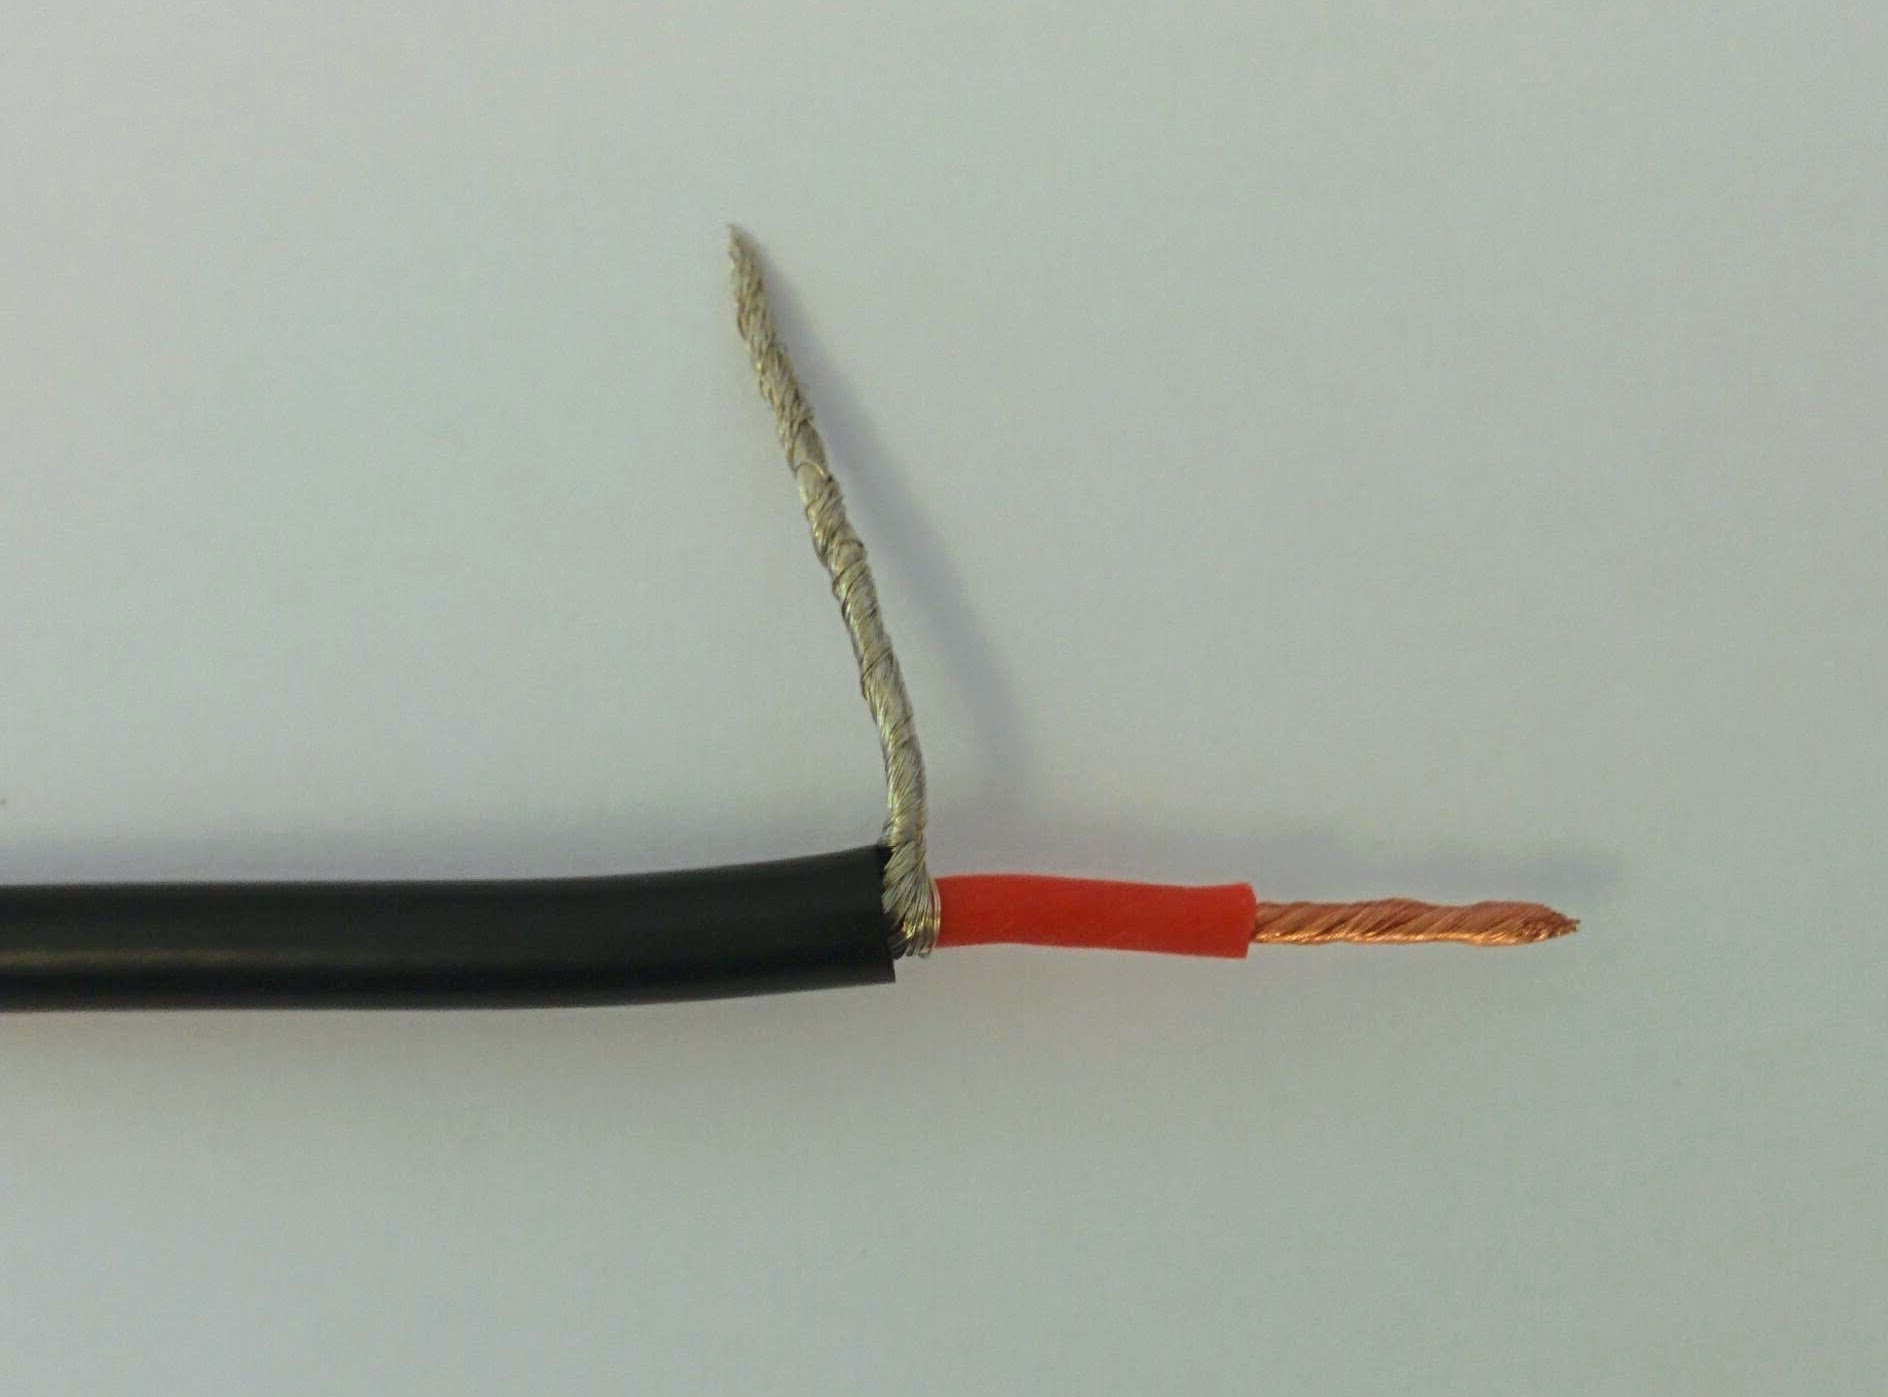
Twist strands together.
Remove sheath and twist together positive strands.
Tin both.
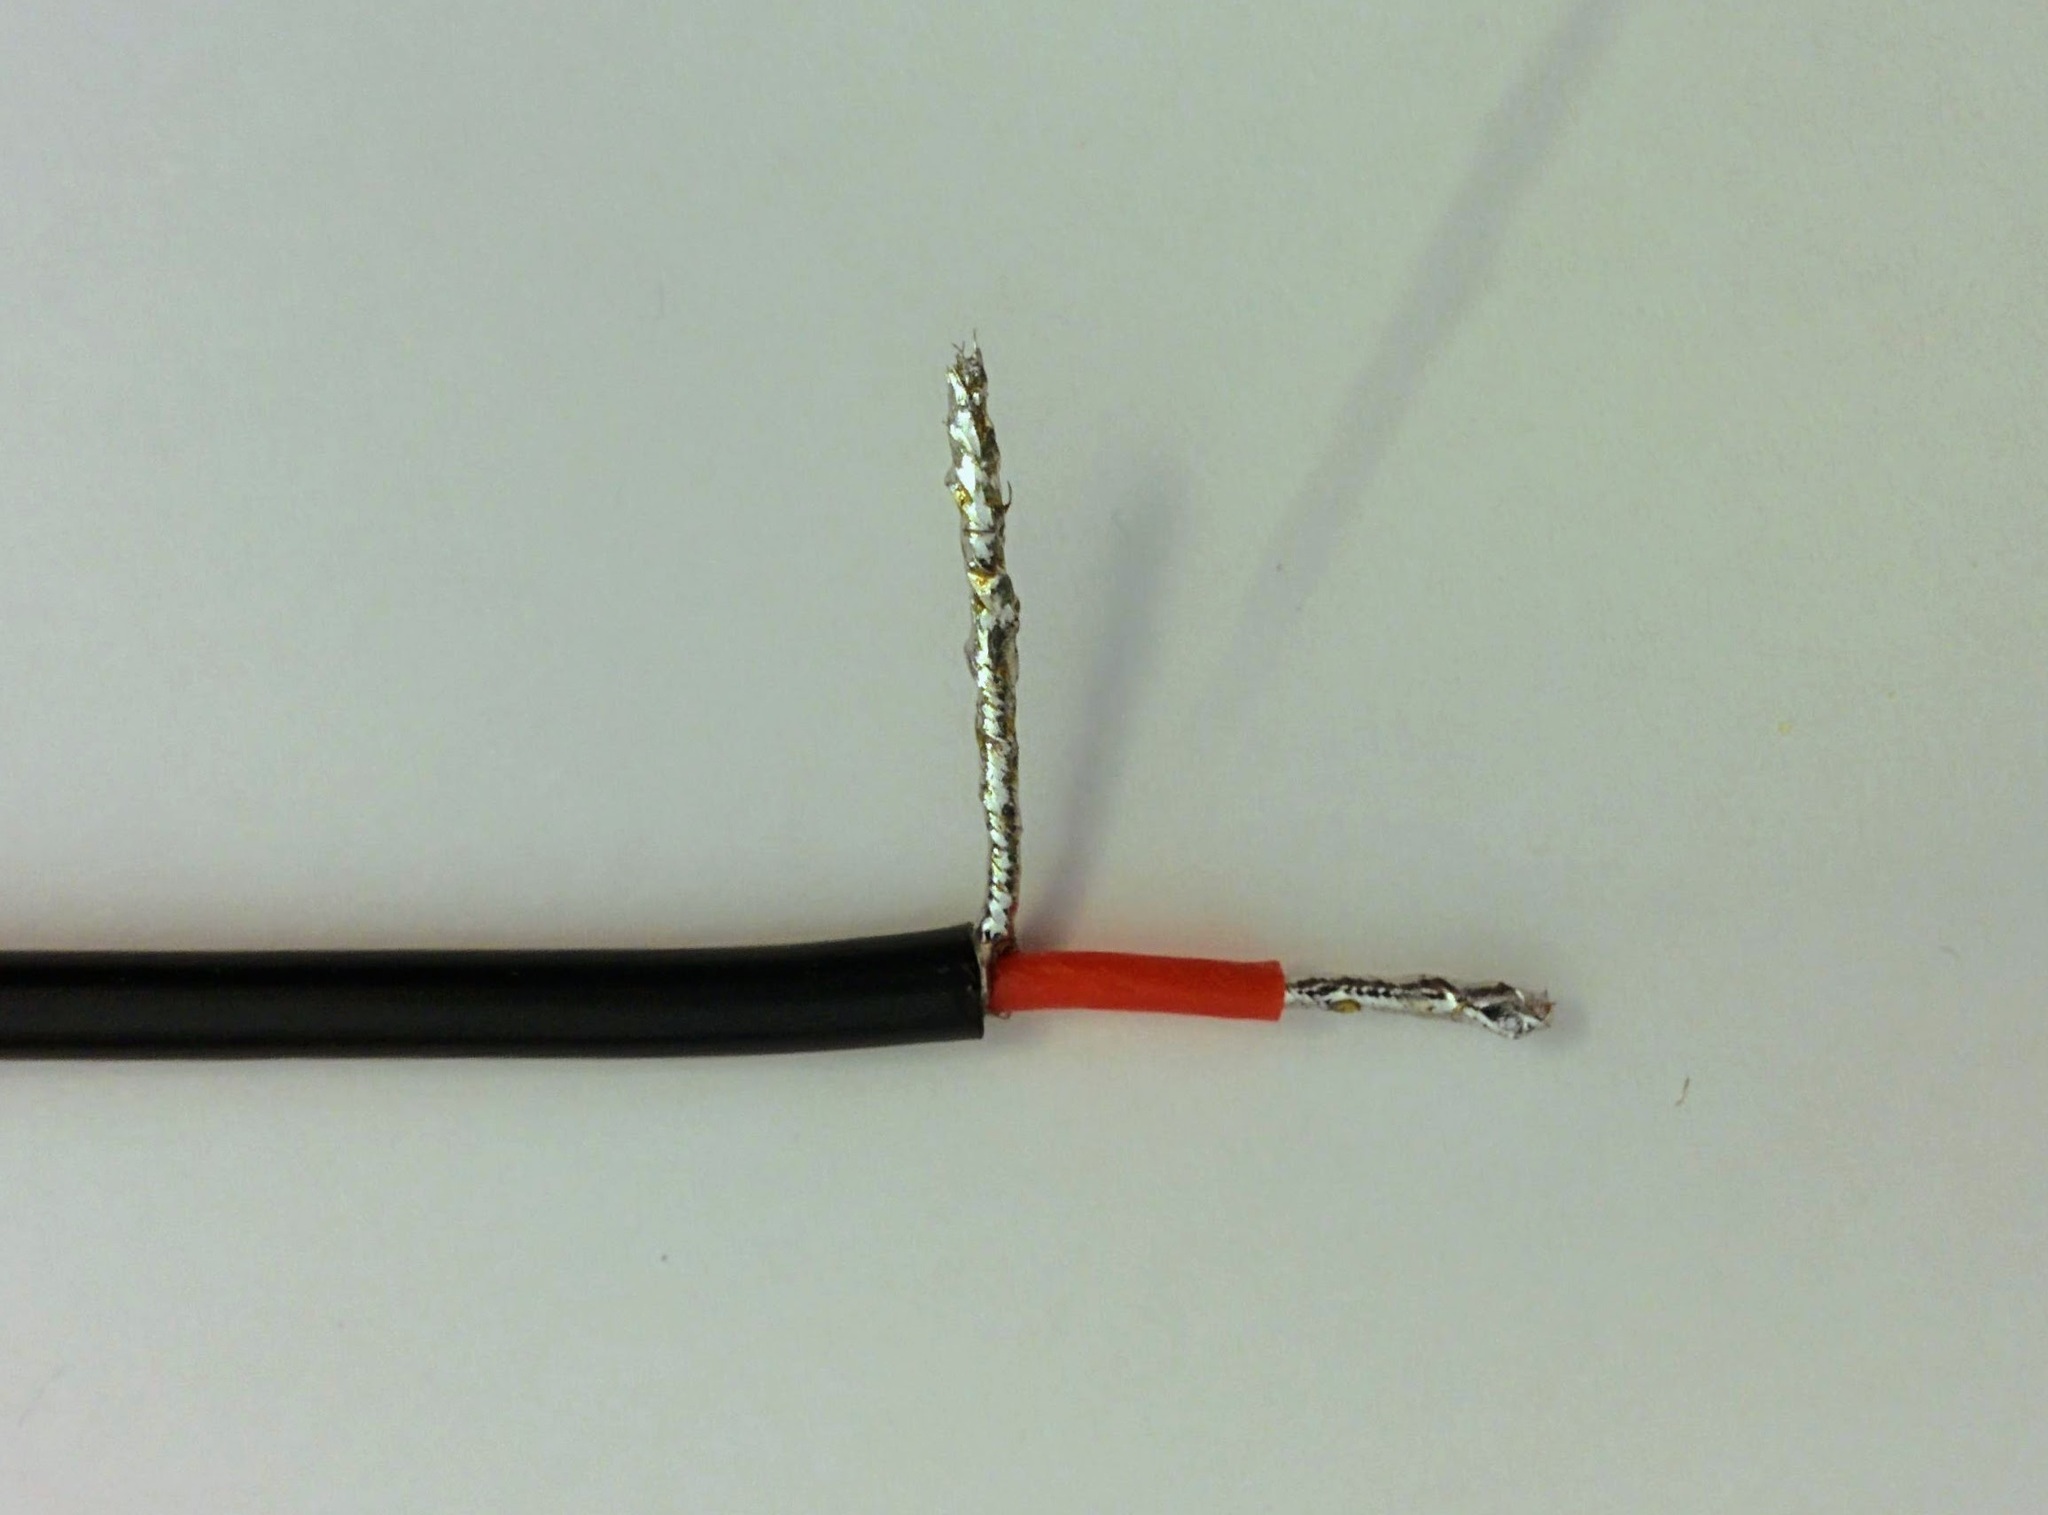
Cut down both to around 4mm.

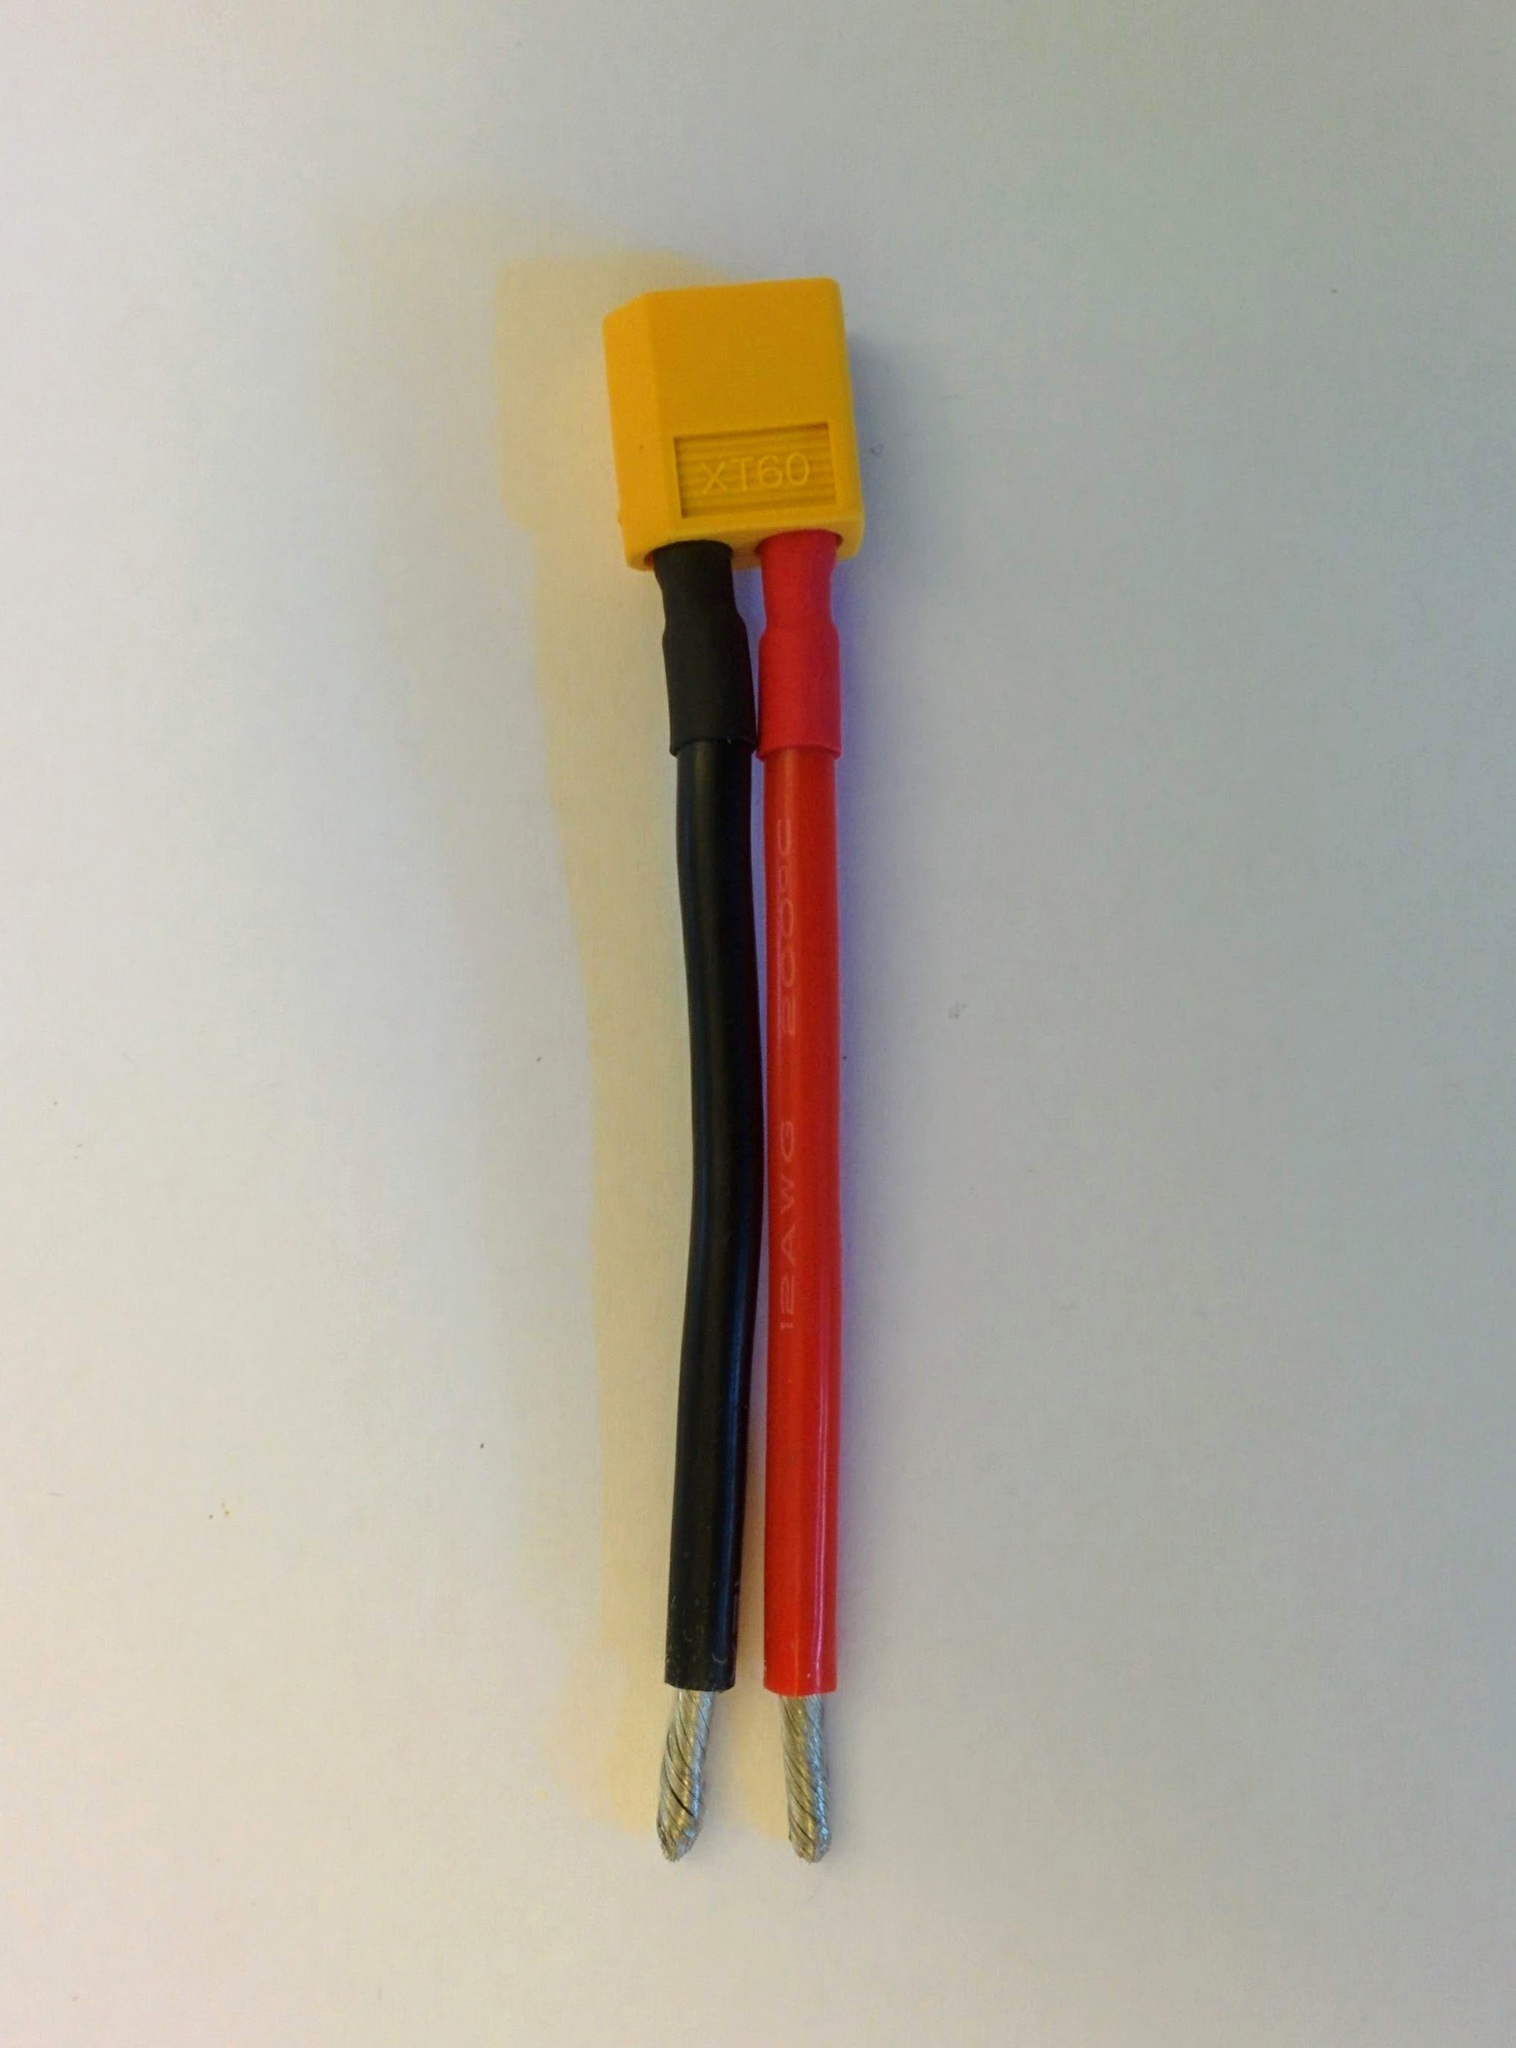
Determine ideal length for battery connector.
Battery connector (is this the right term?) - ends tinned.
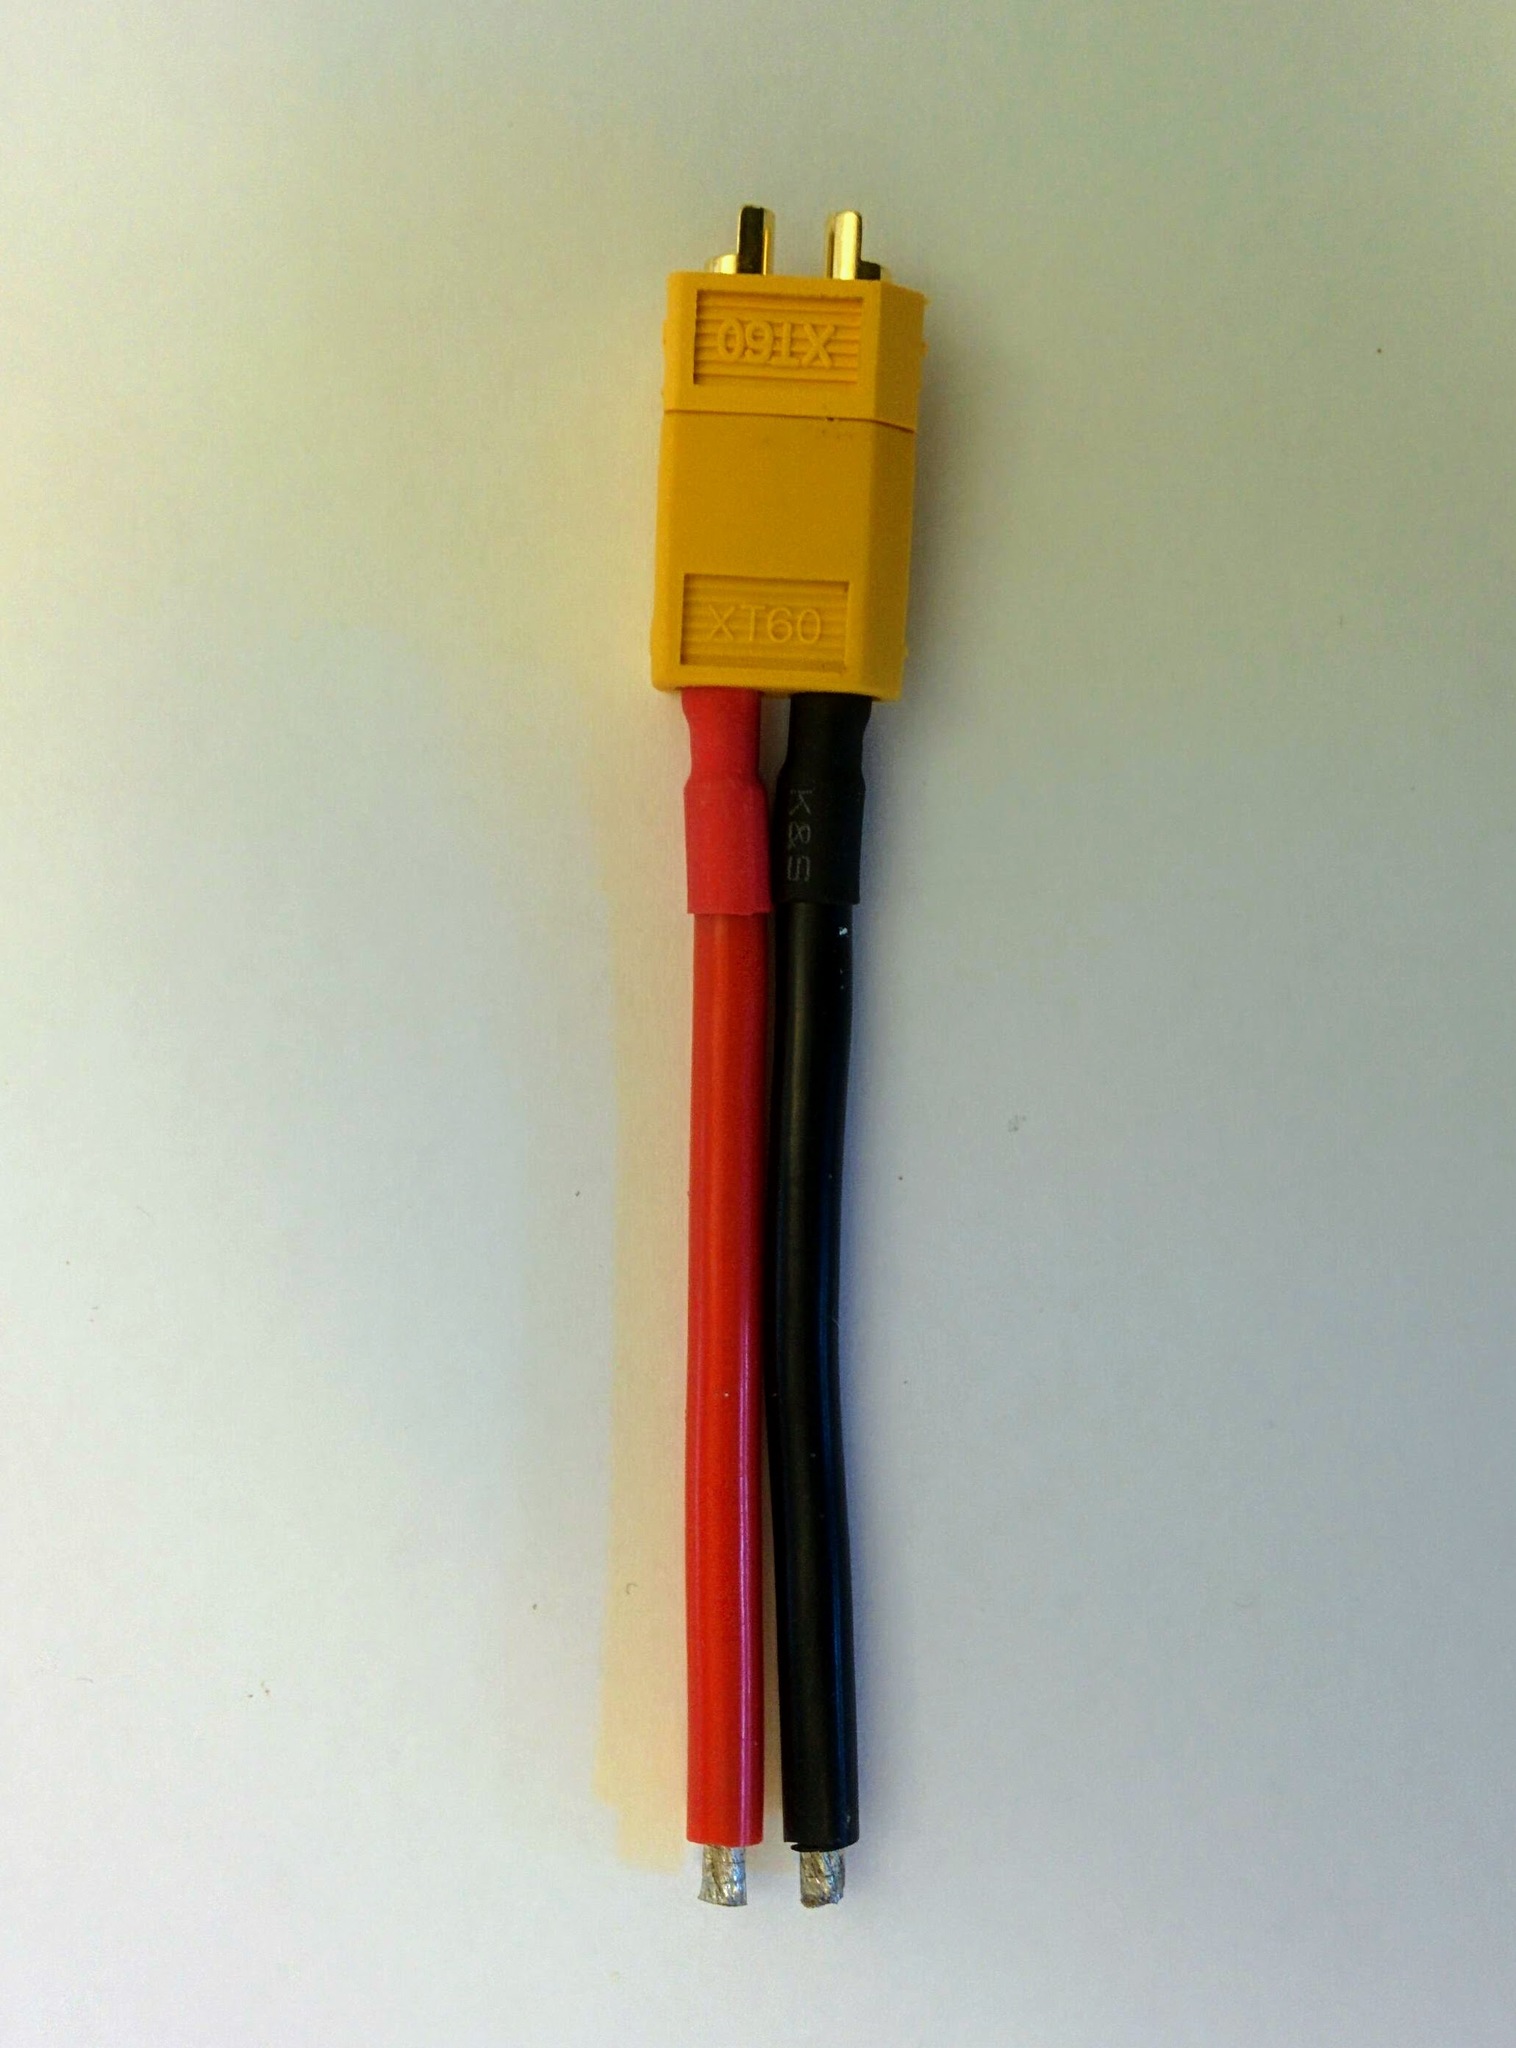
Battery connector with ends tinned ends trimmed down and female XT60 in place.
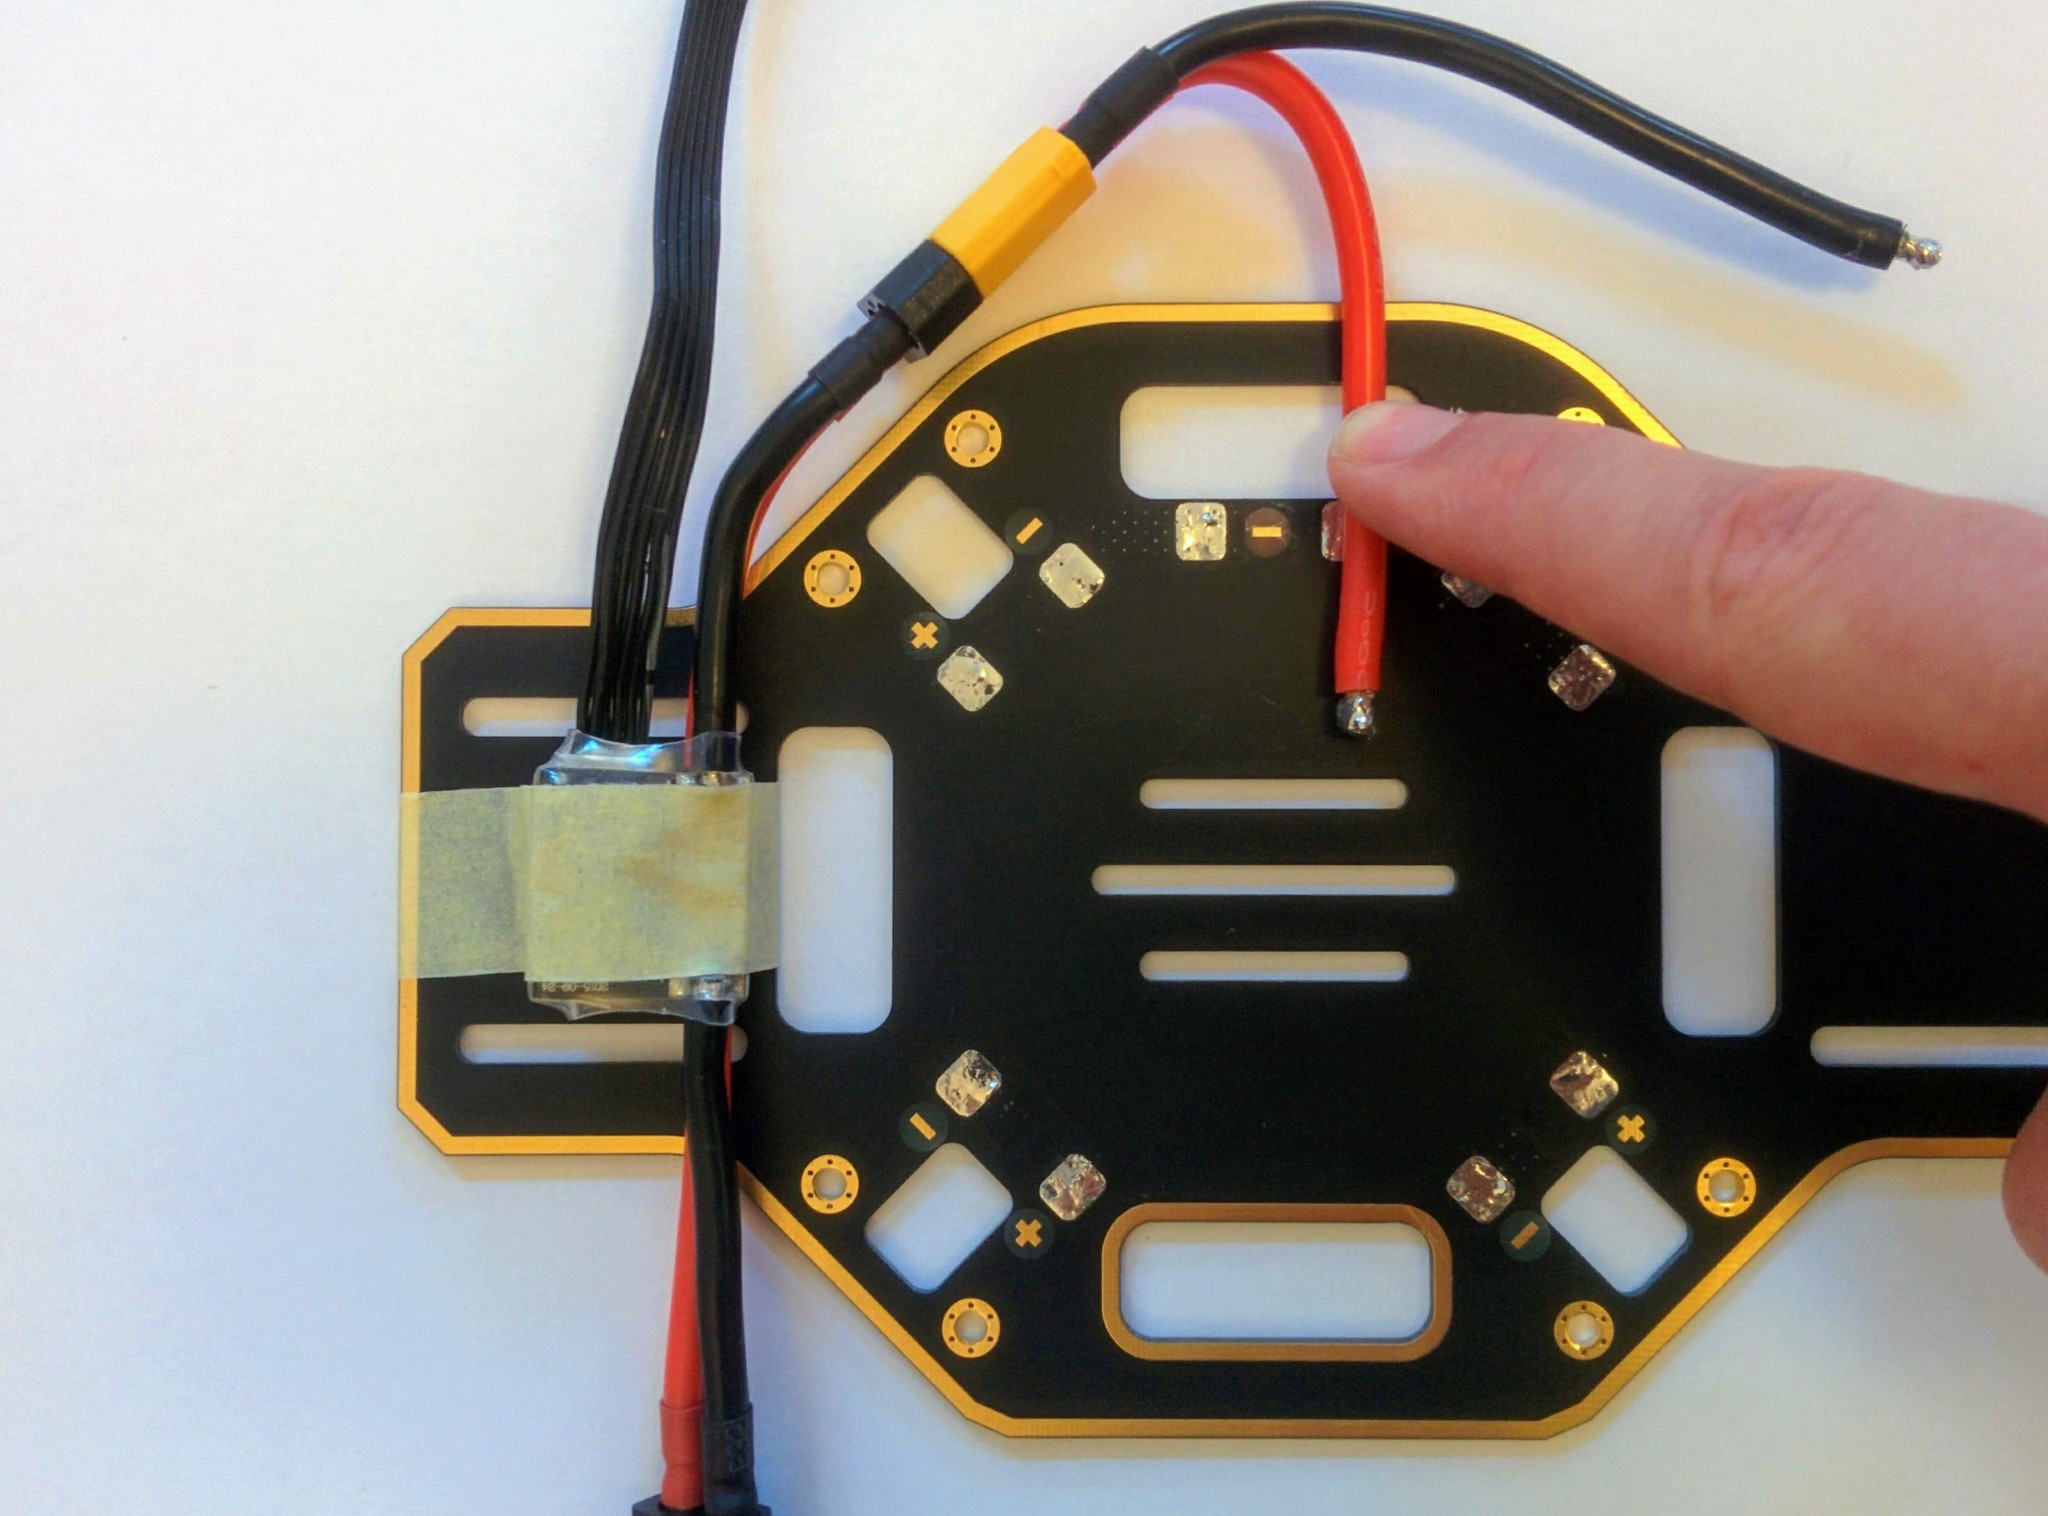
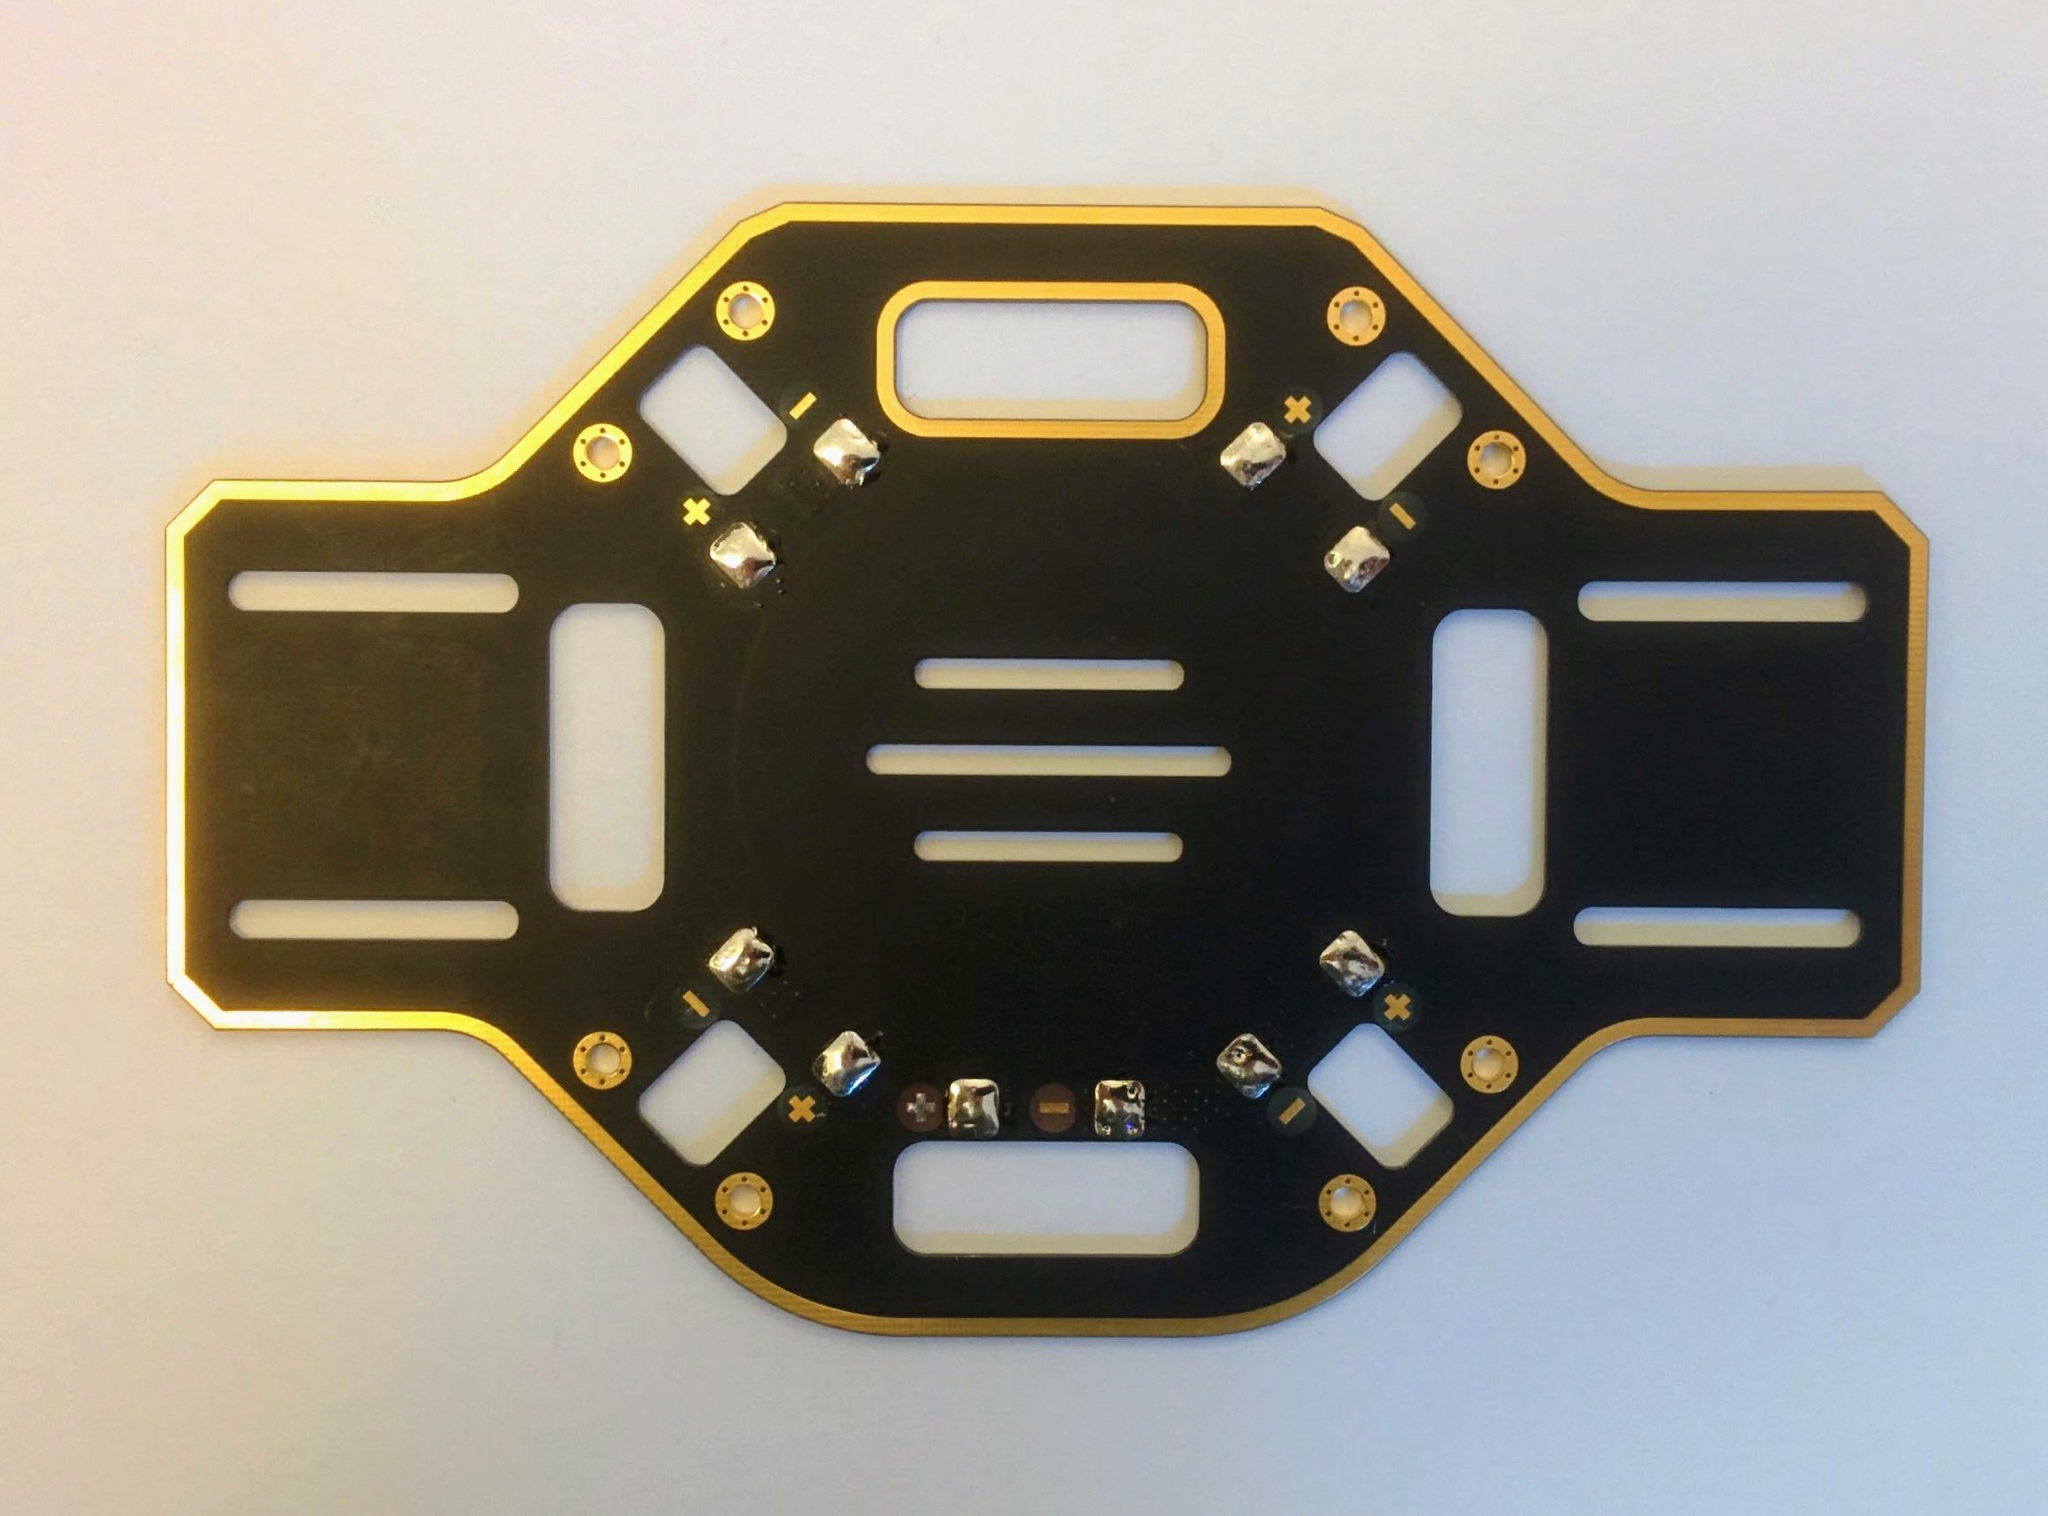
PDB with about 1cm of 0.7mm solder per pad (just enough to cover each pad).
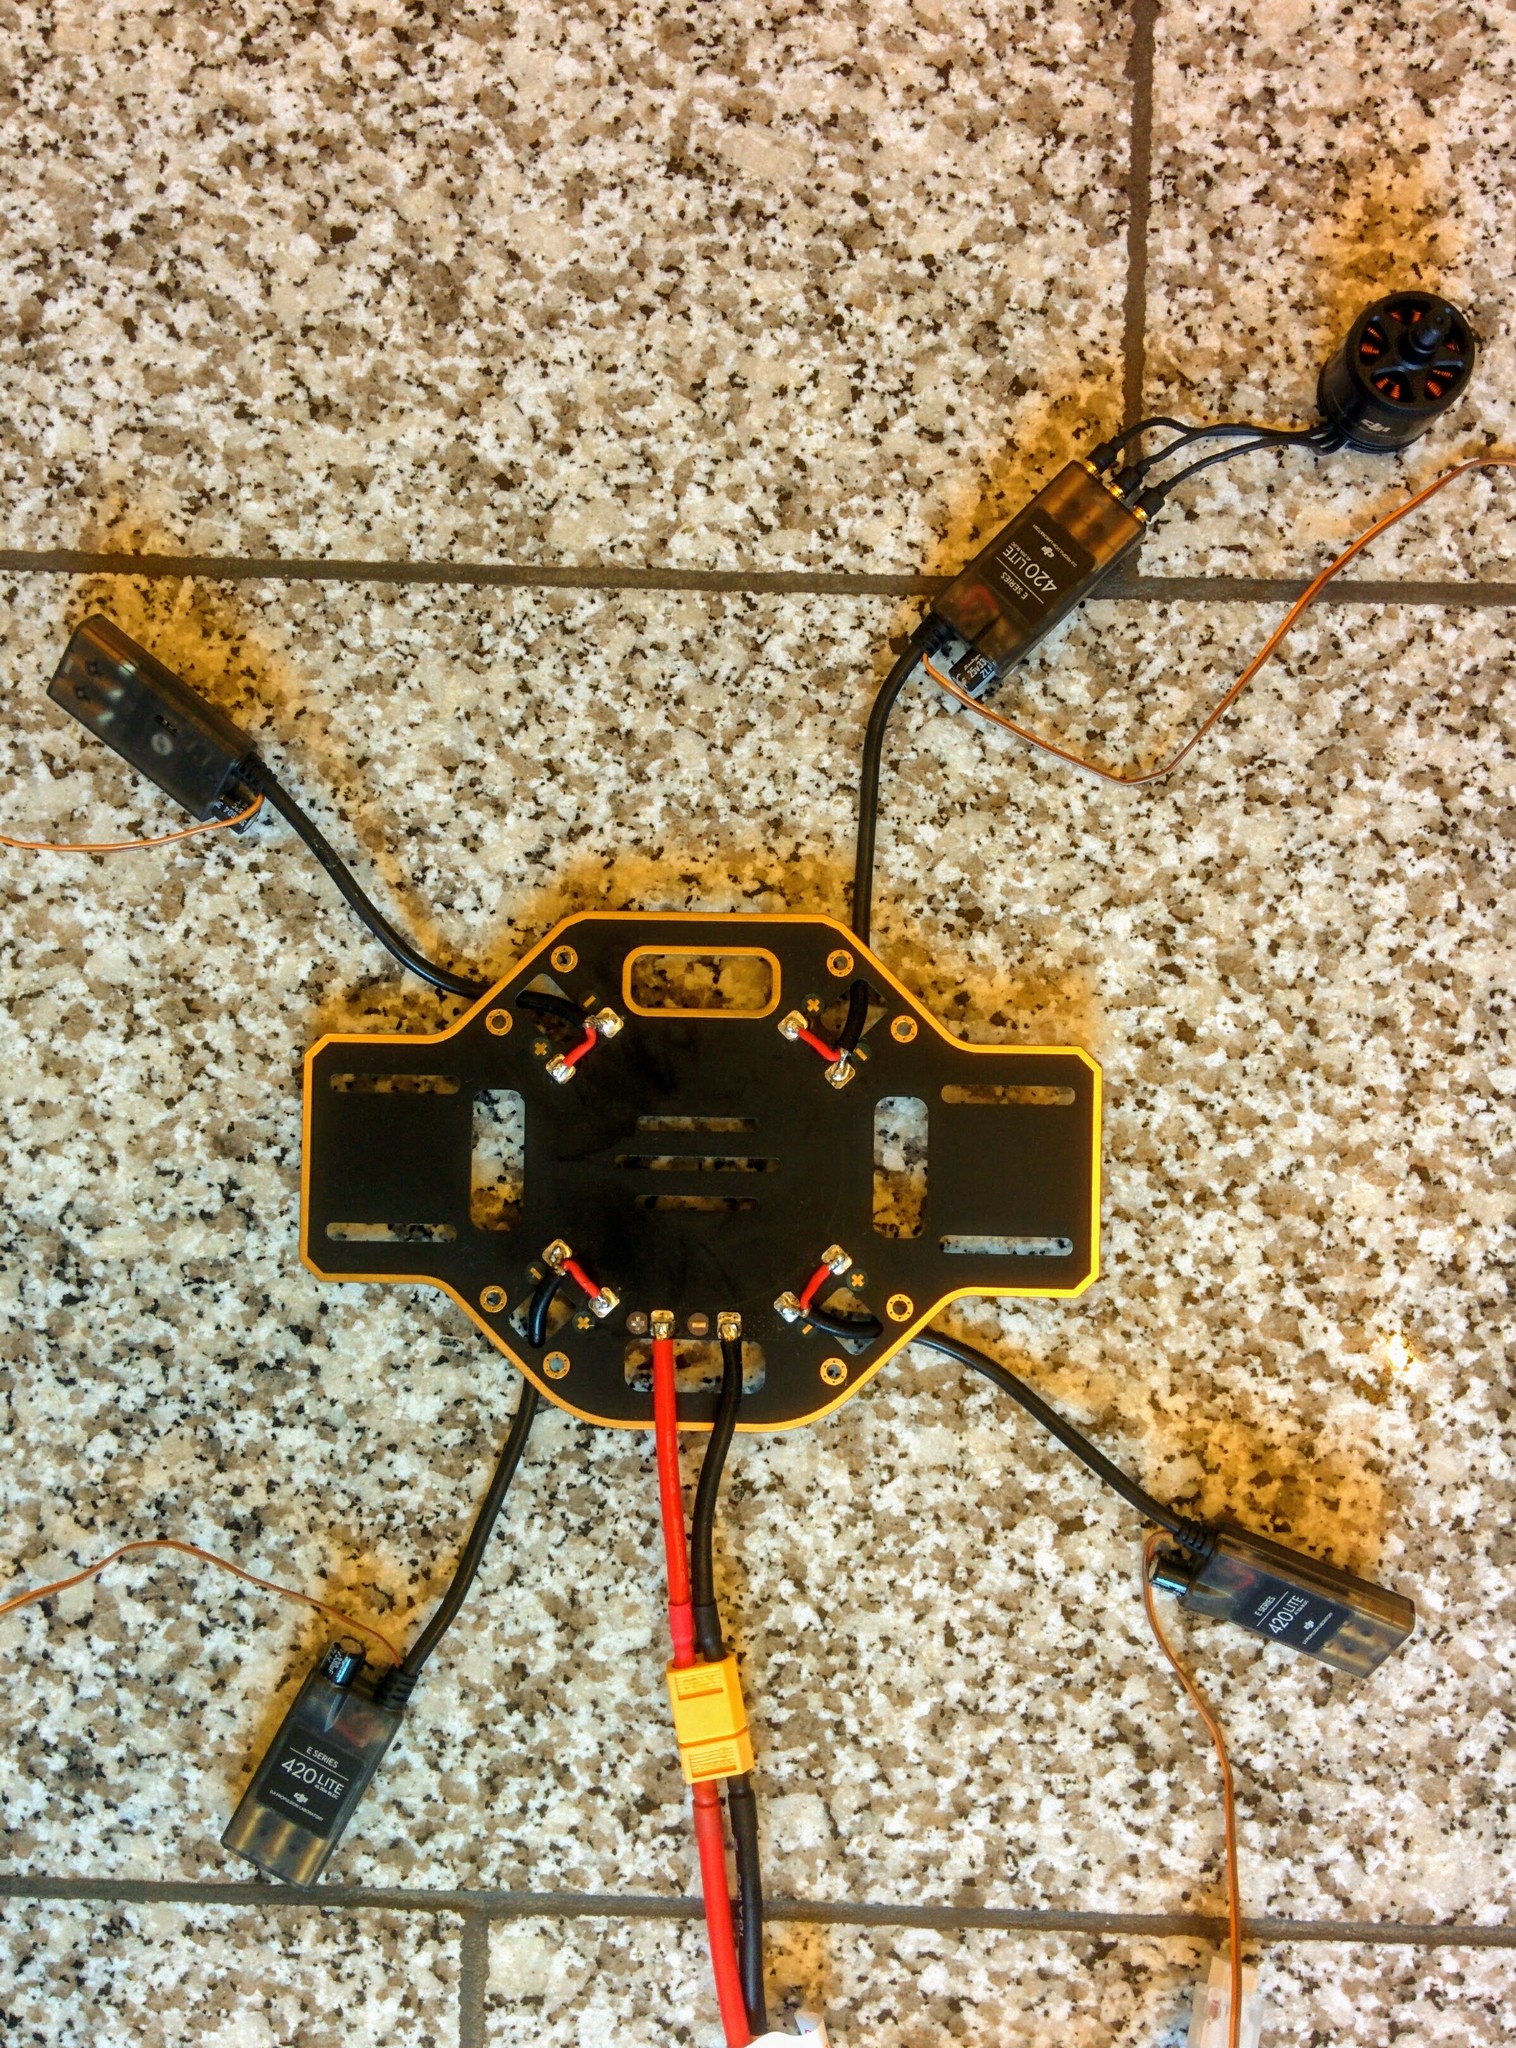
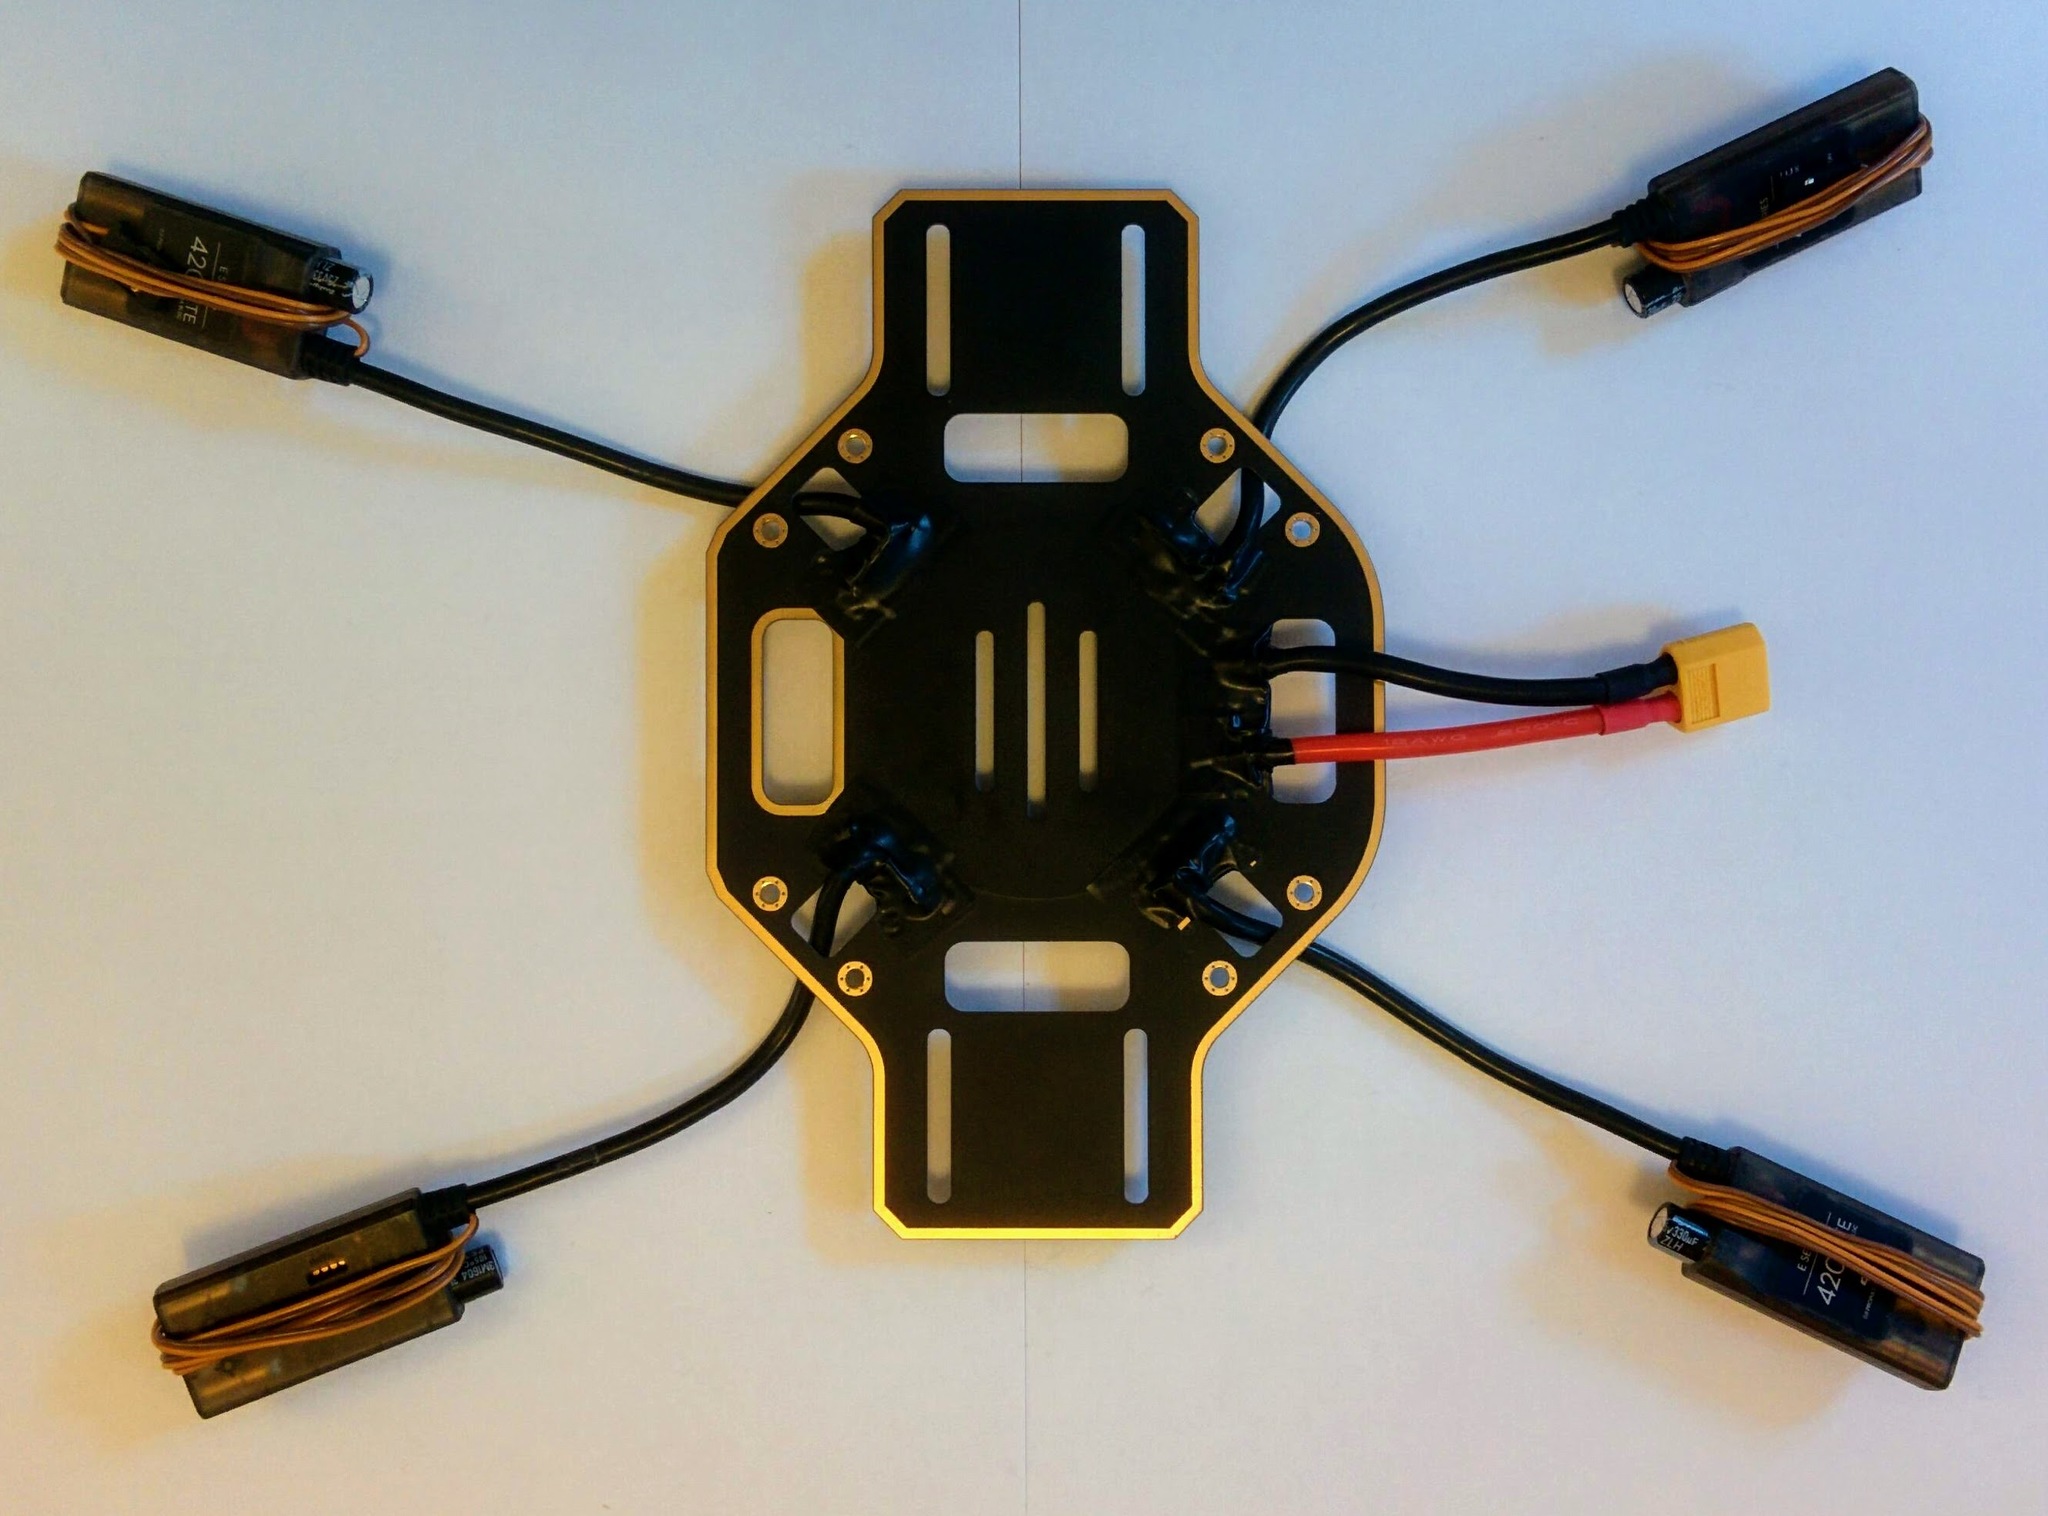
ESCs and battery connector soldered to PDB.
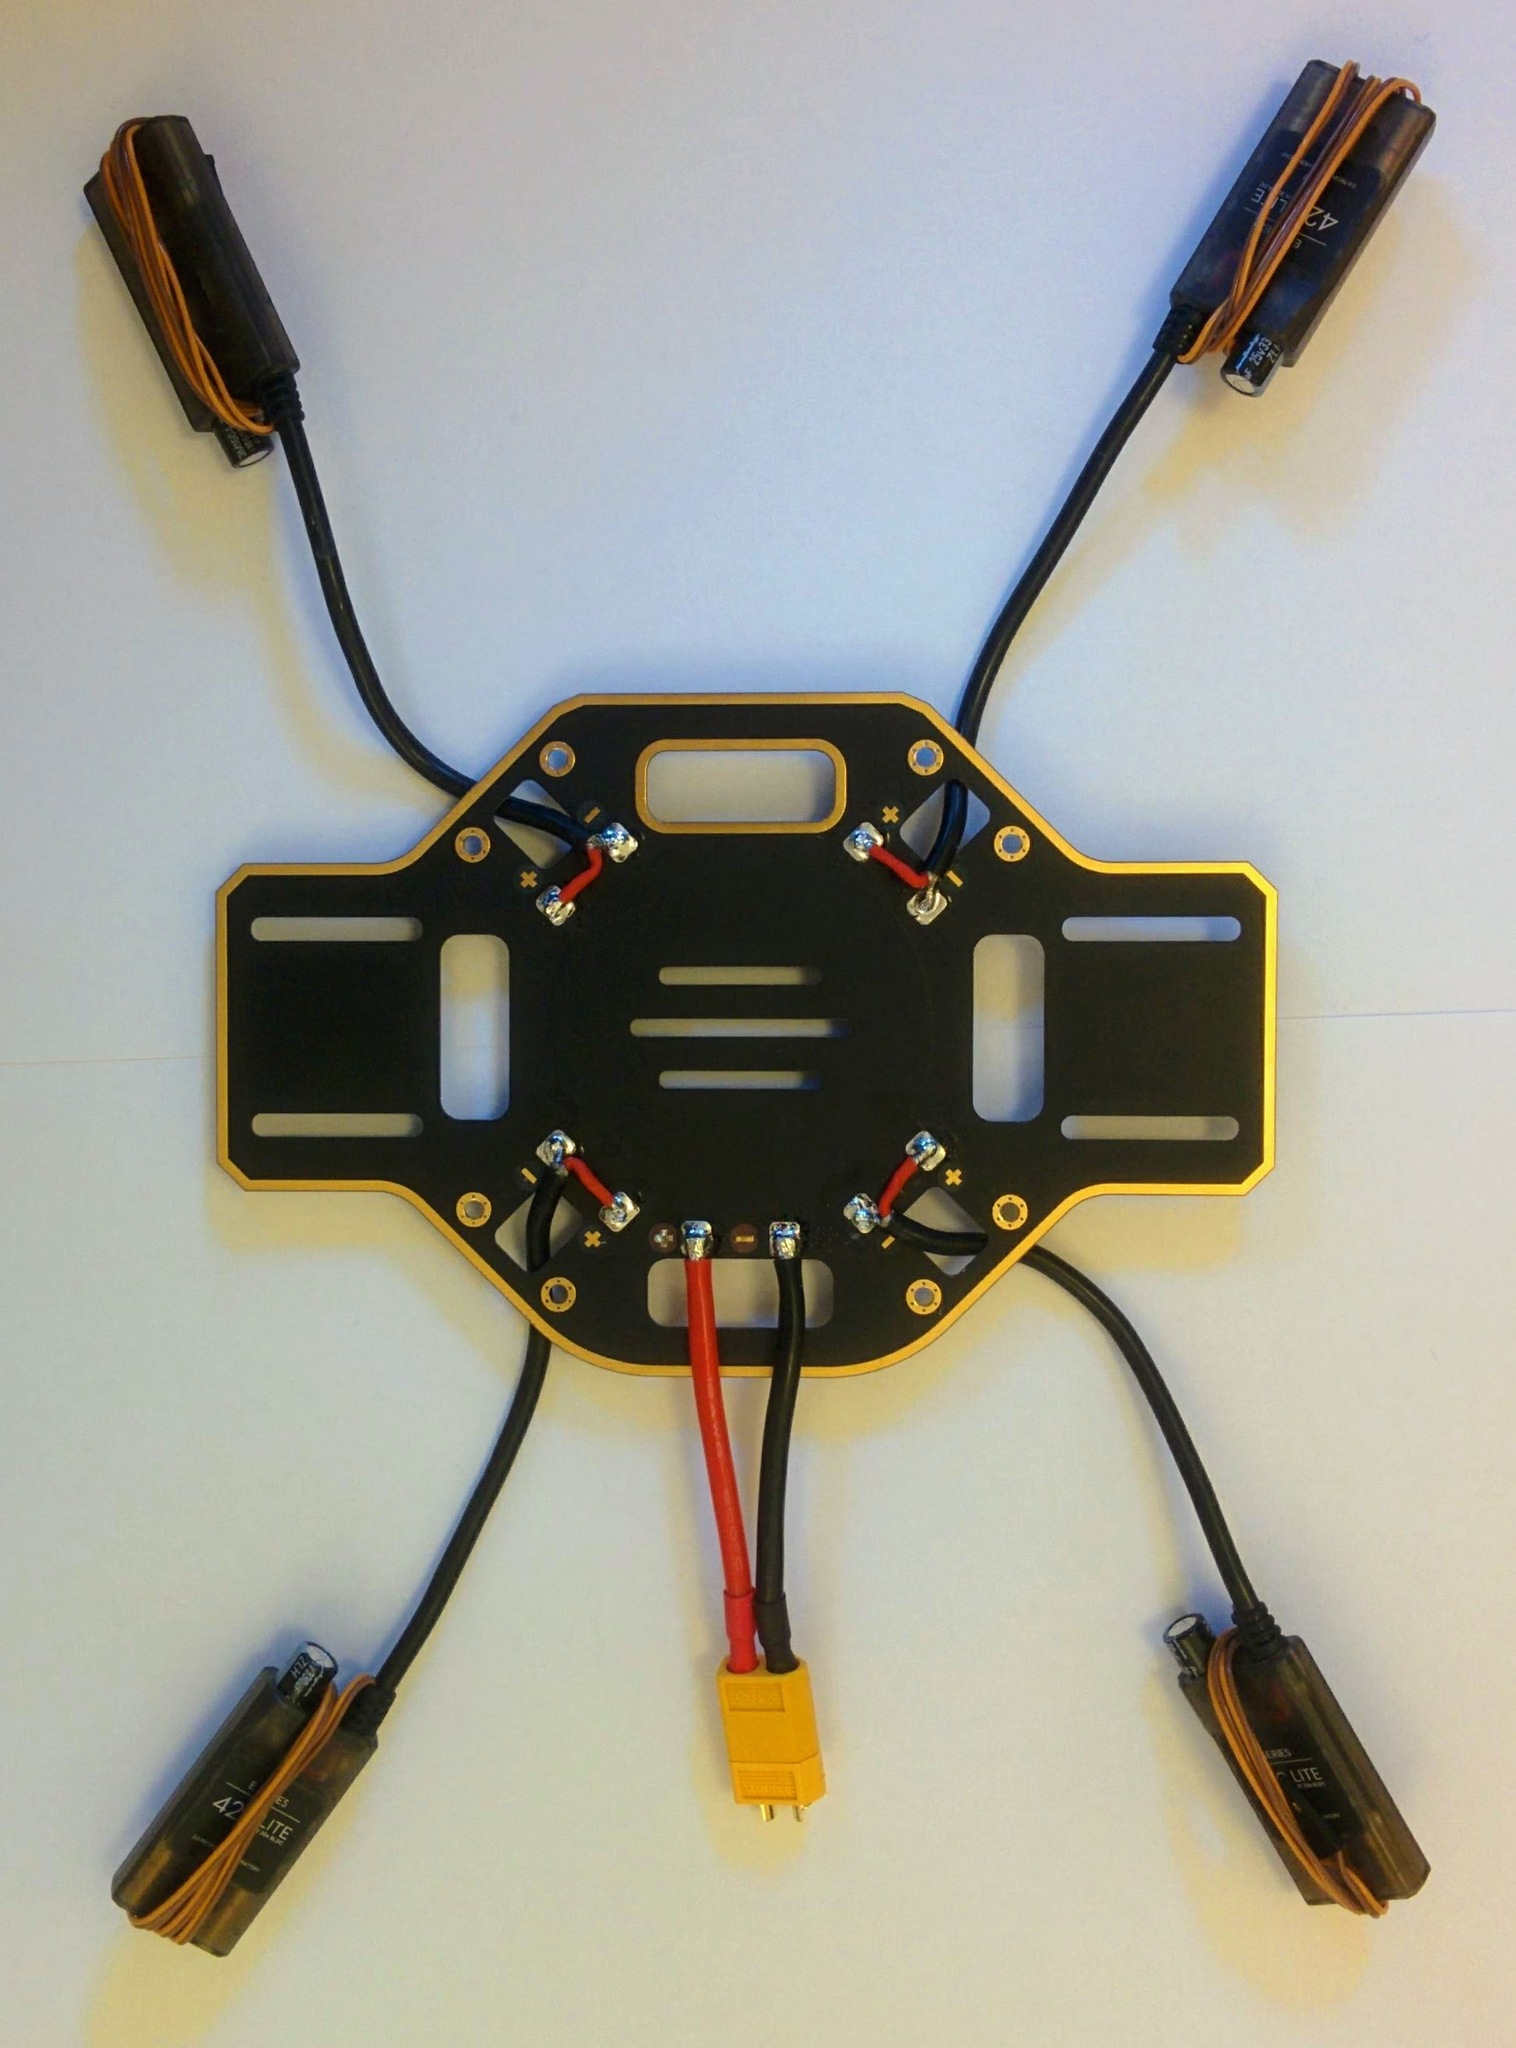
PDB ready for testing.
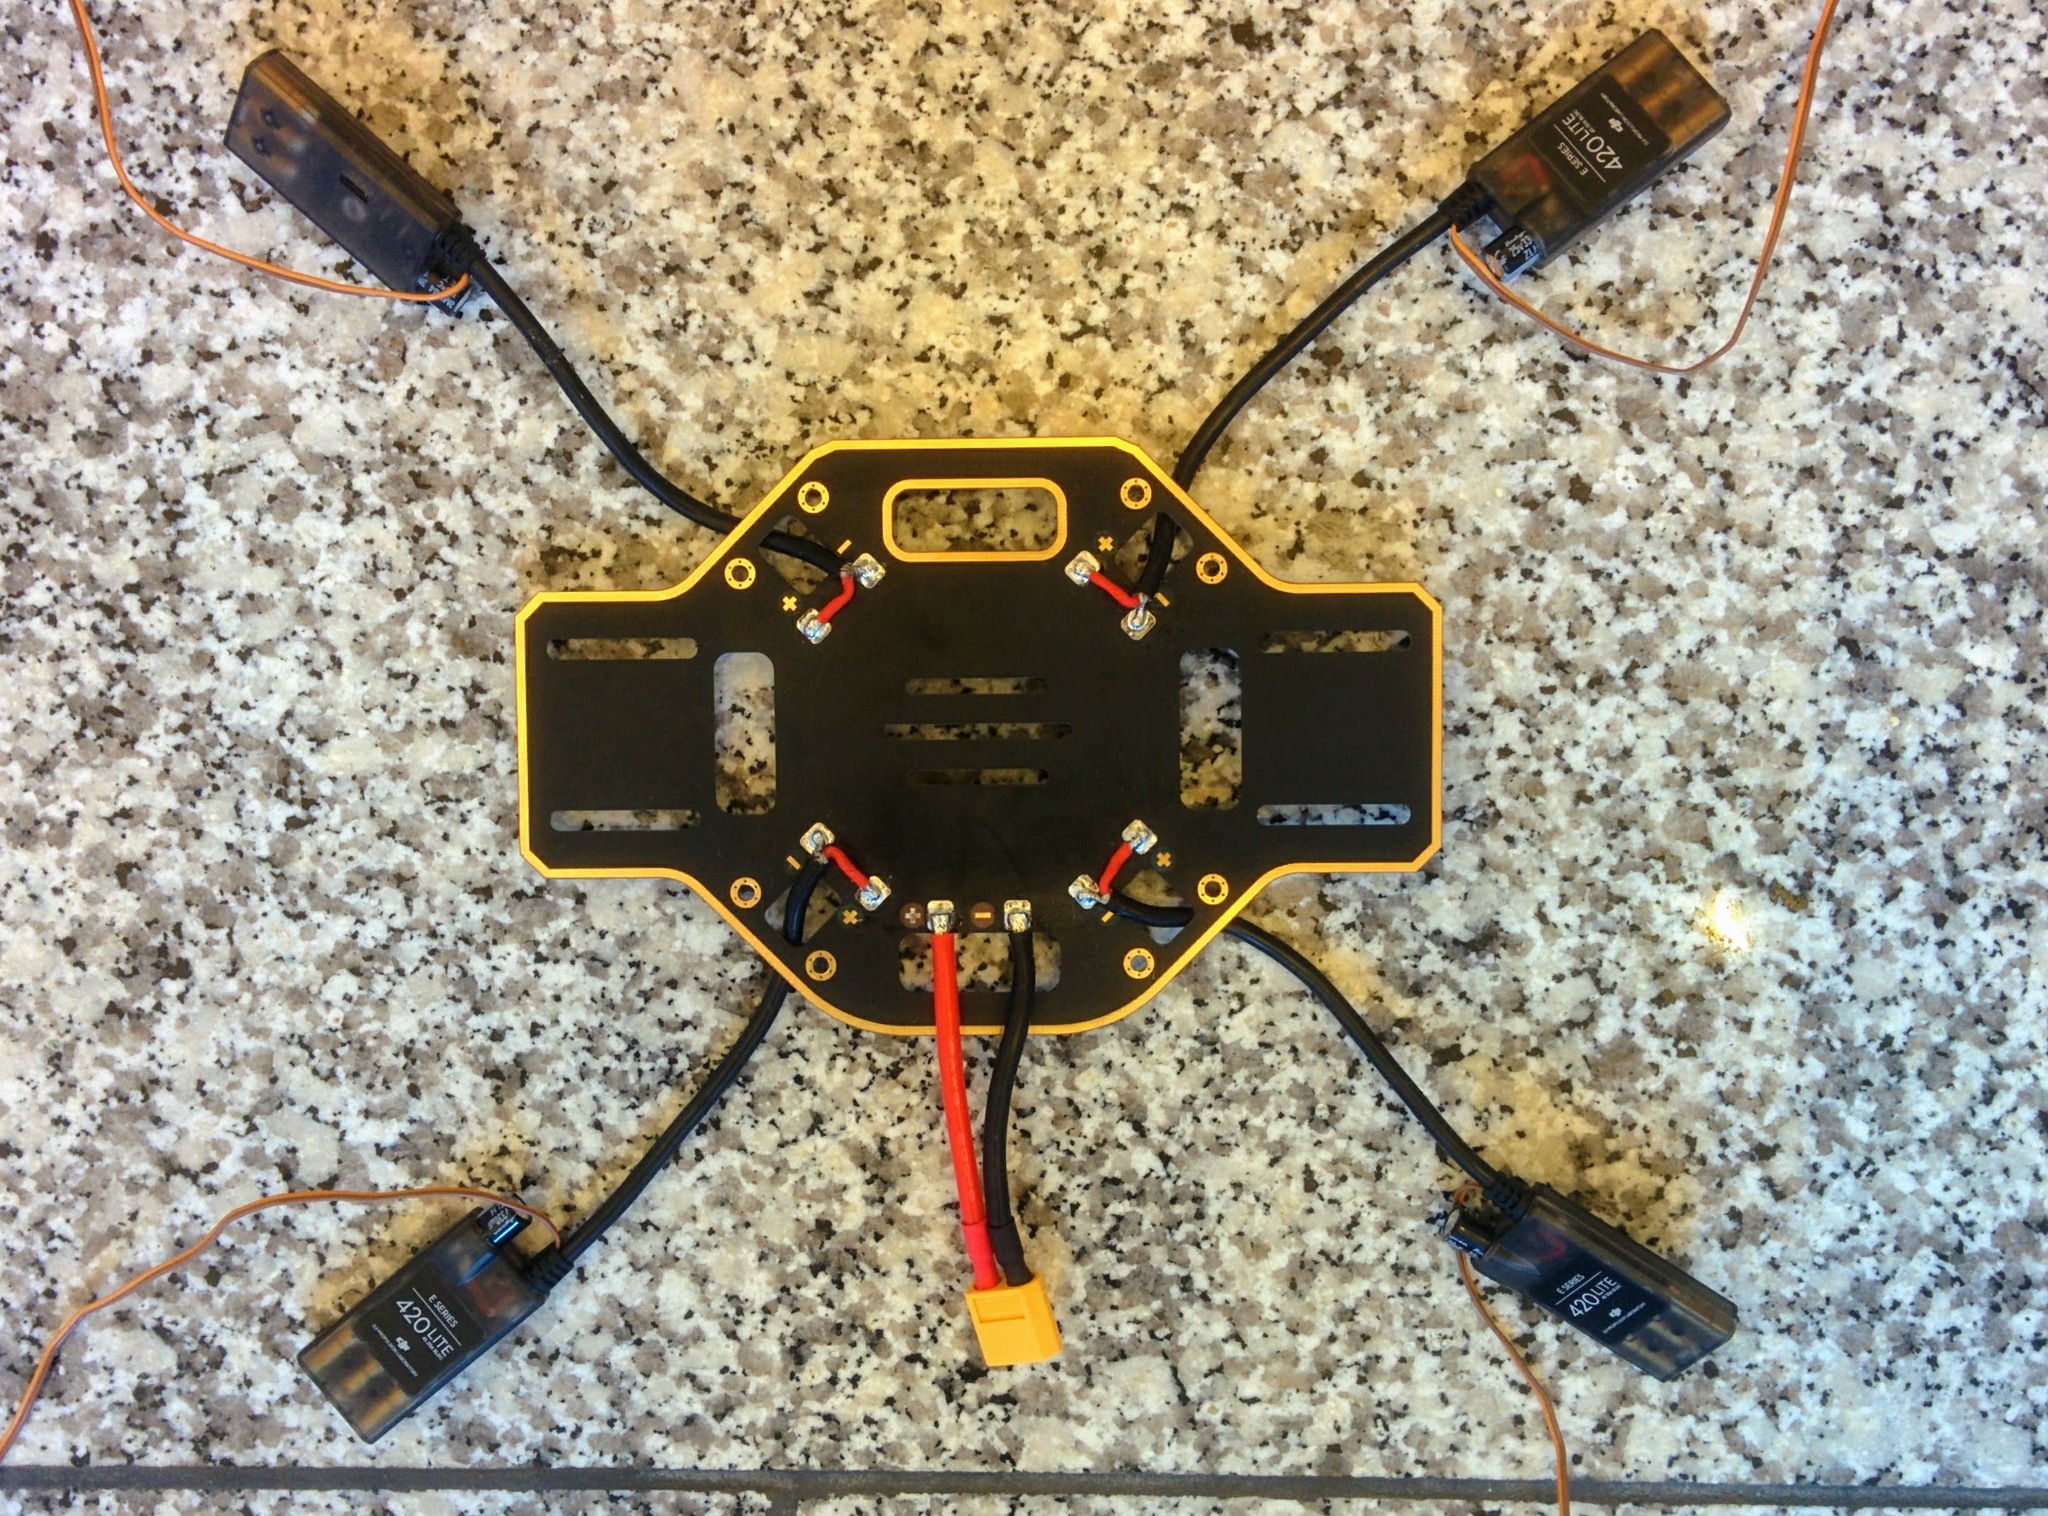
First plug in a motor.
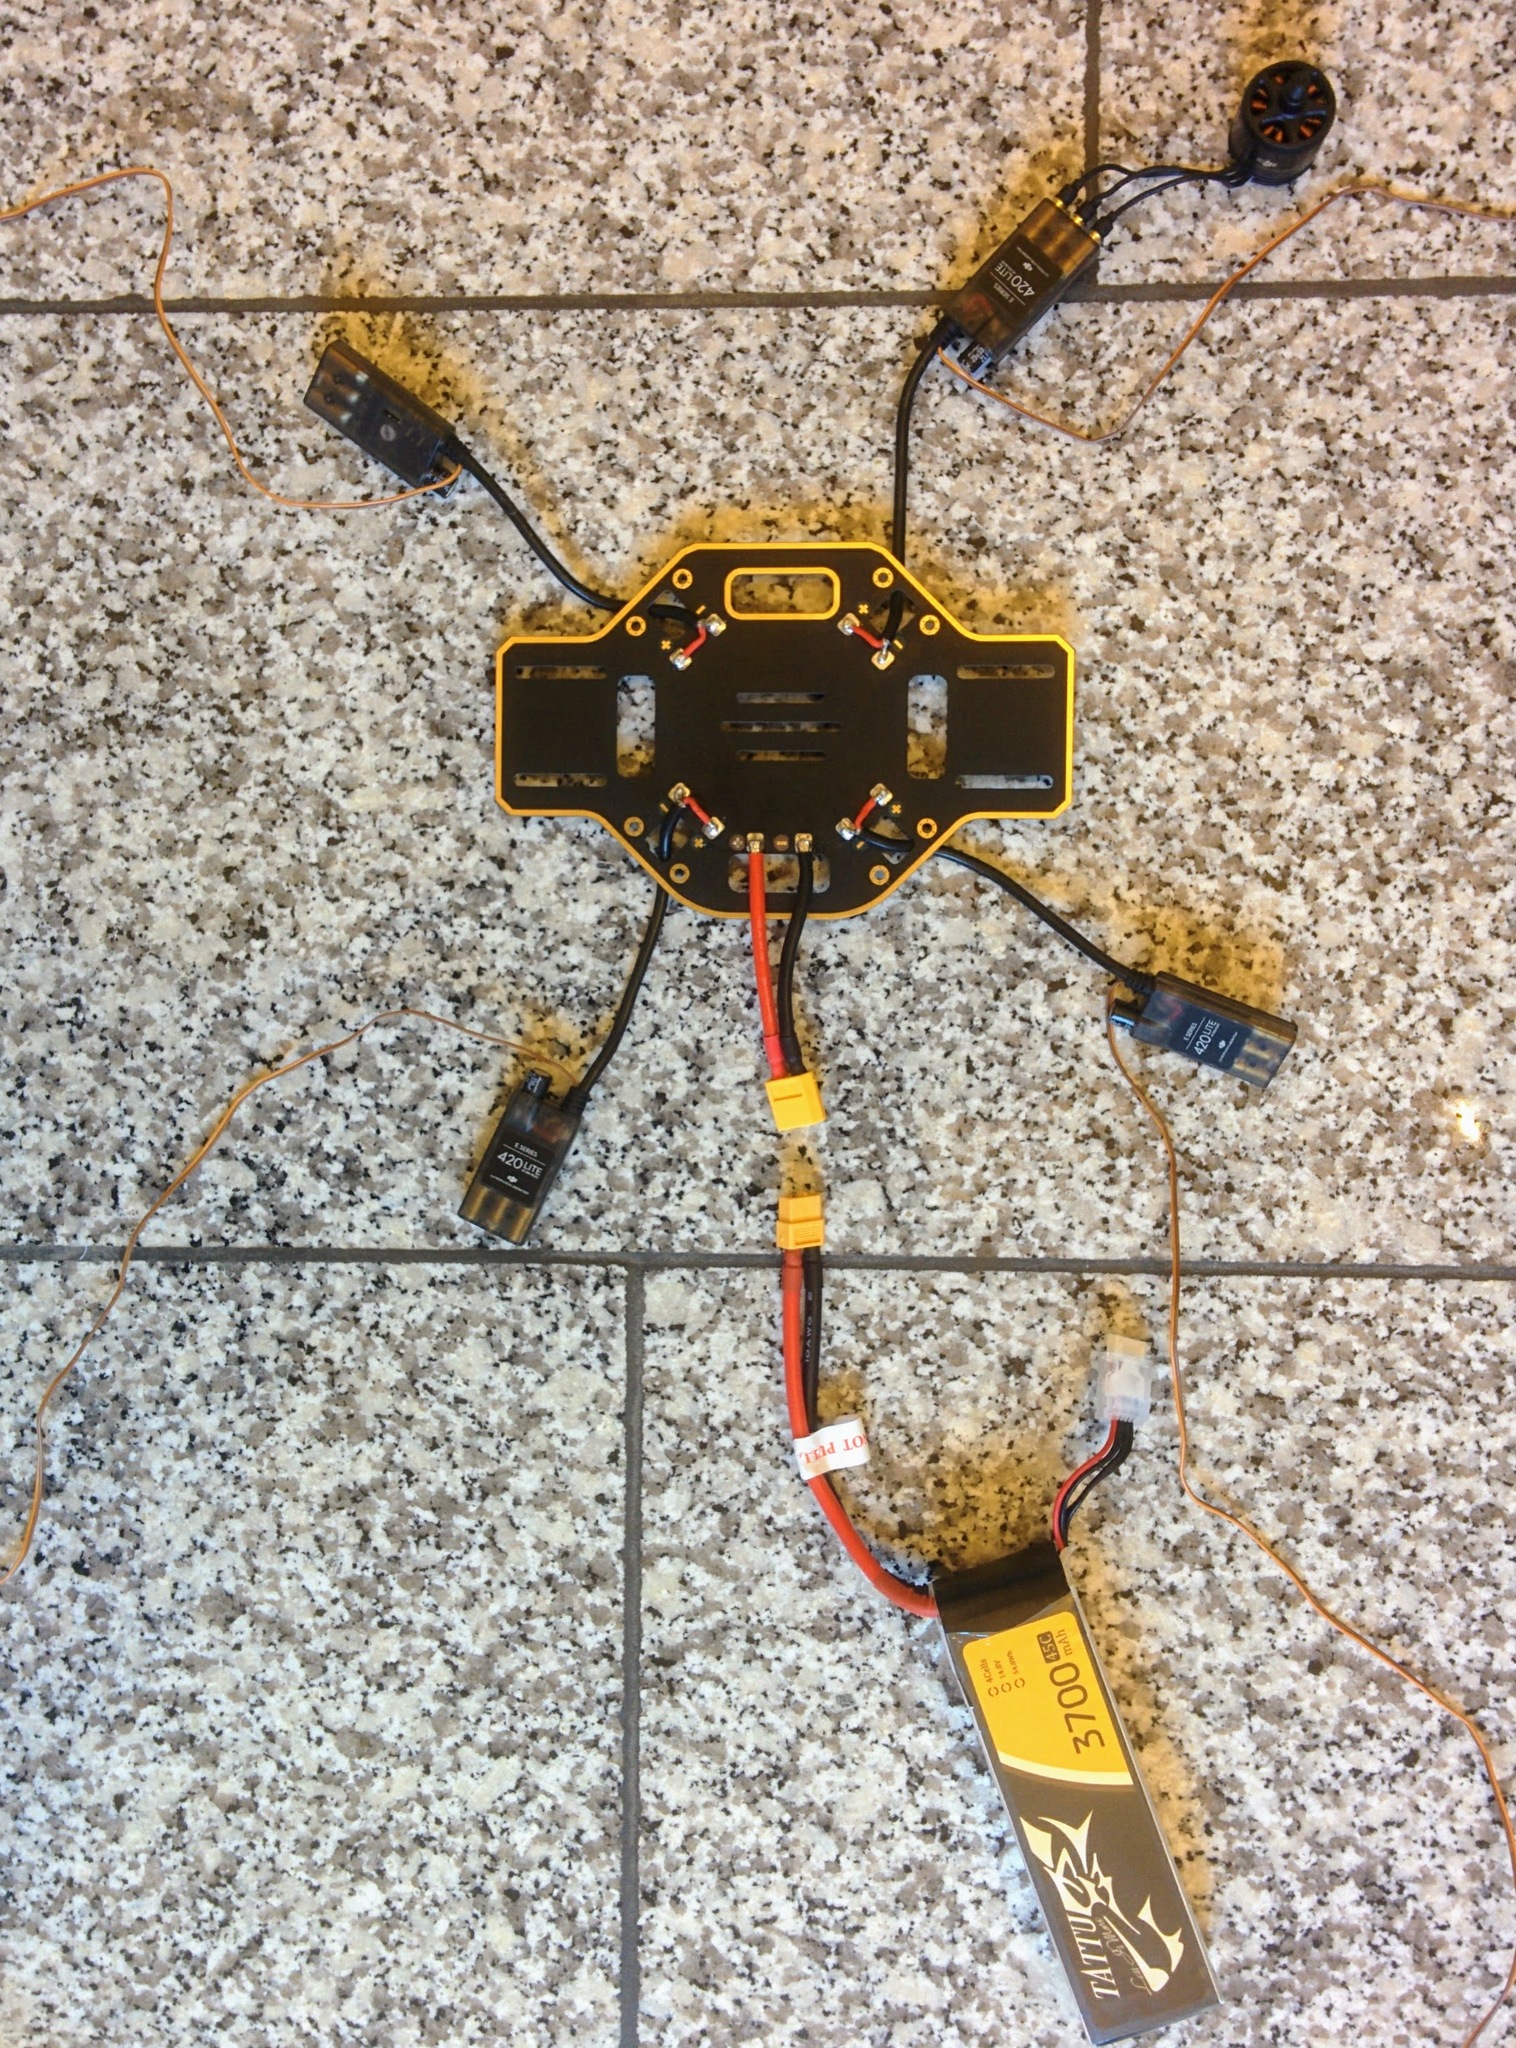
Then plug in the battery, ESC should beep loudly (then unplug the battery and repeat for each motor).
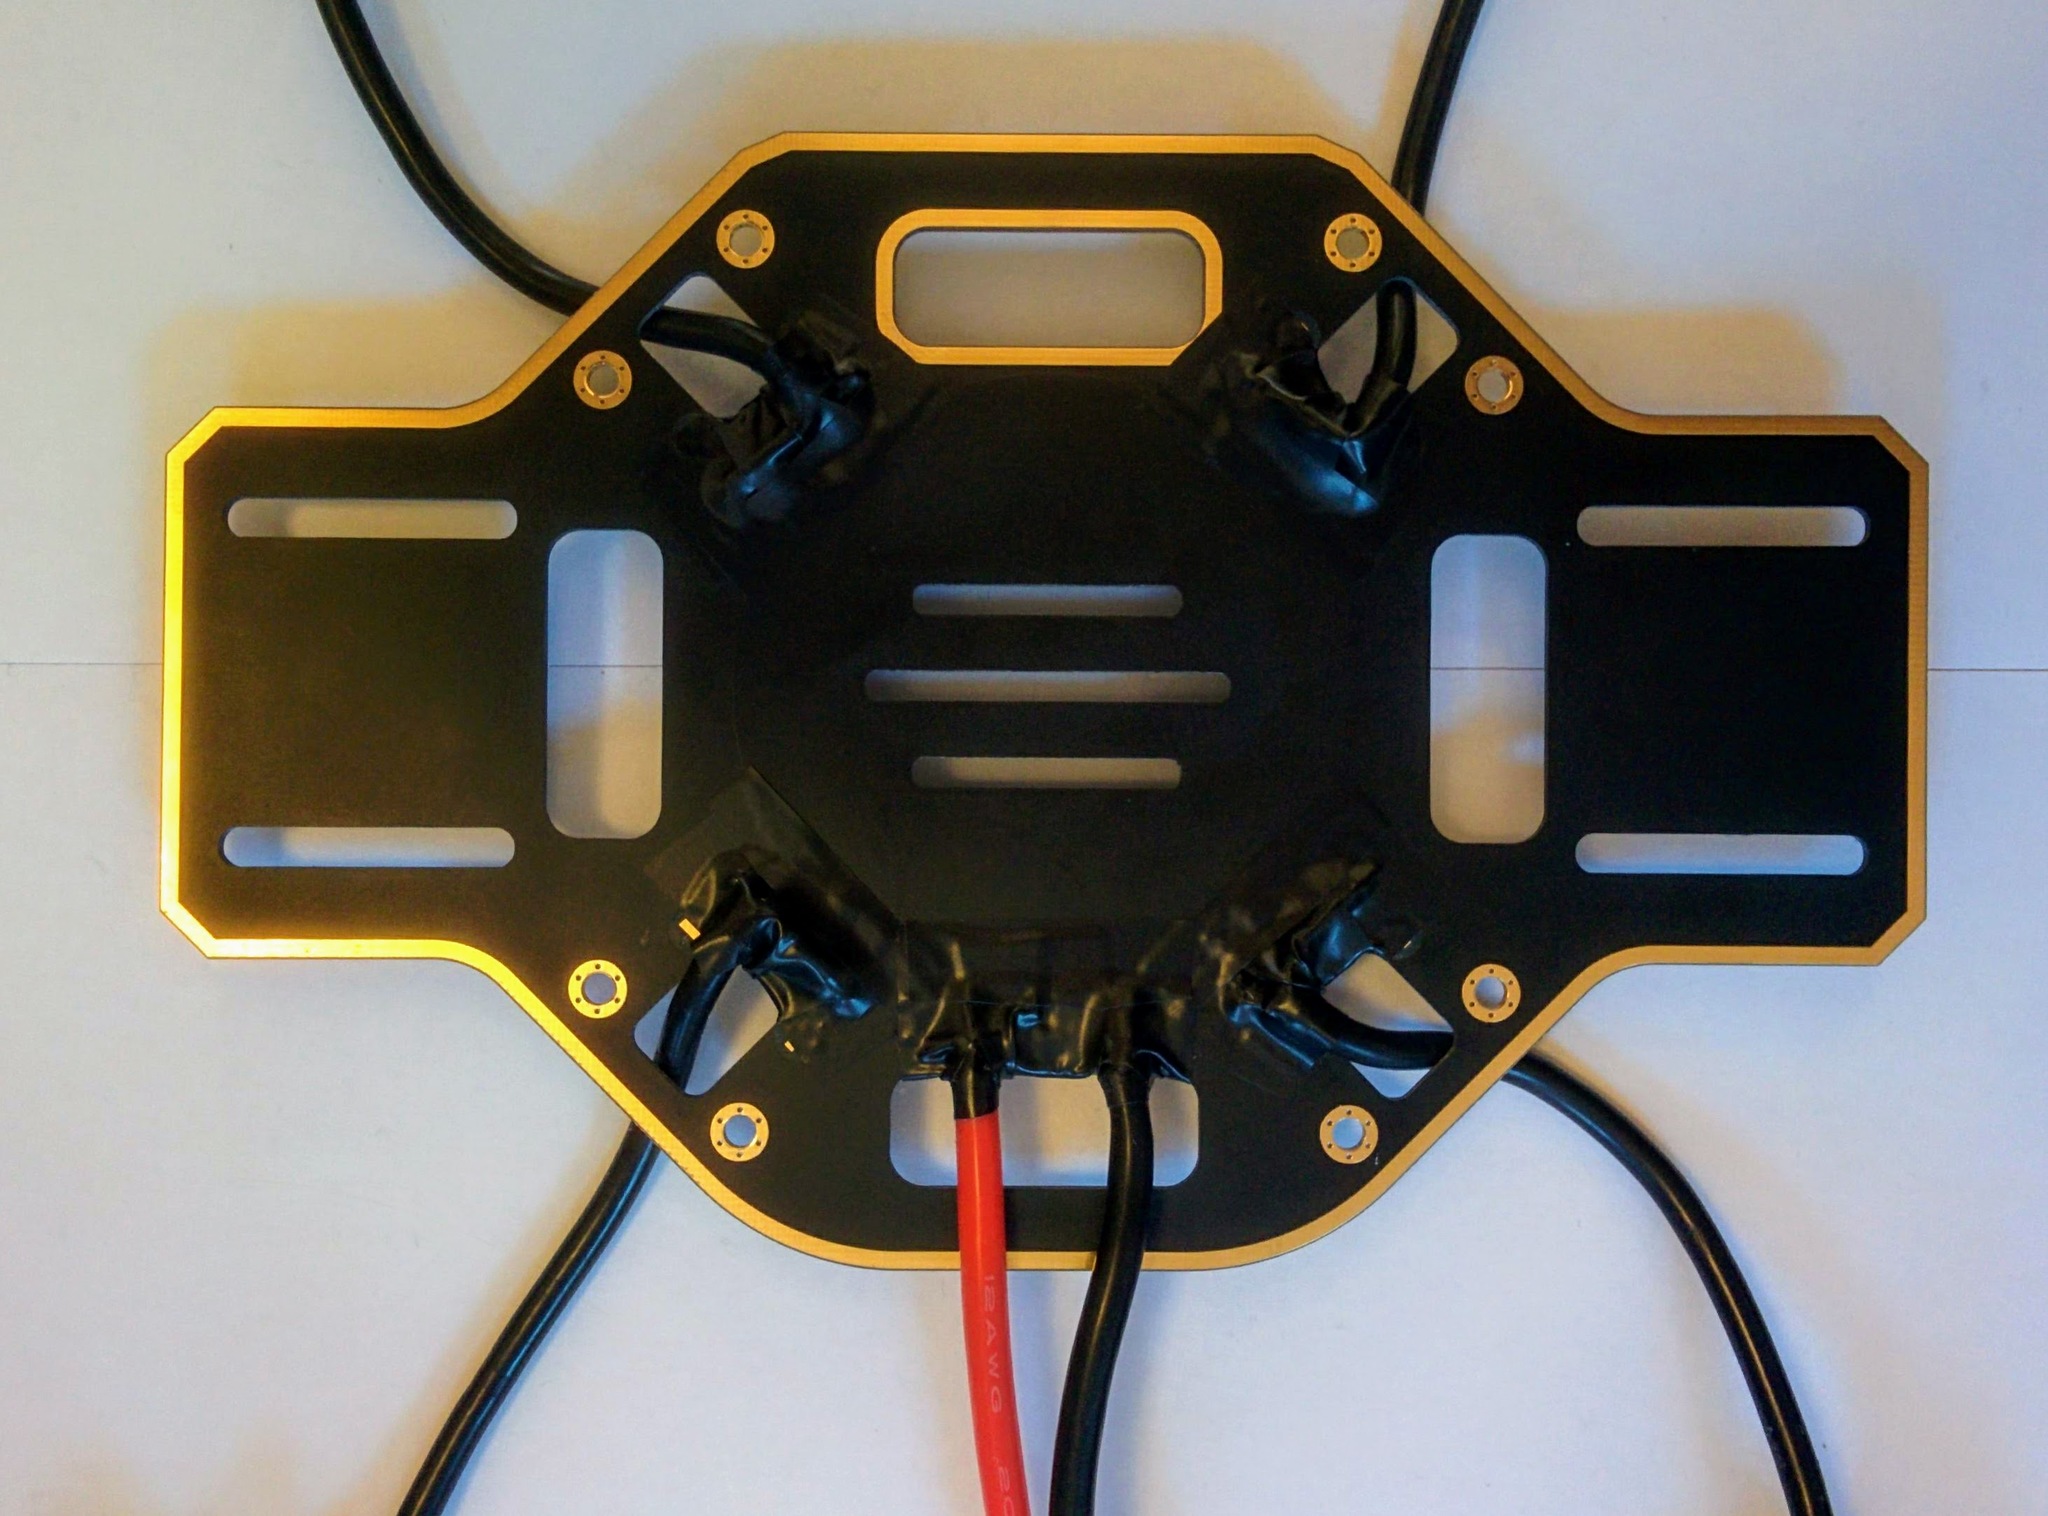
Once satisfied insulate the pads with electrical tape (right term, is it different to duct tape?).
Insulation 2.
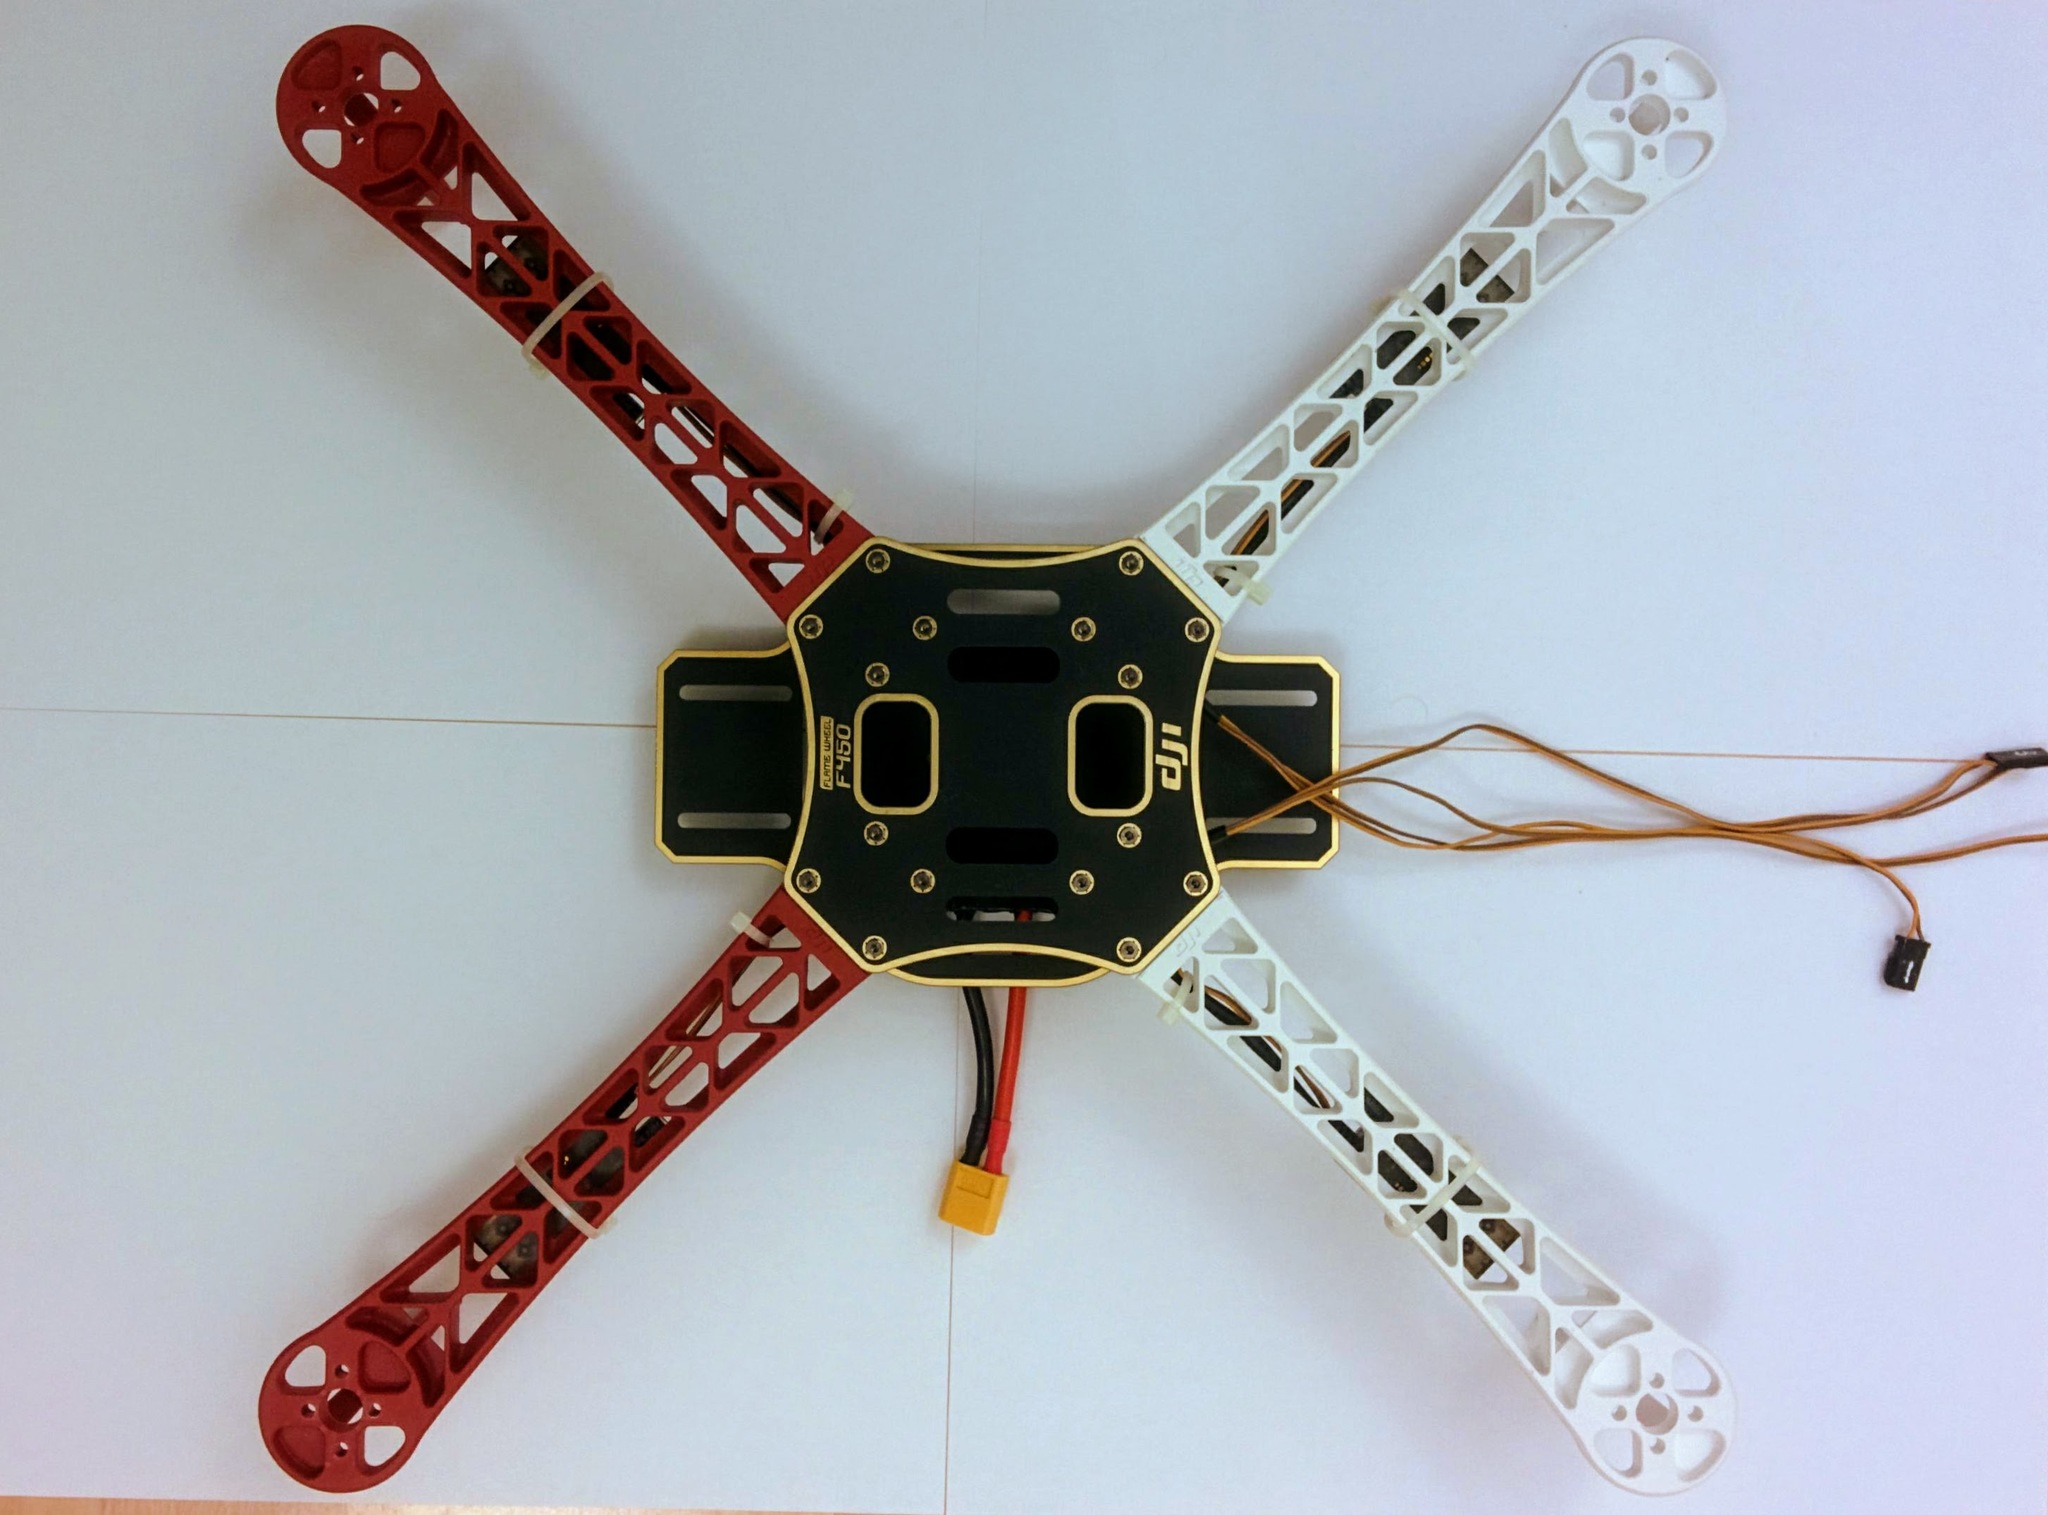
Assembly
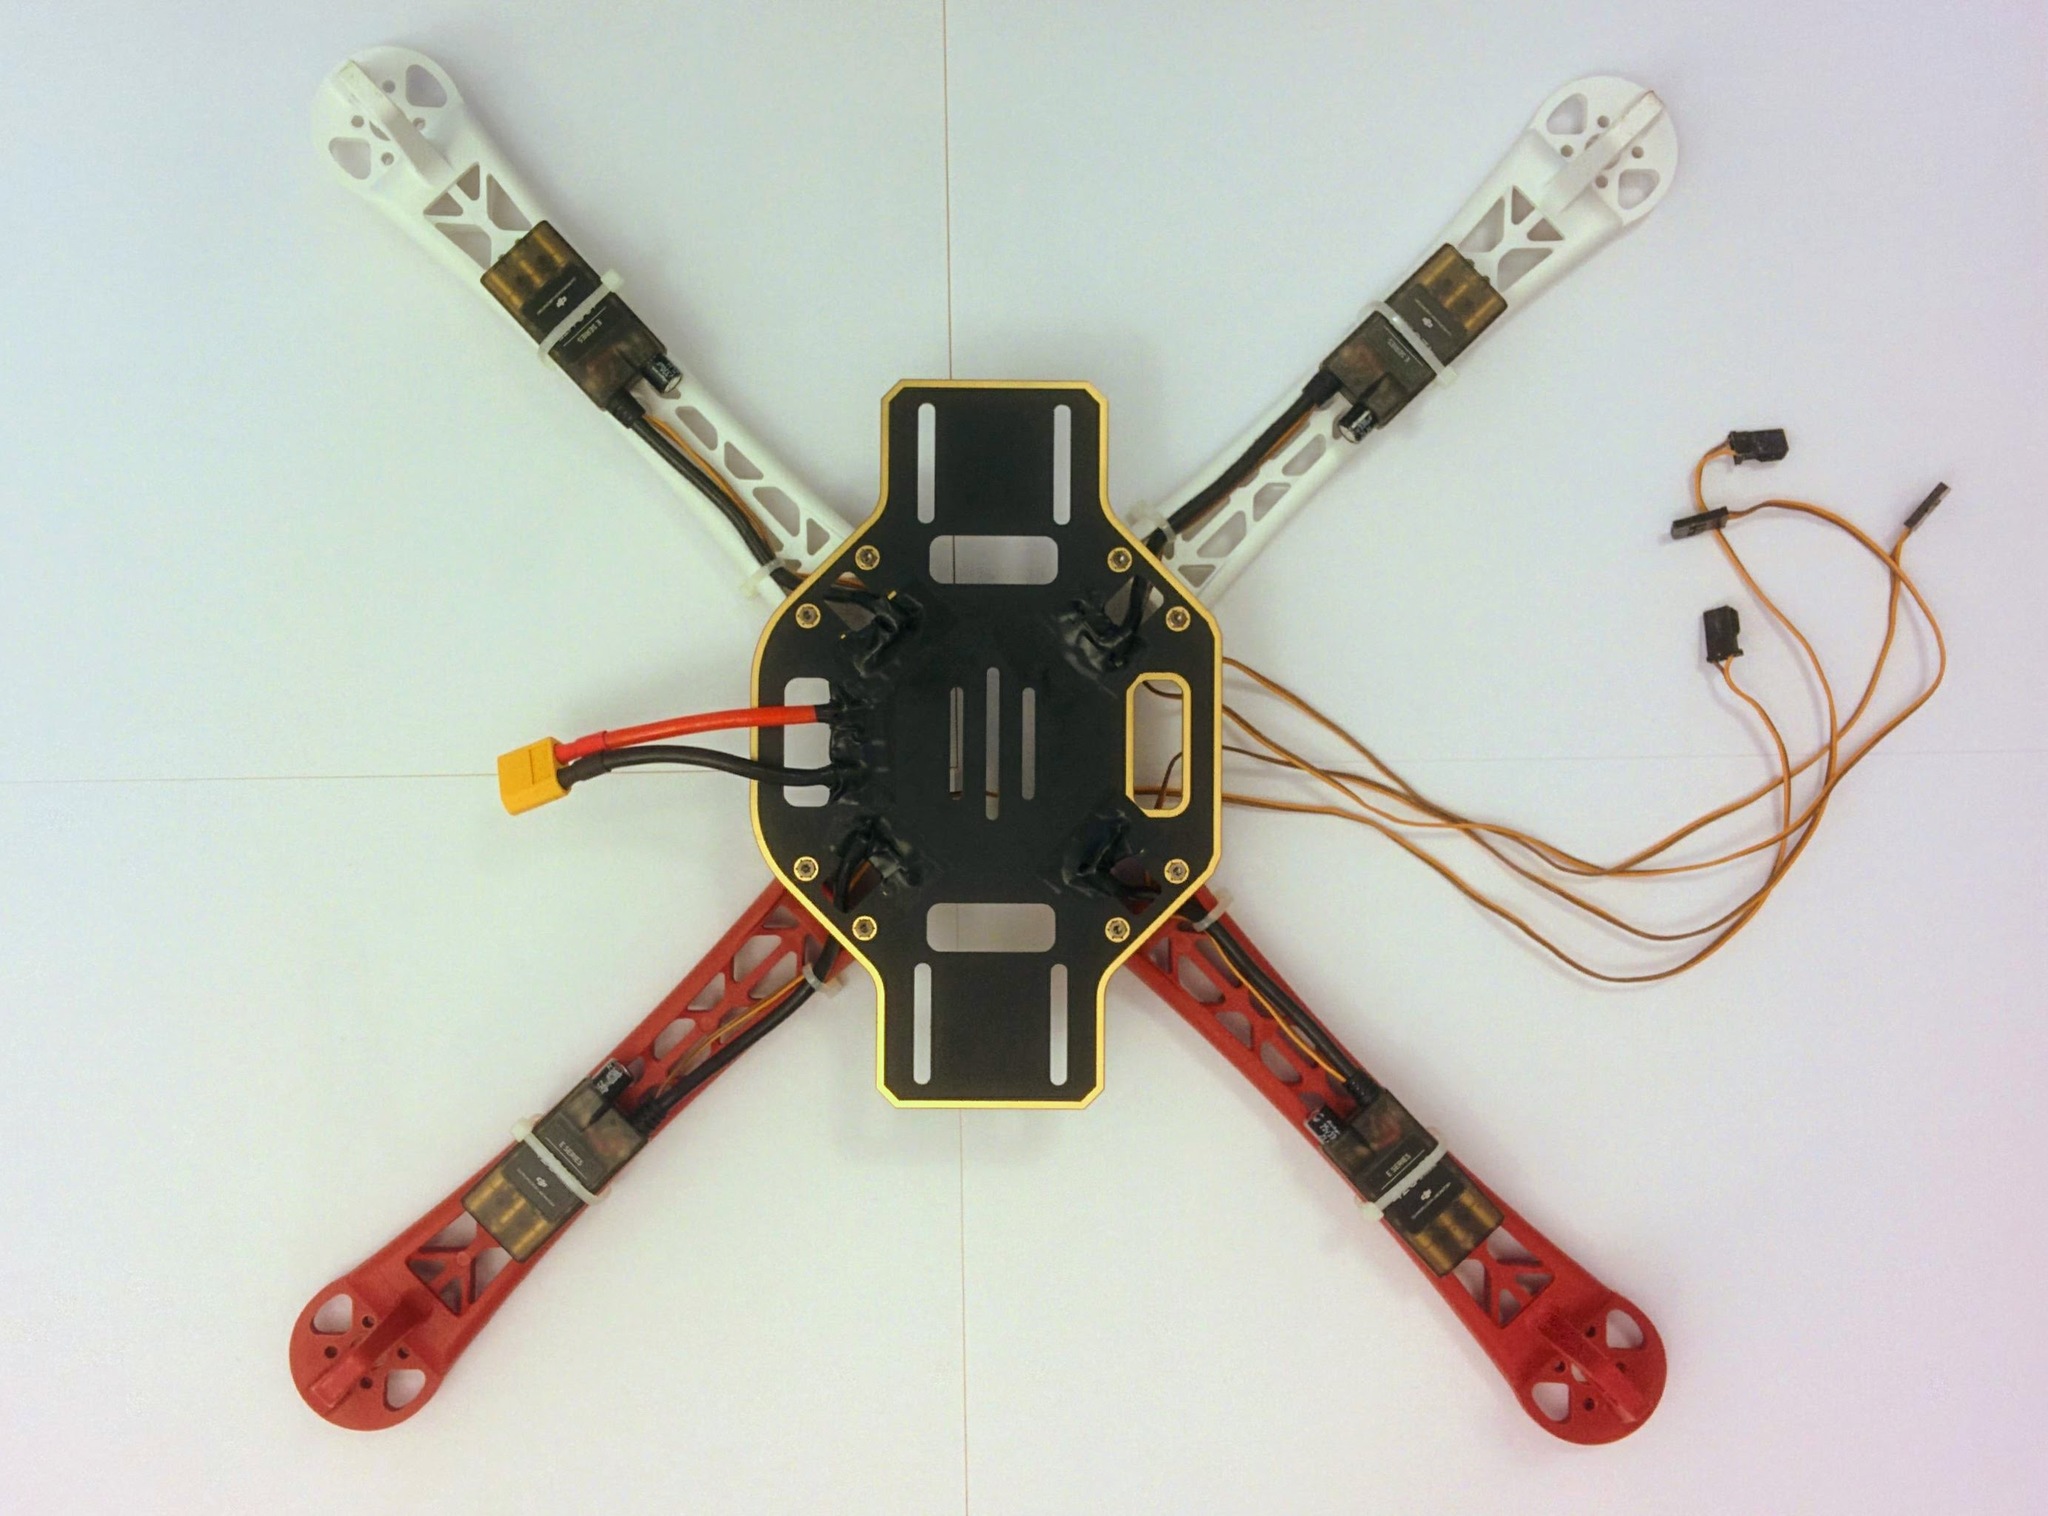
Arms added and ESCs cabled tied in place.
Front wires fed thru to back.

And taped down.
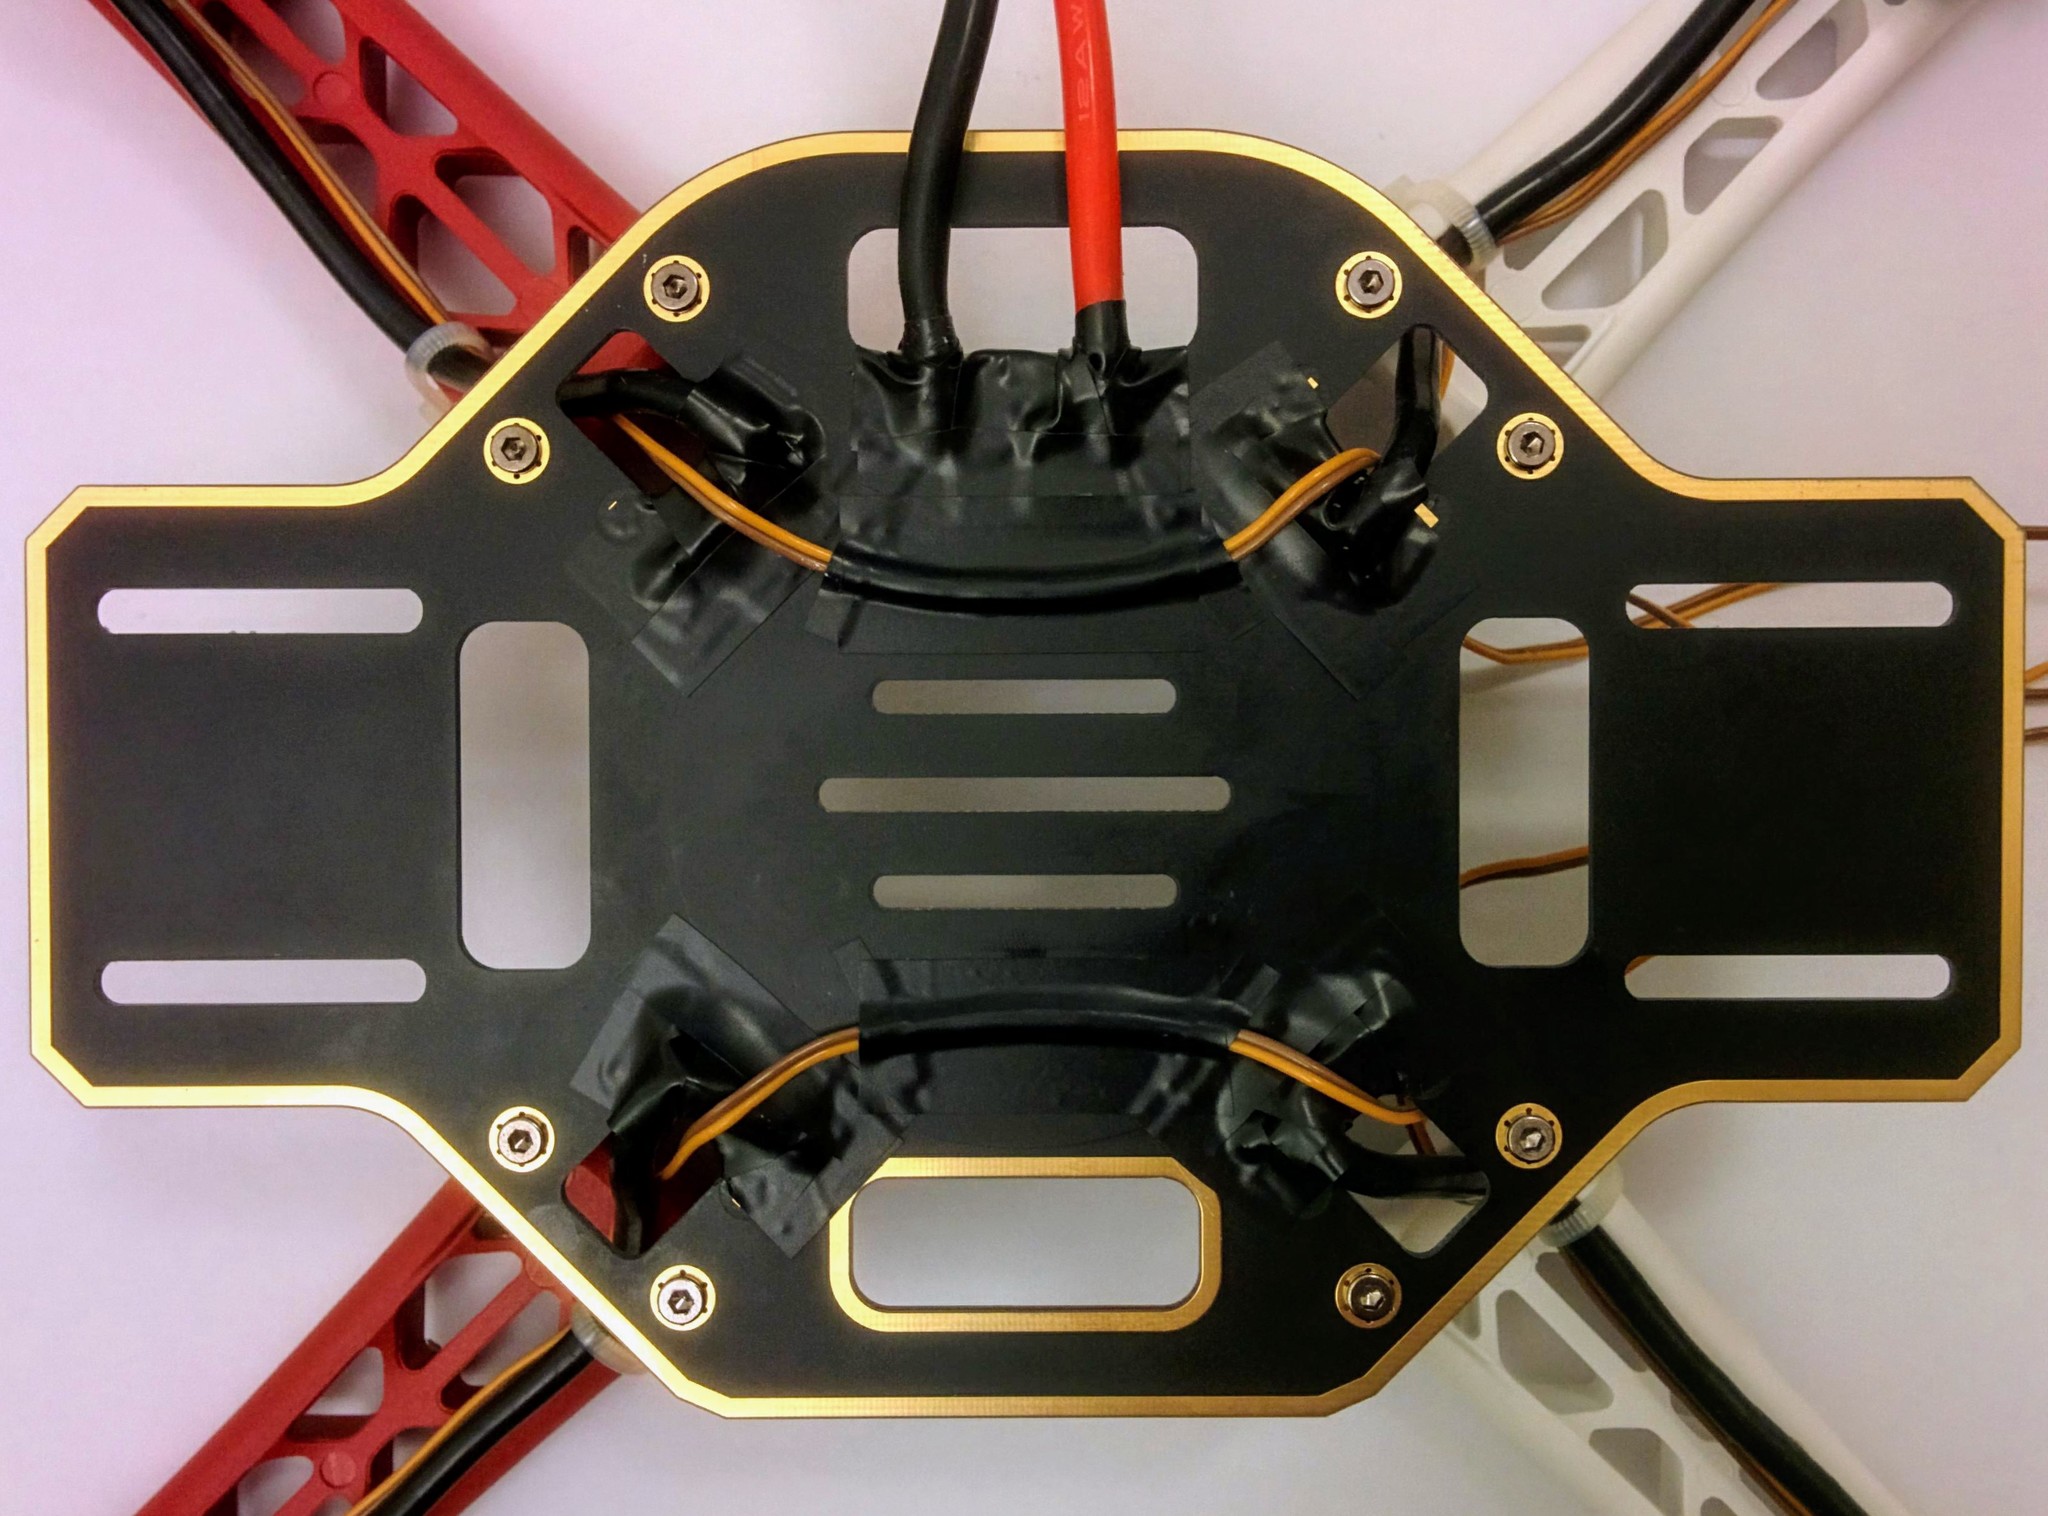
Top plate added.
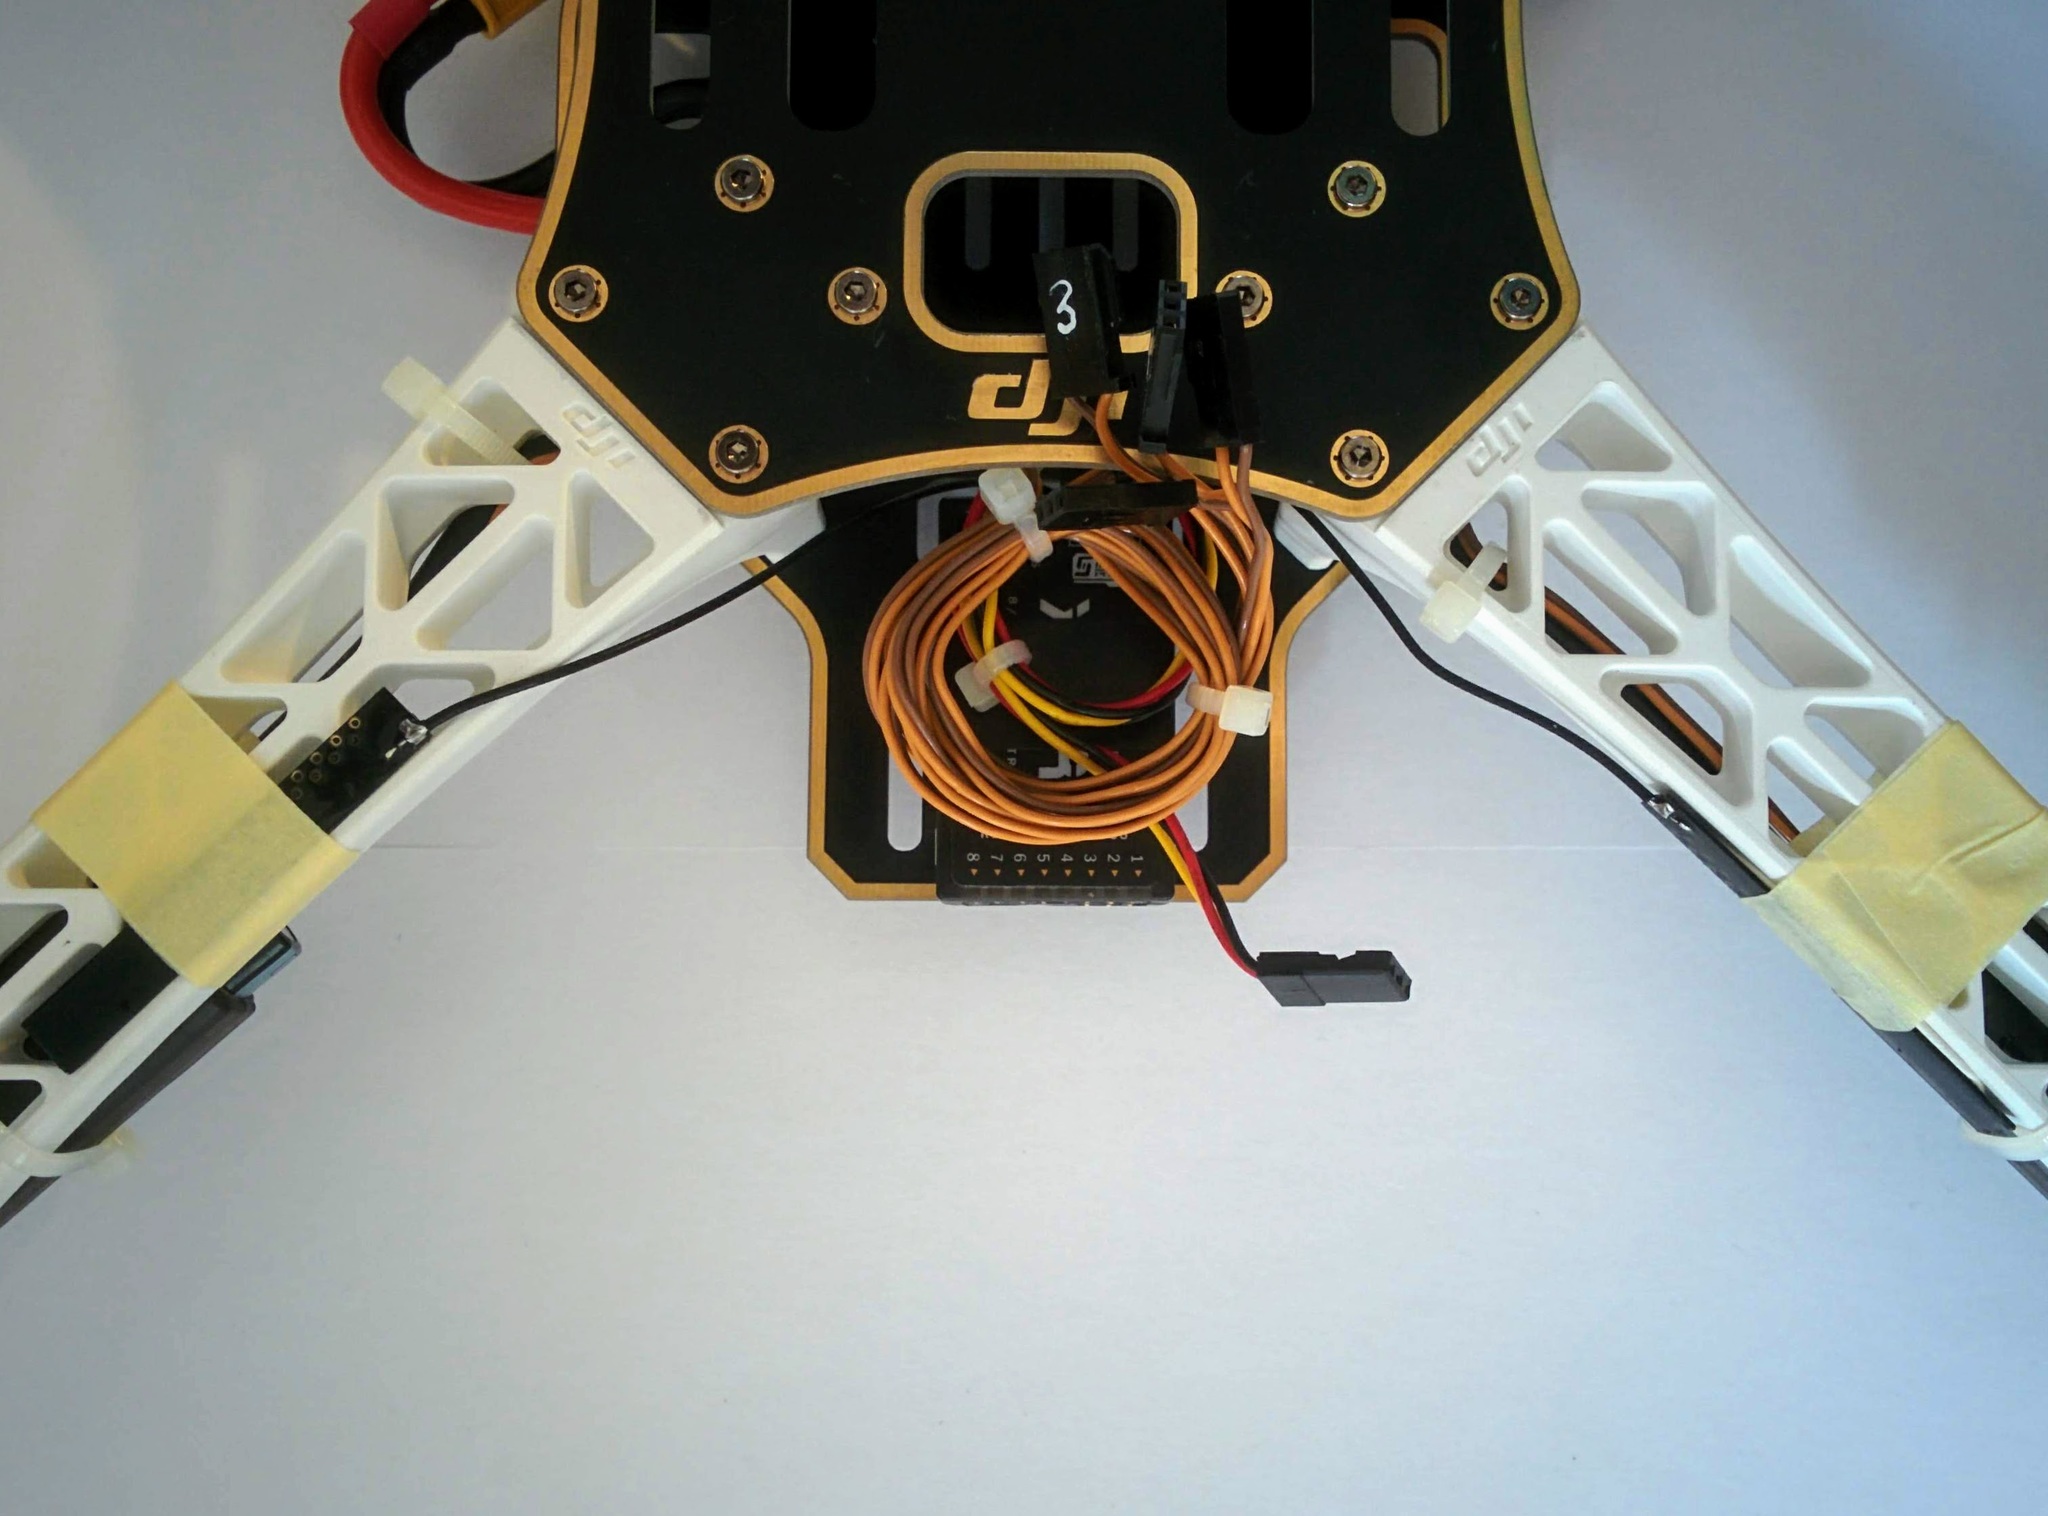
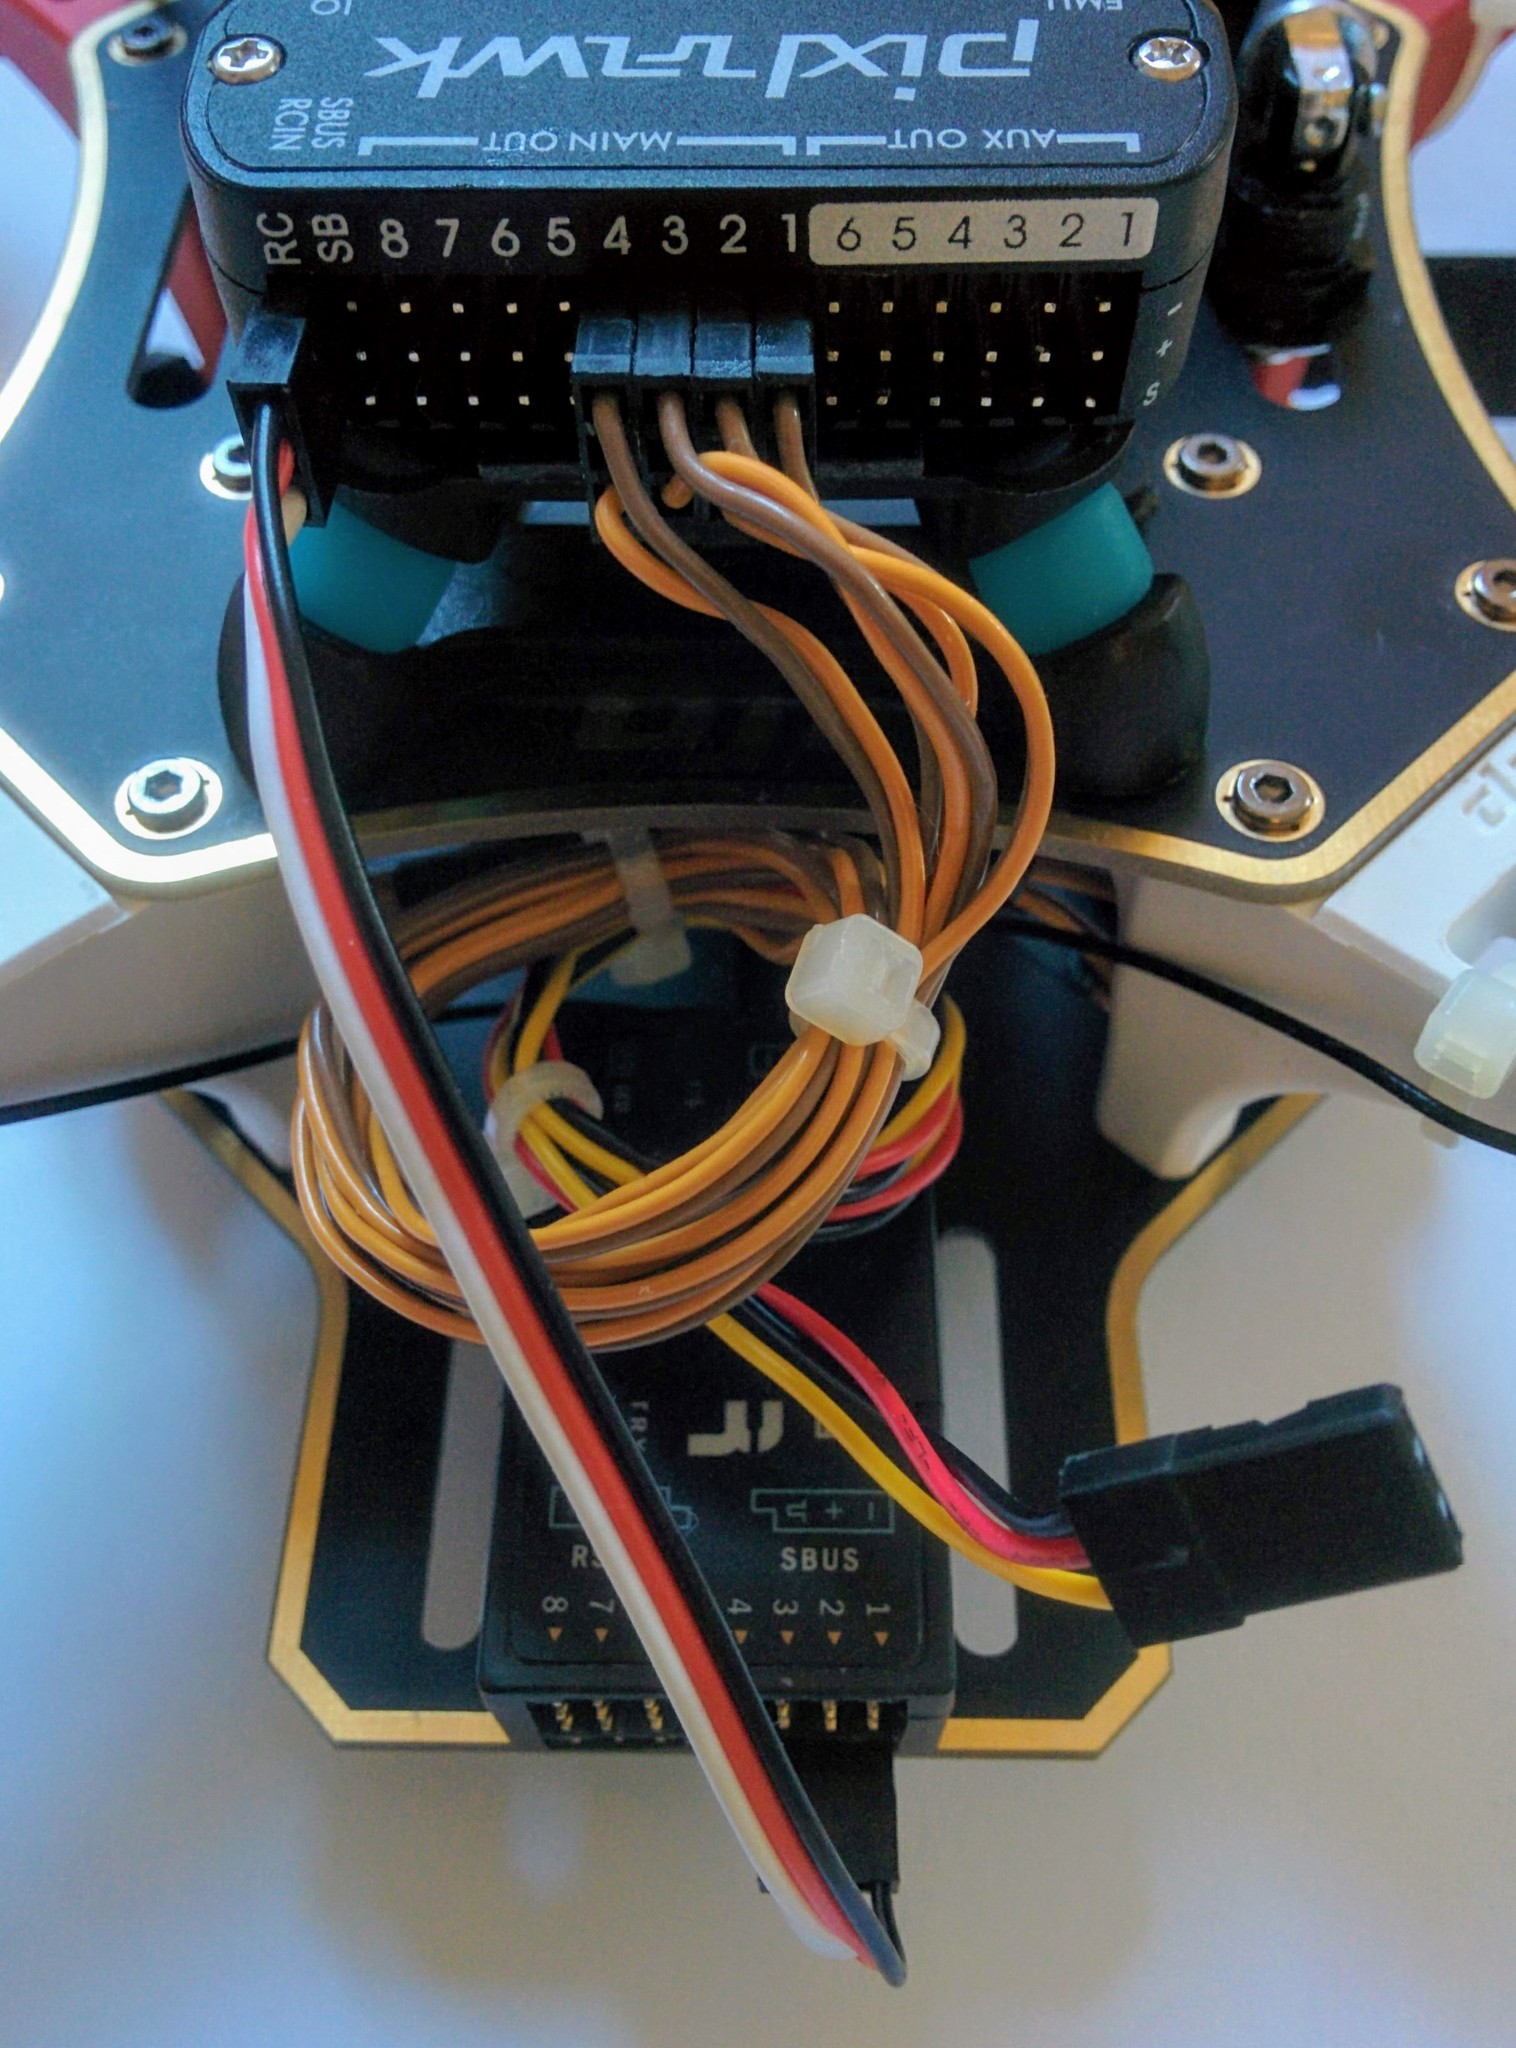
Wires wound into loop and cable tied (note they've already been numbered).

Plug in power module.
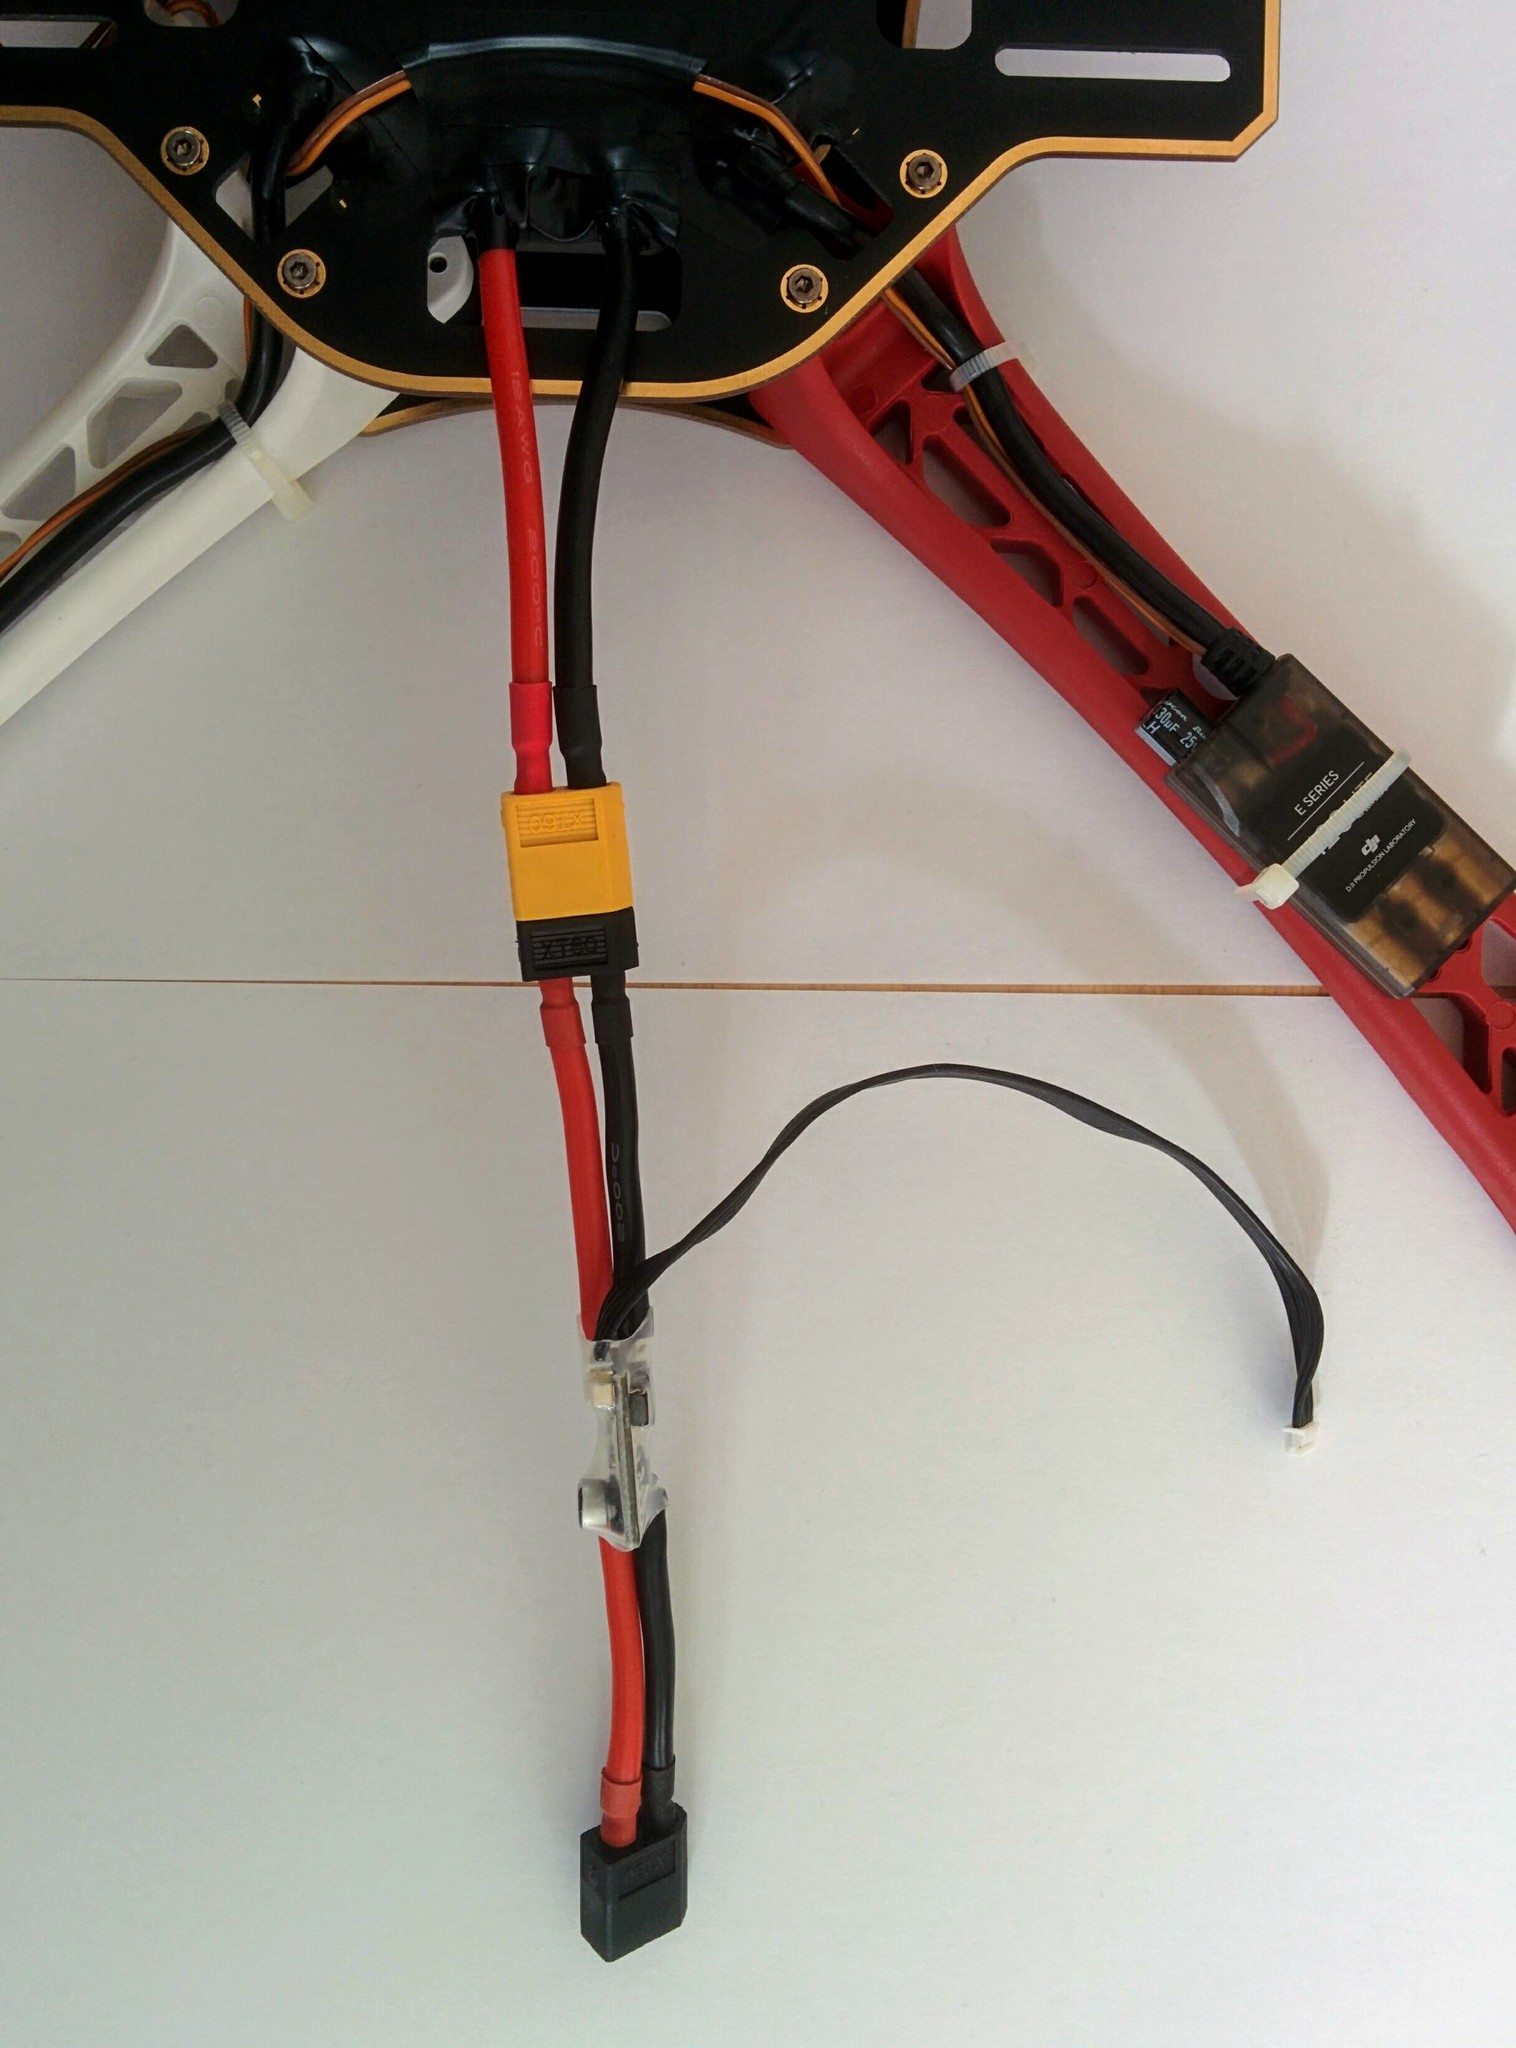
Tie it to frame with wire.
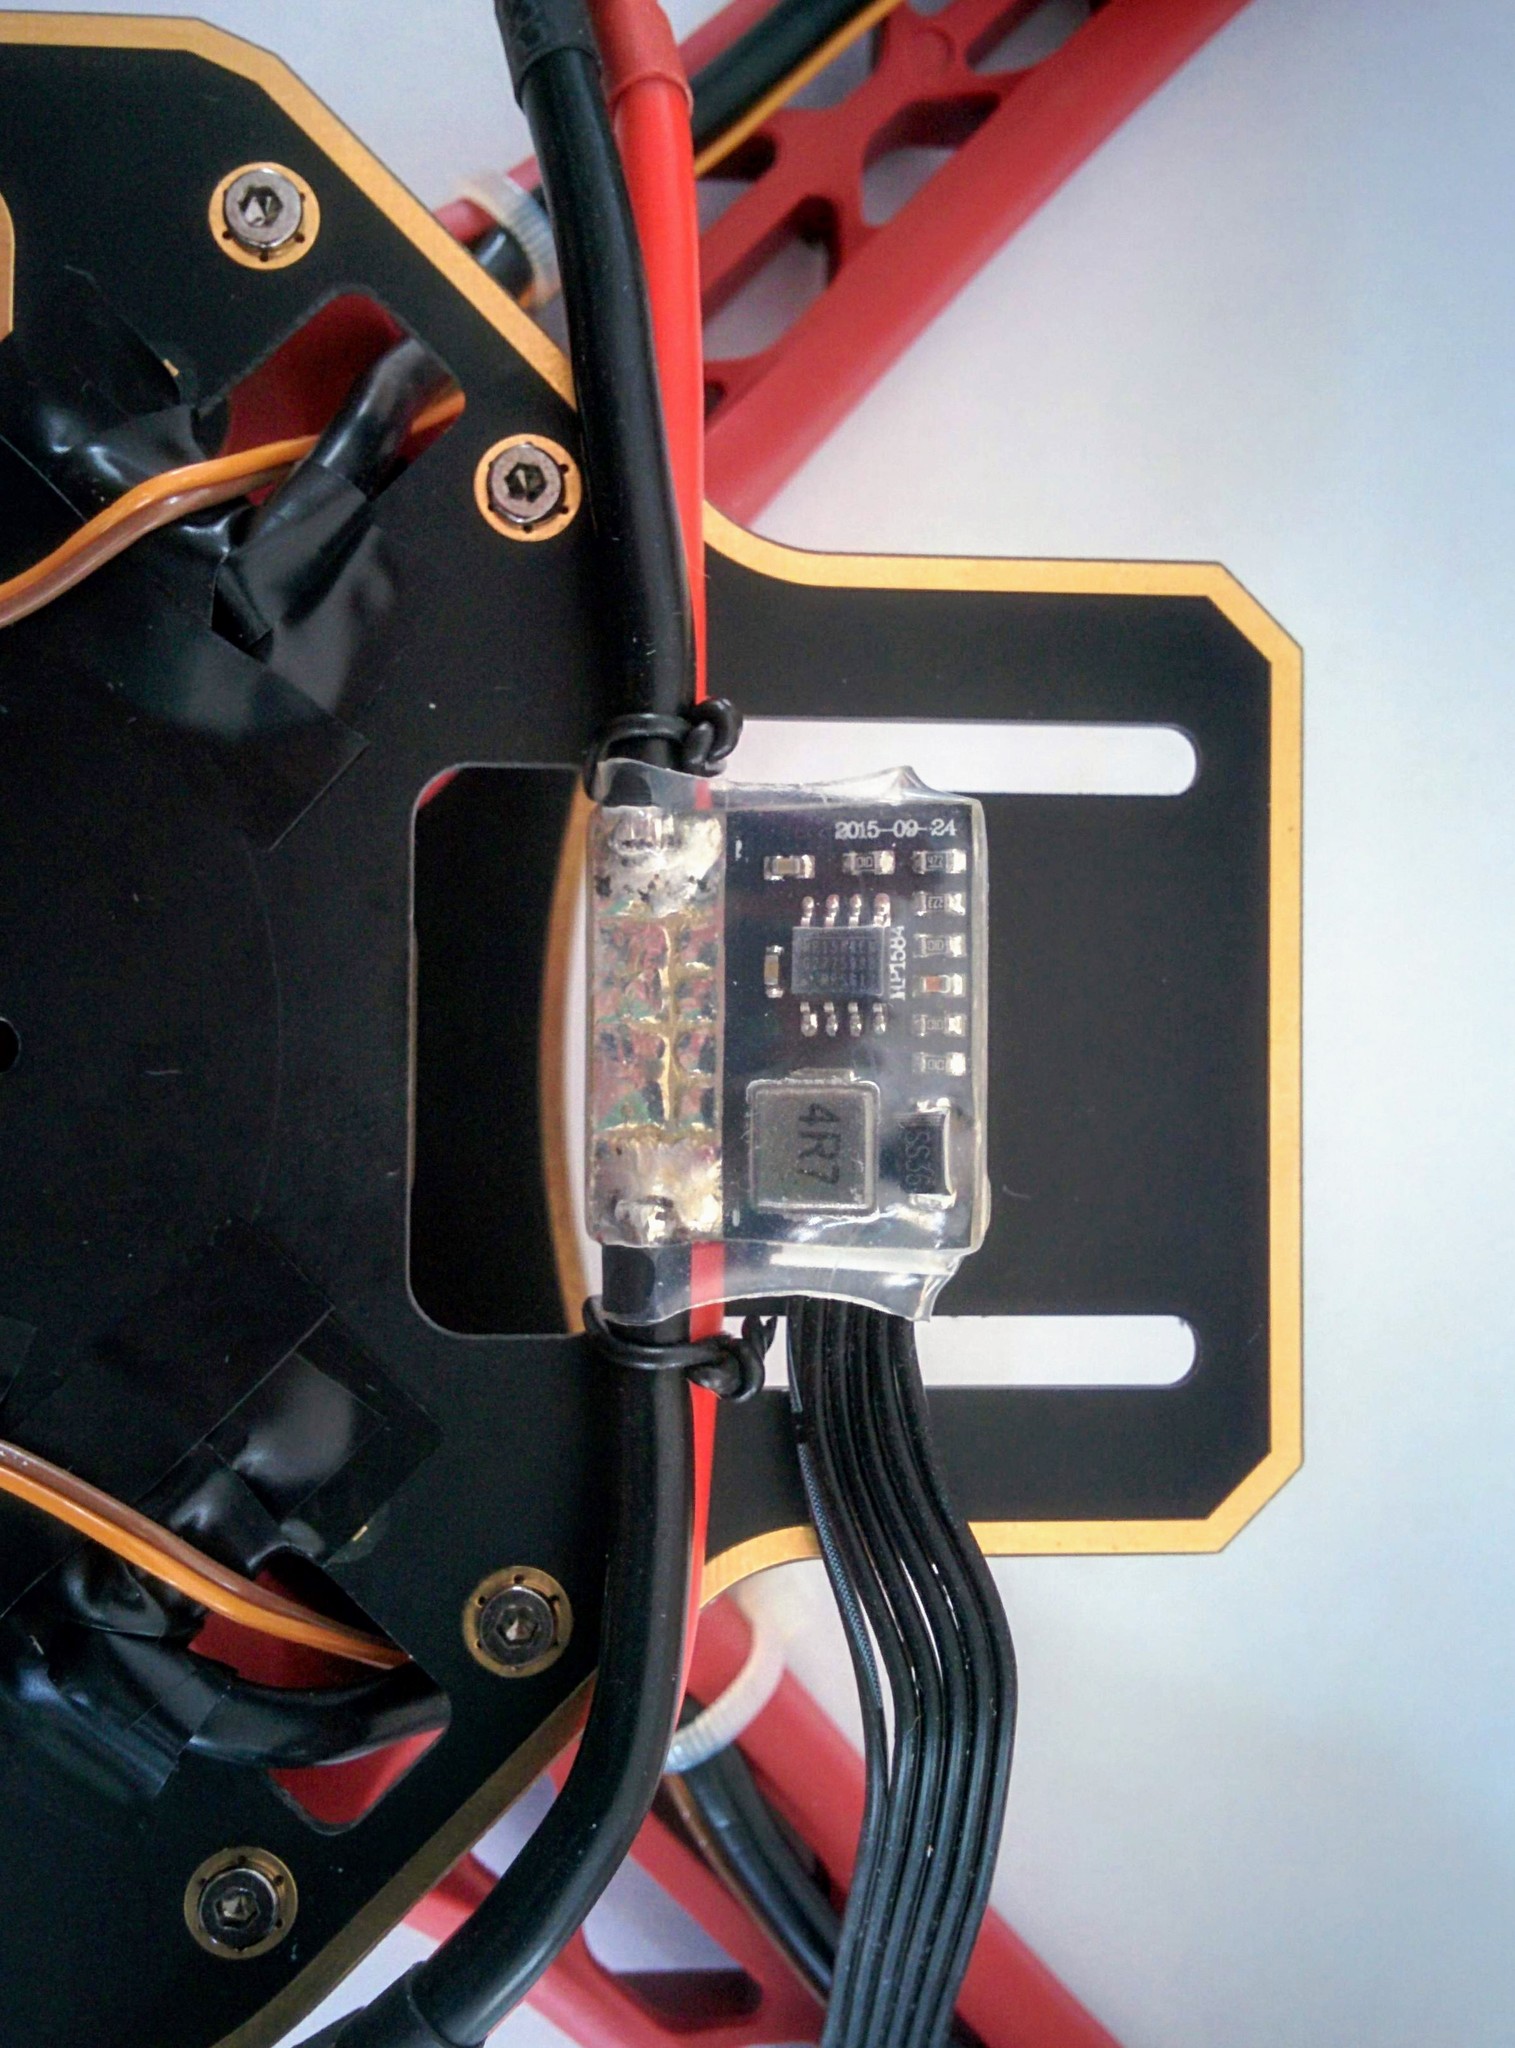
Tape it down.
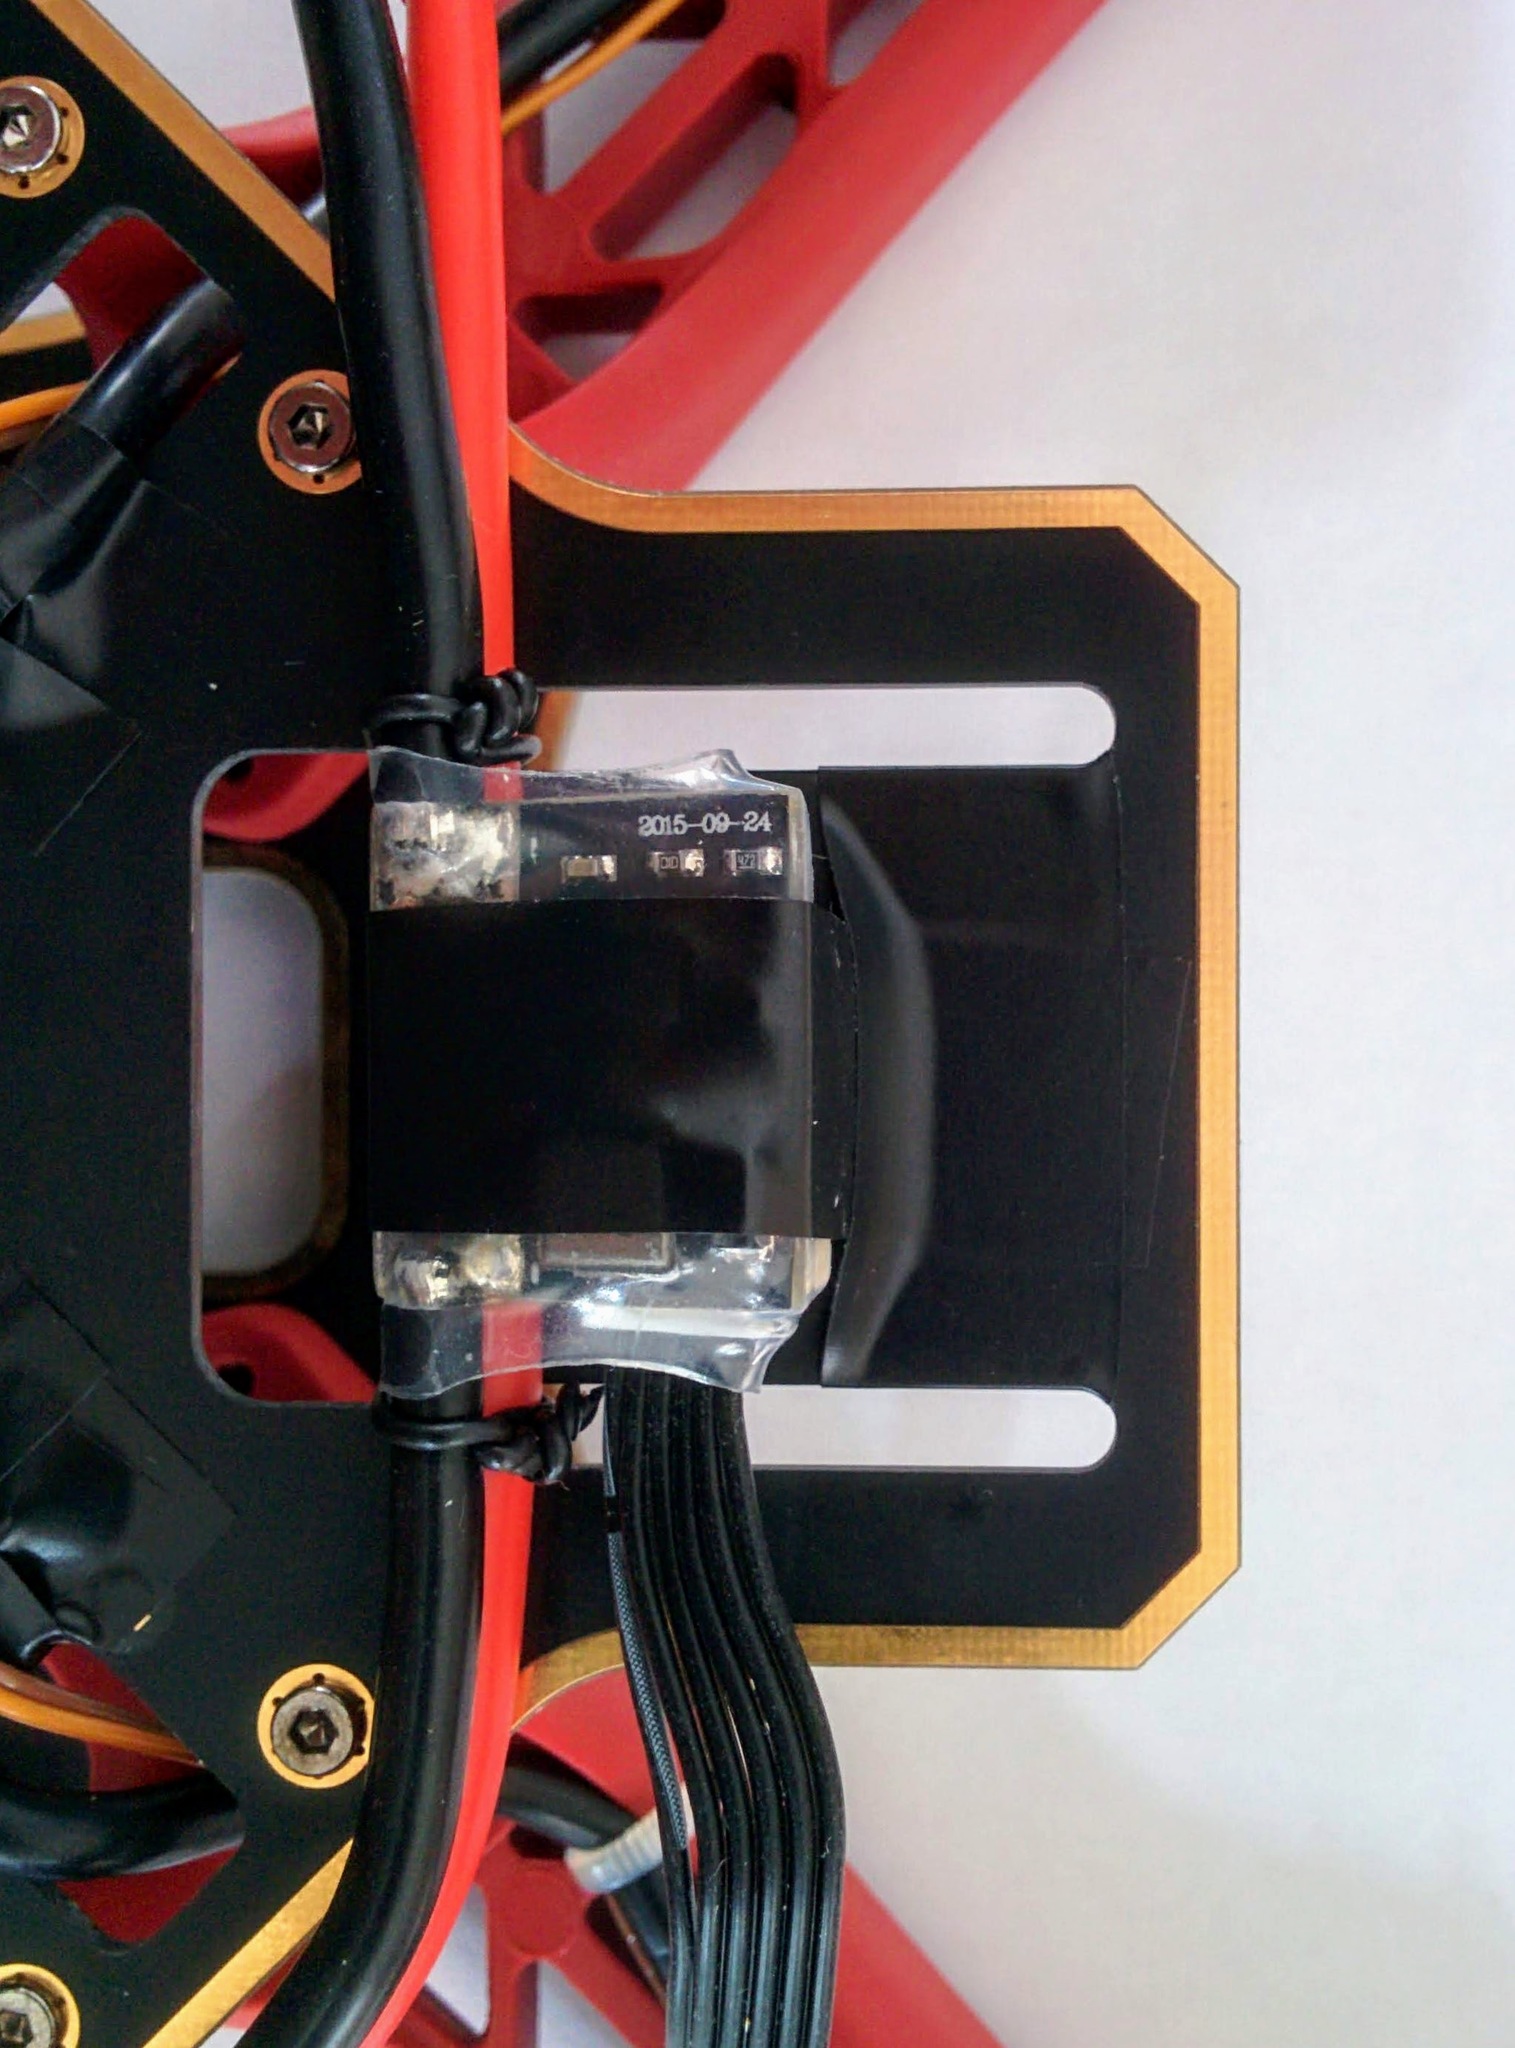
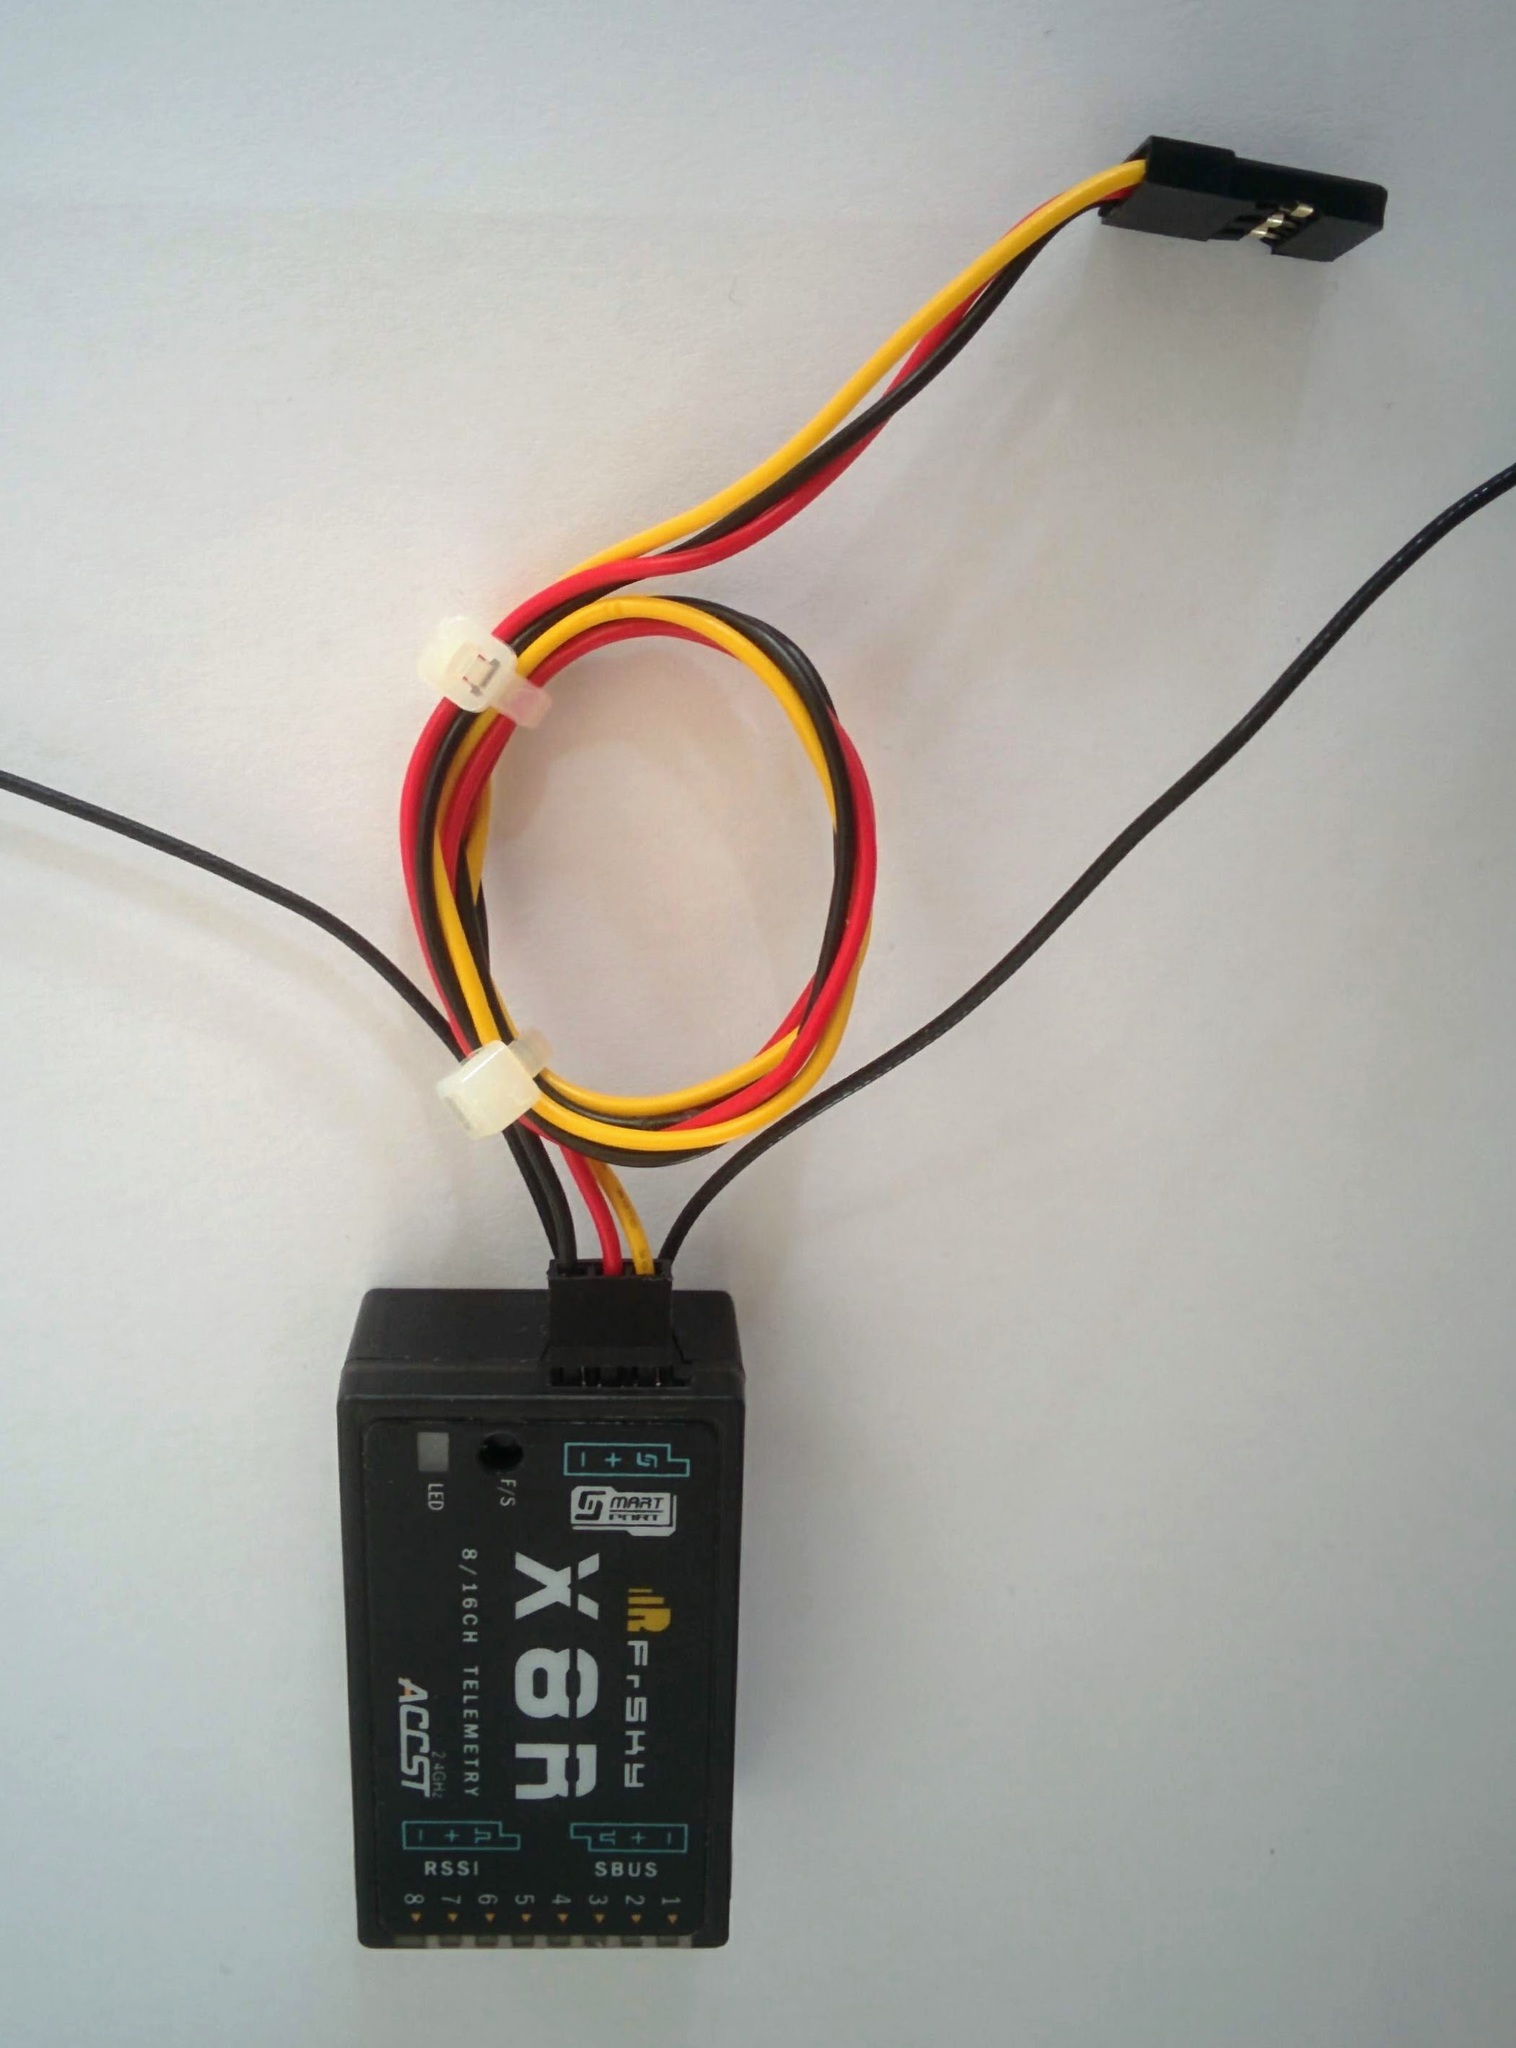
RX with voltage monitor cable plugged in.
RX taped in place.
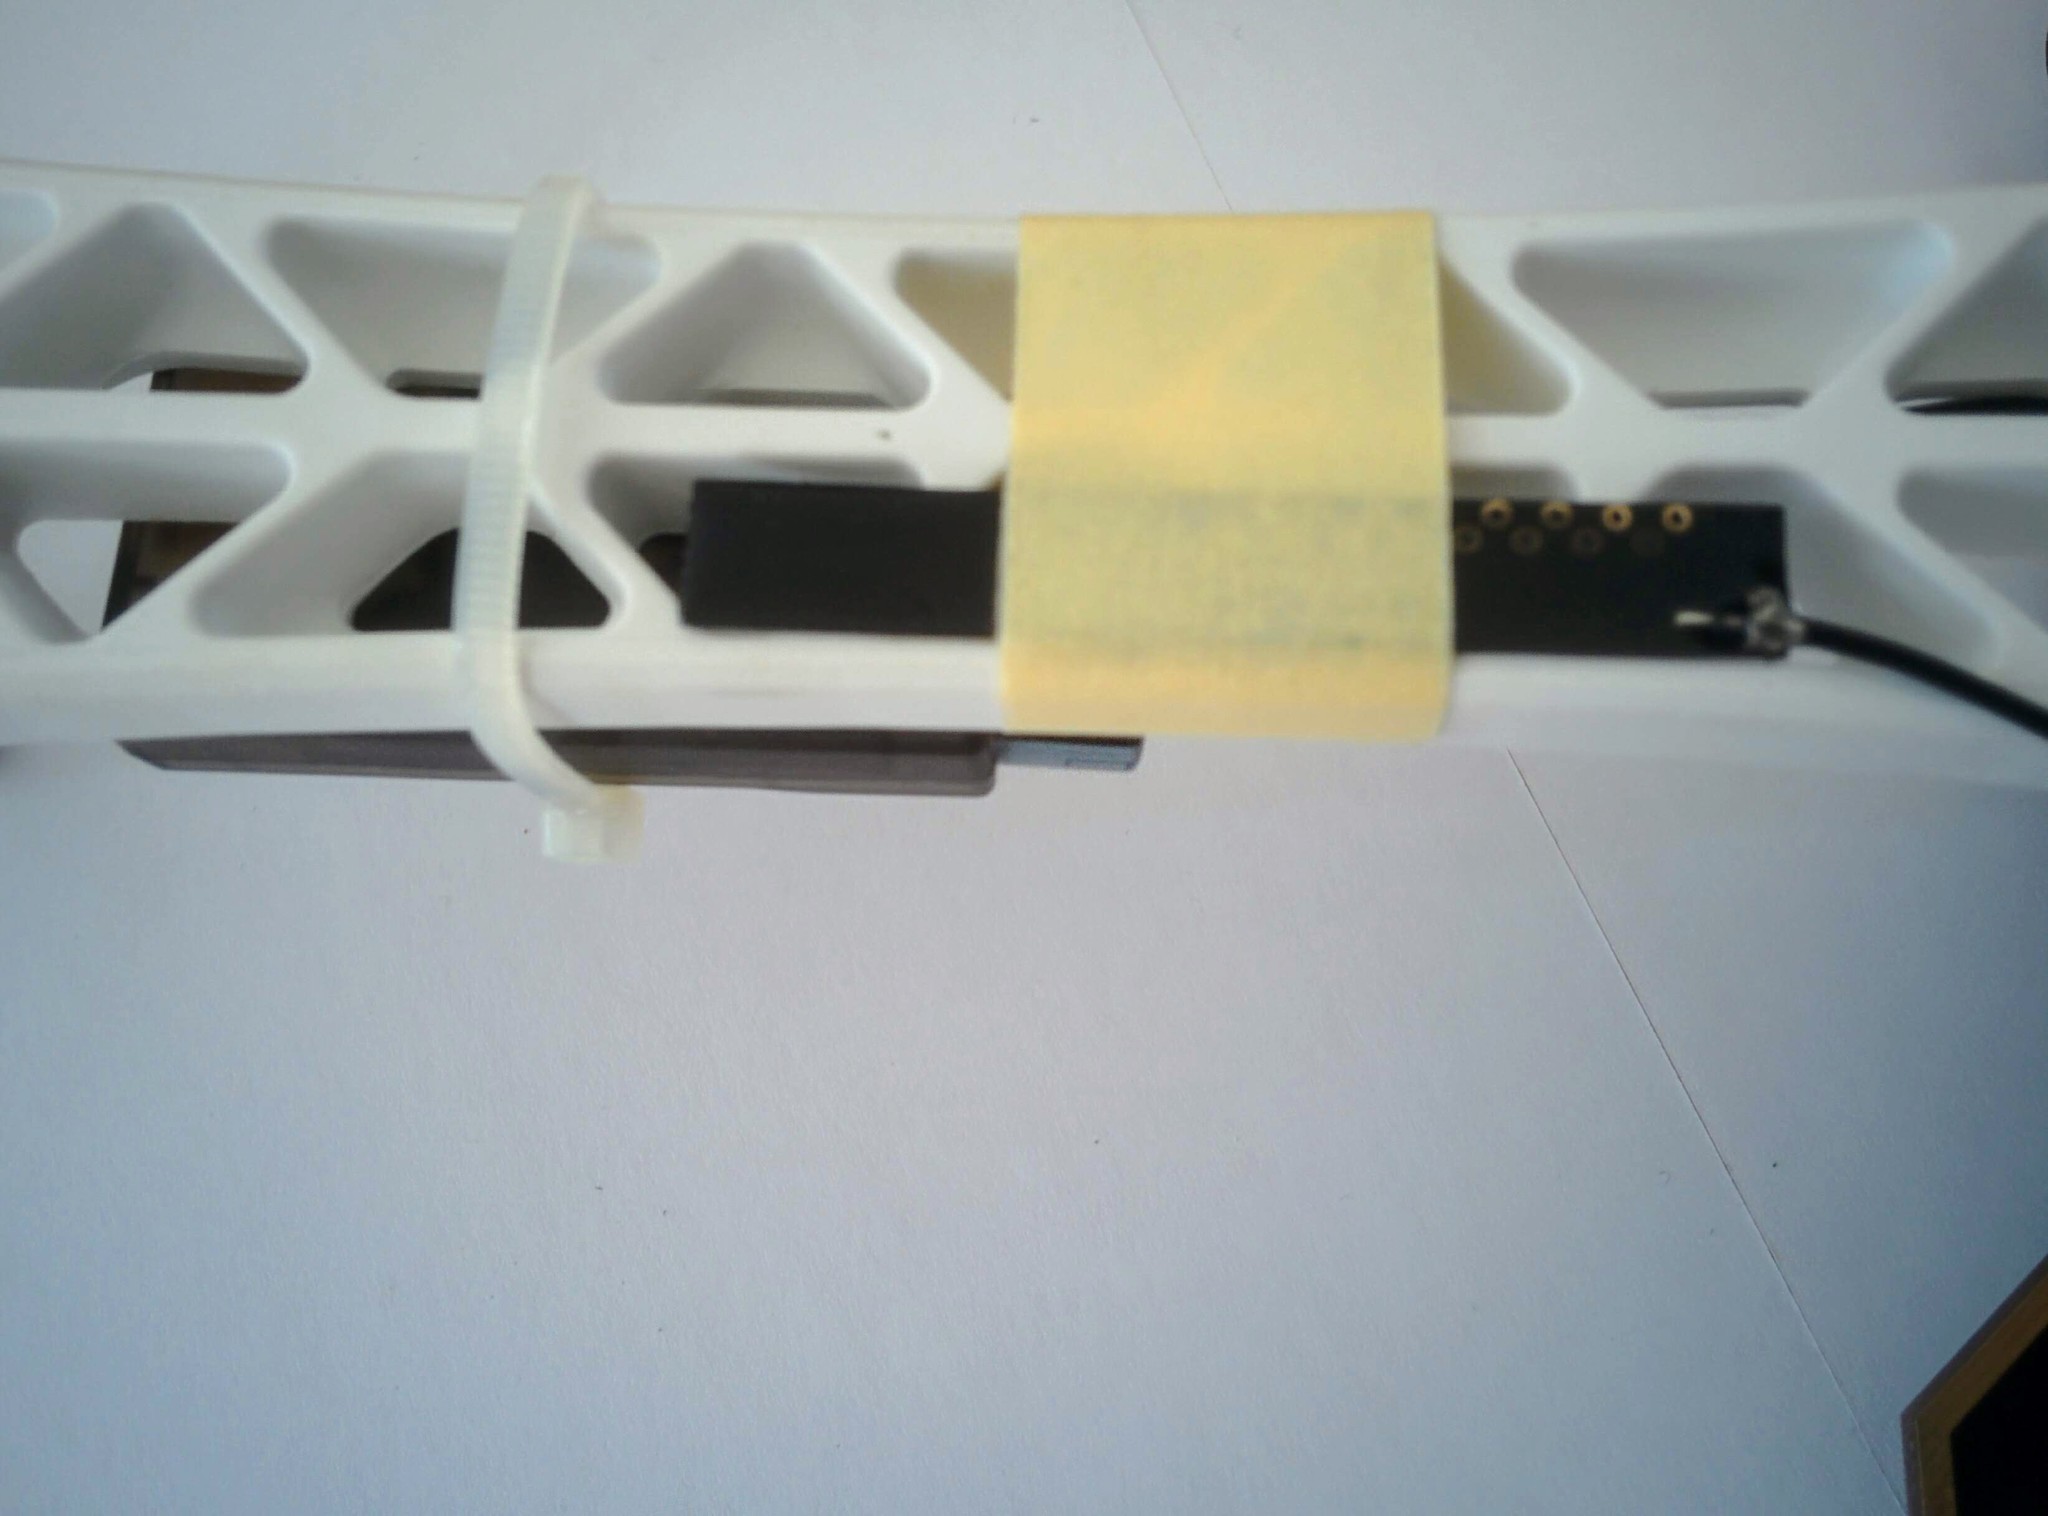
RX antennas held in place with masking tape.
One on the side of an arm.
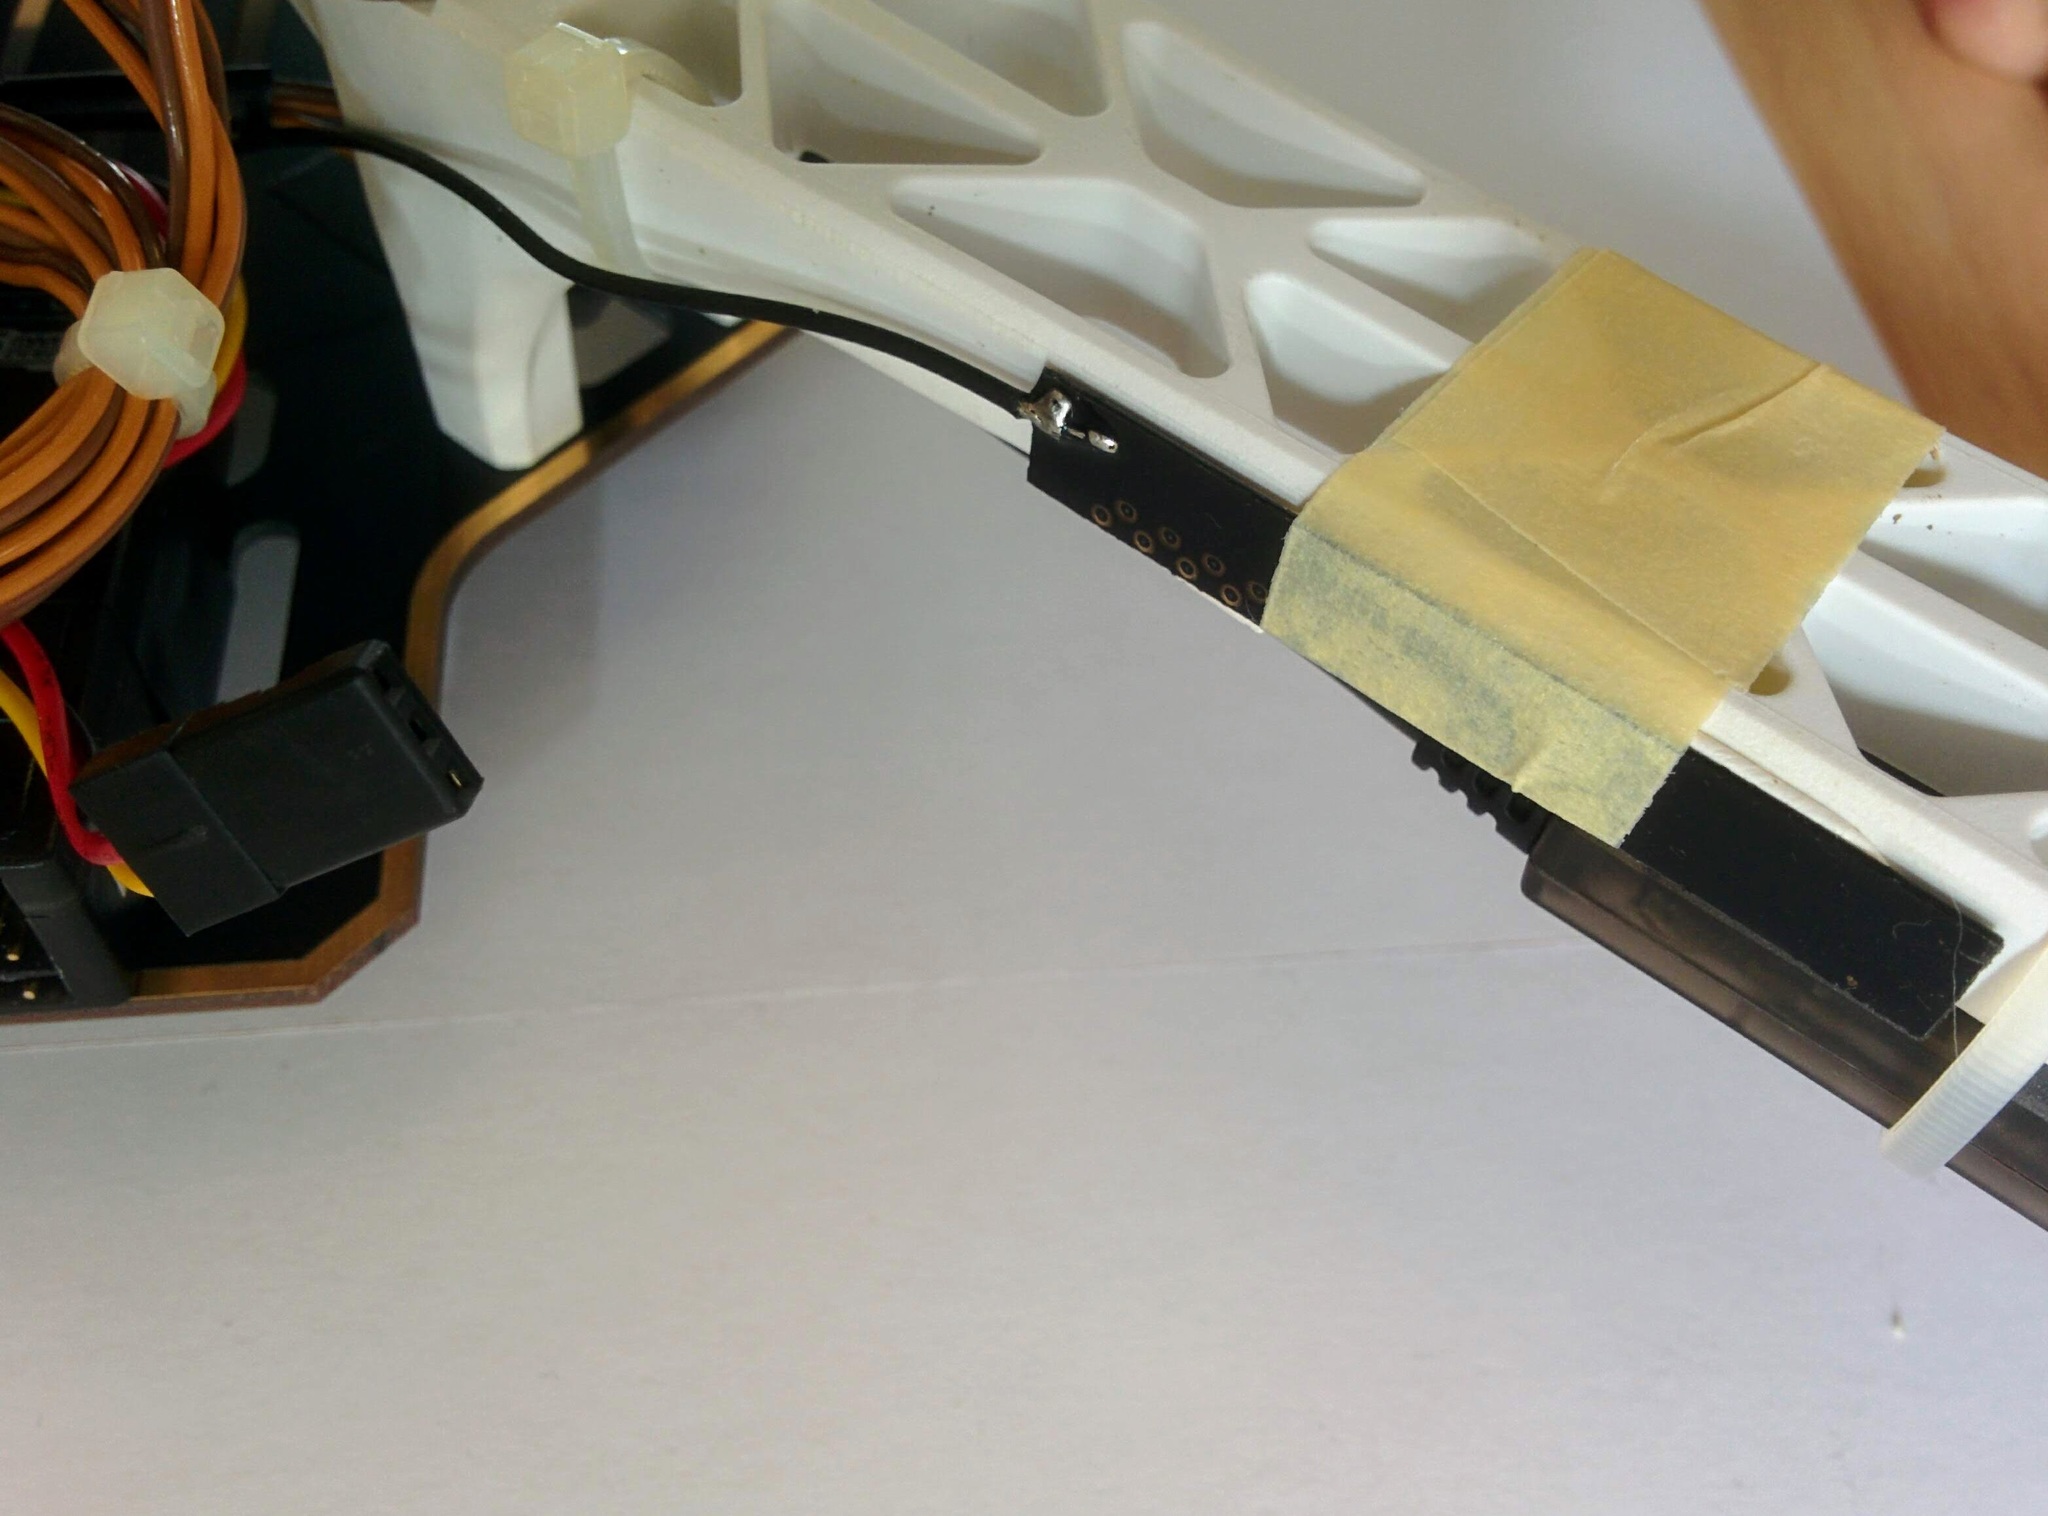
One on the top of an arm.
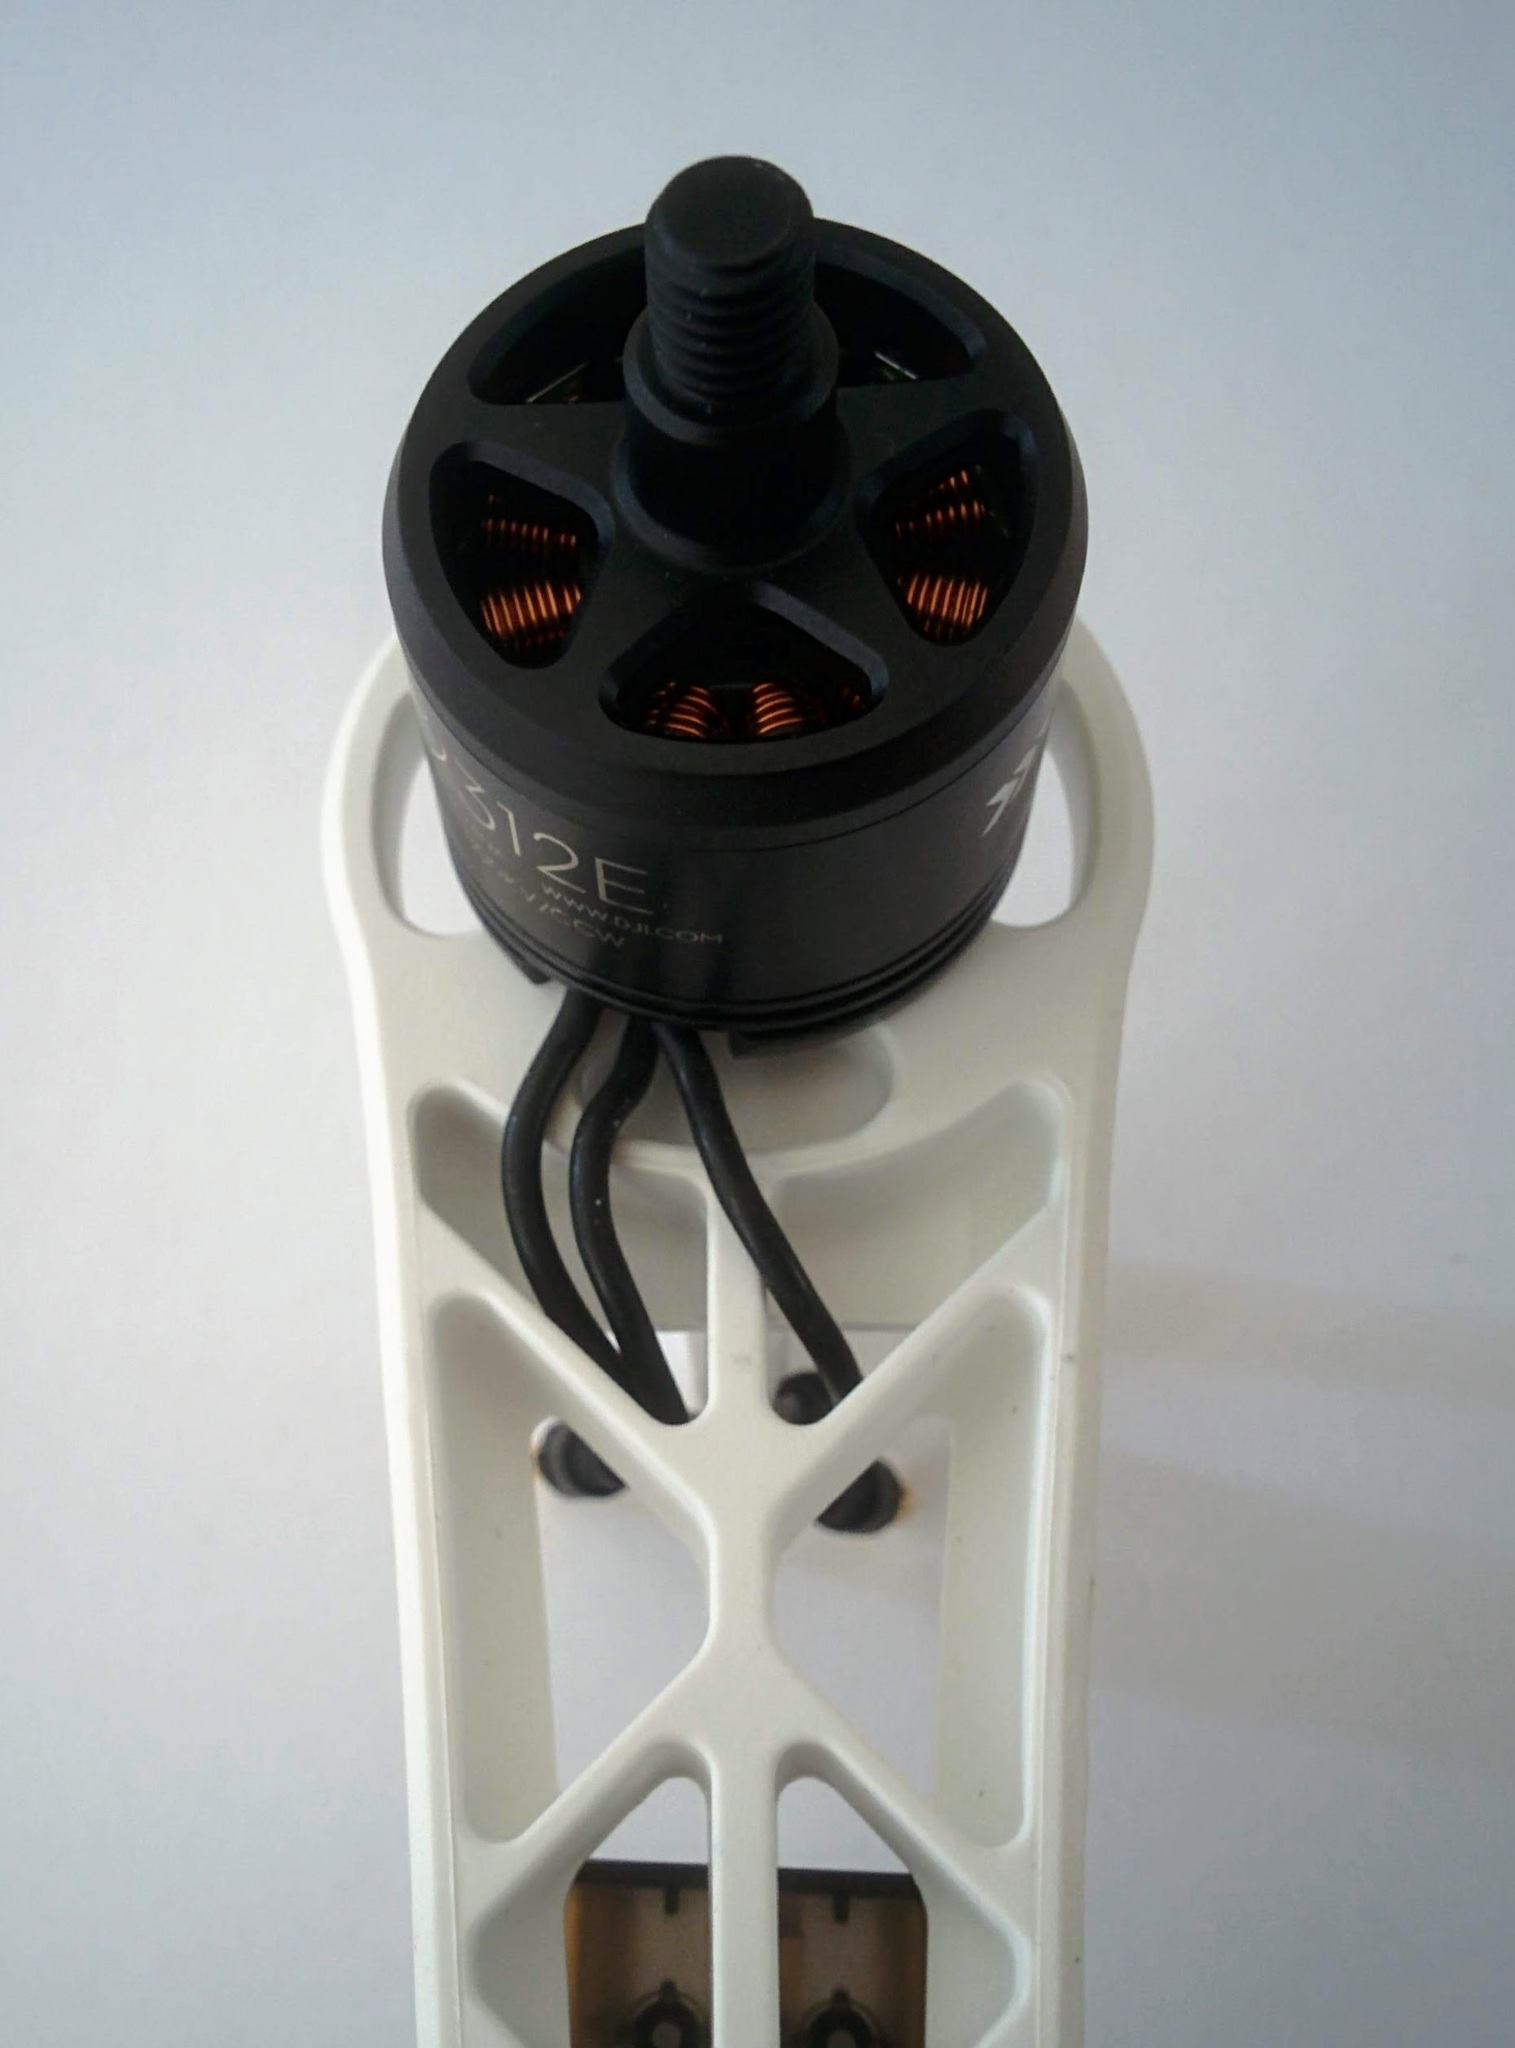
Mounted motor with wires pushed thru frame.
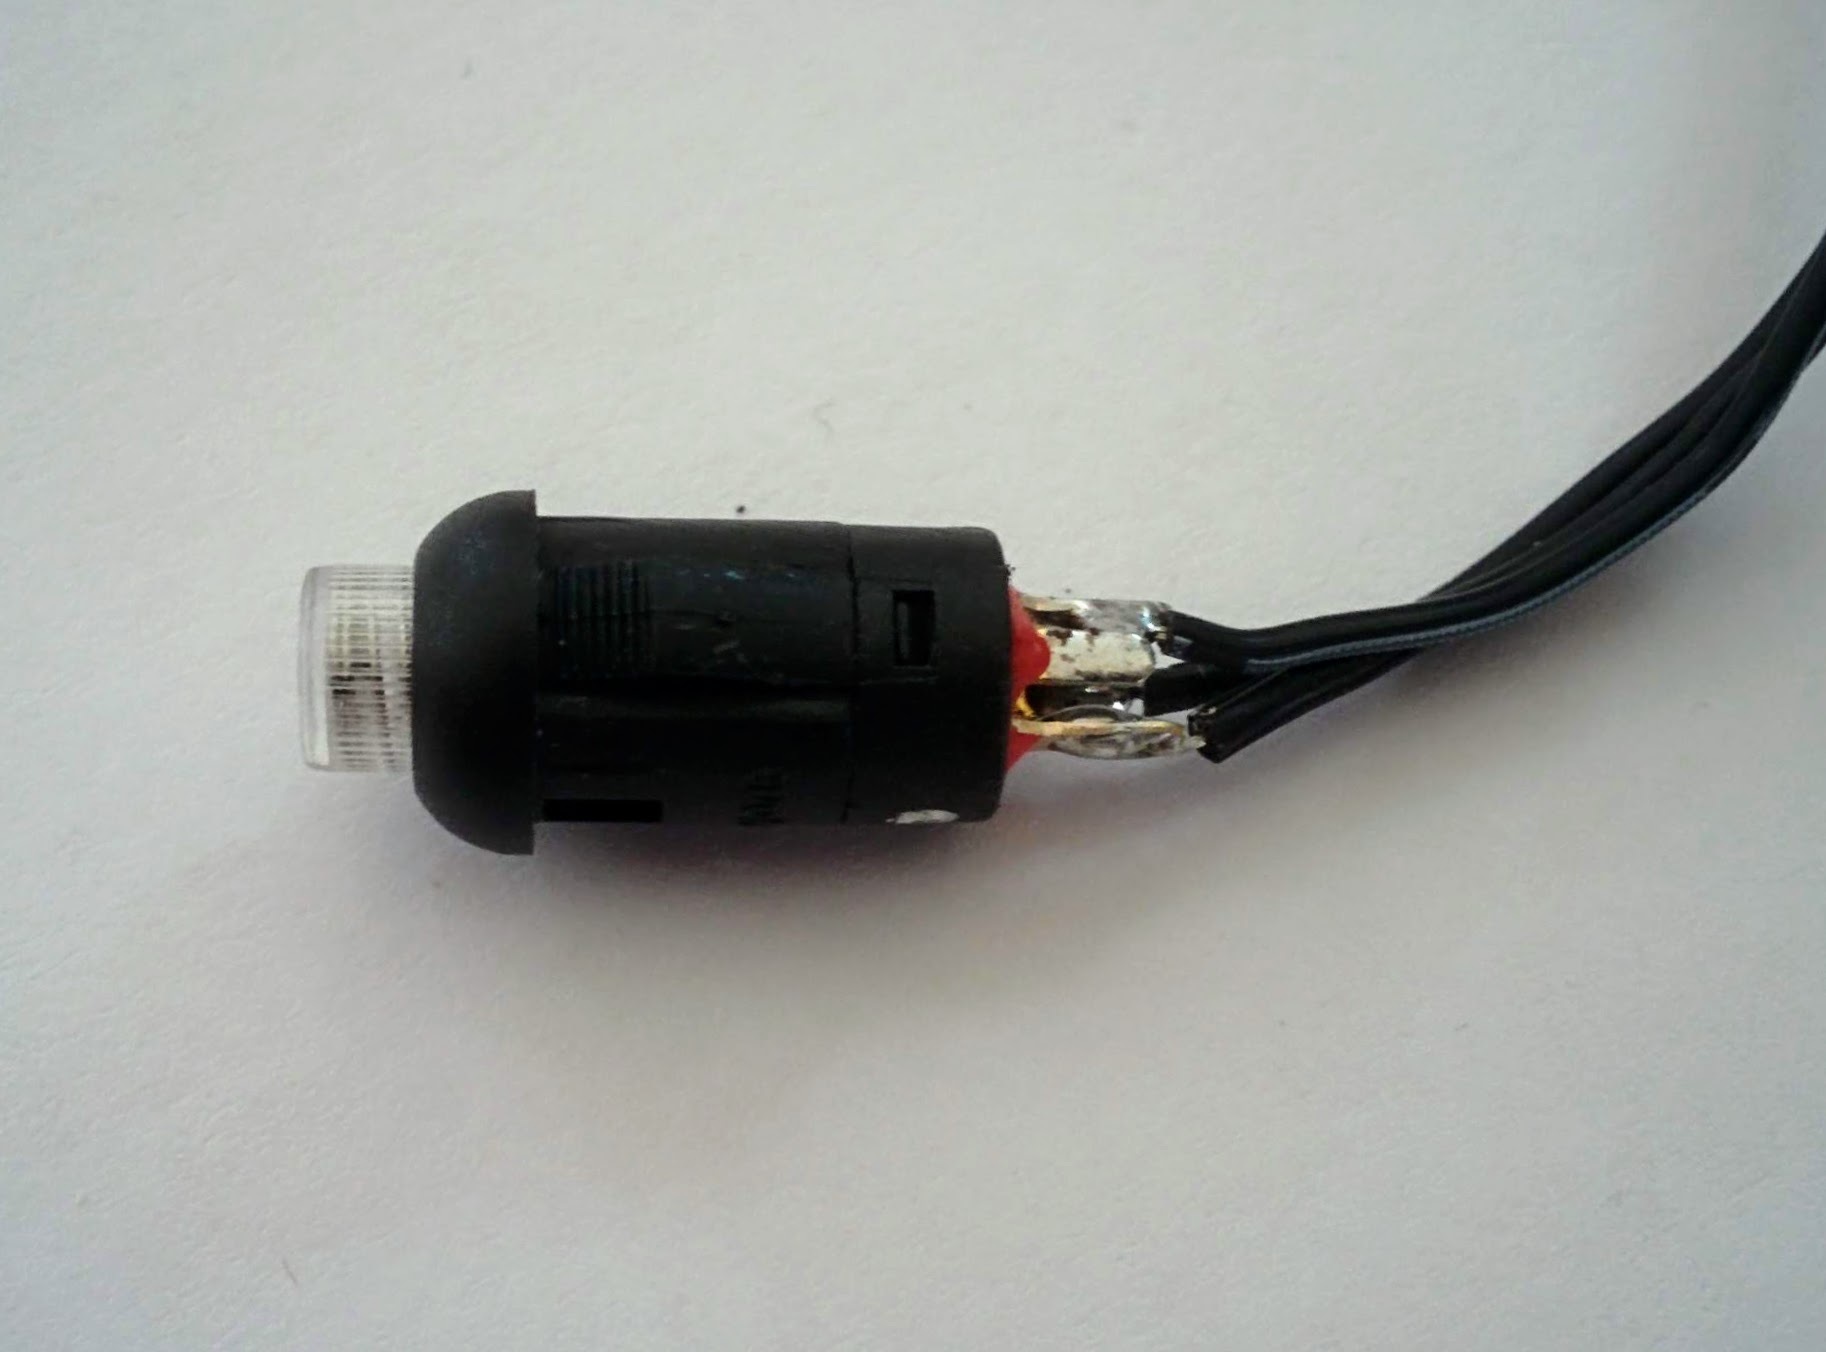
Safety switch with shrink wrap removed.
Buzzer tied in place with wire, safety switch held in place by tack.
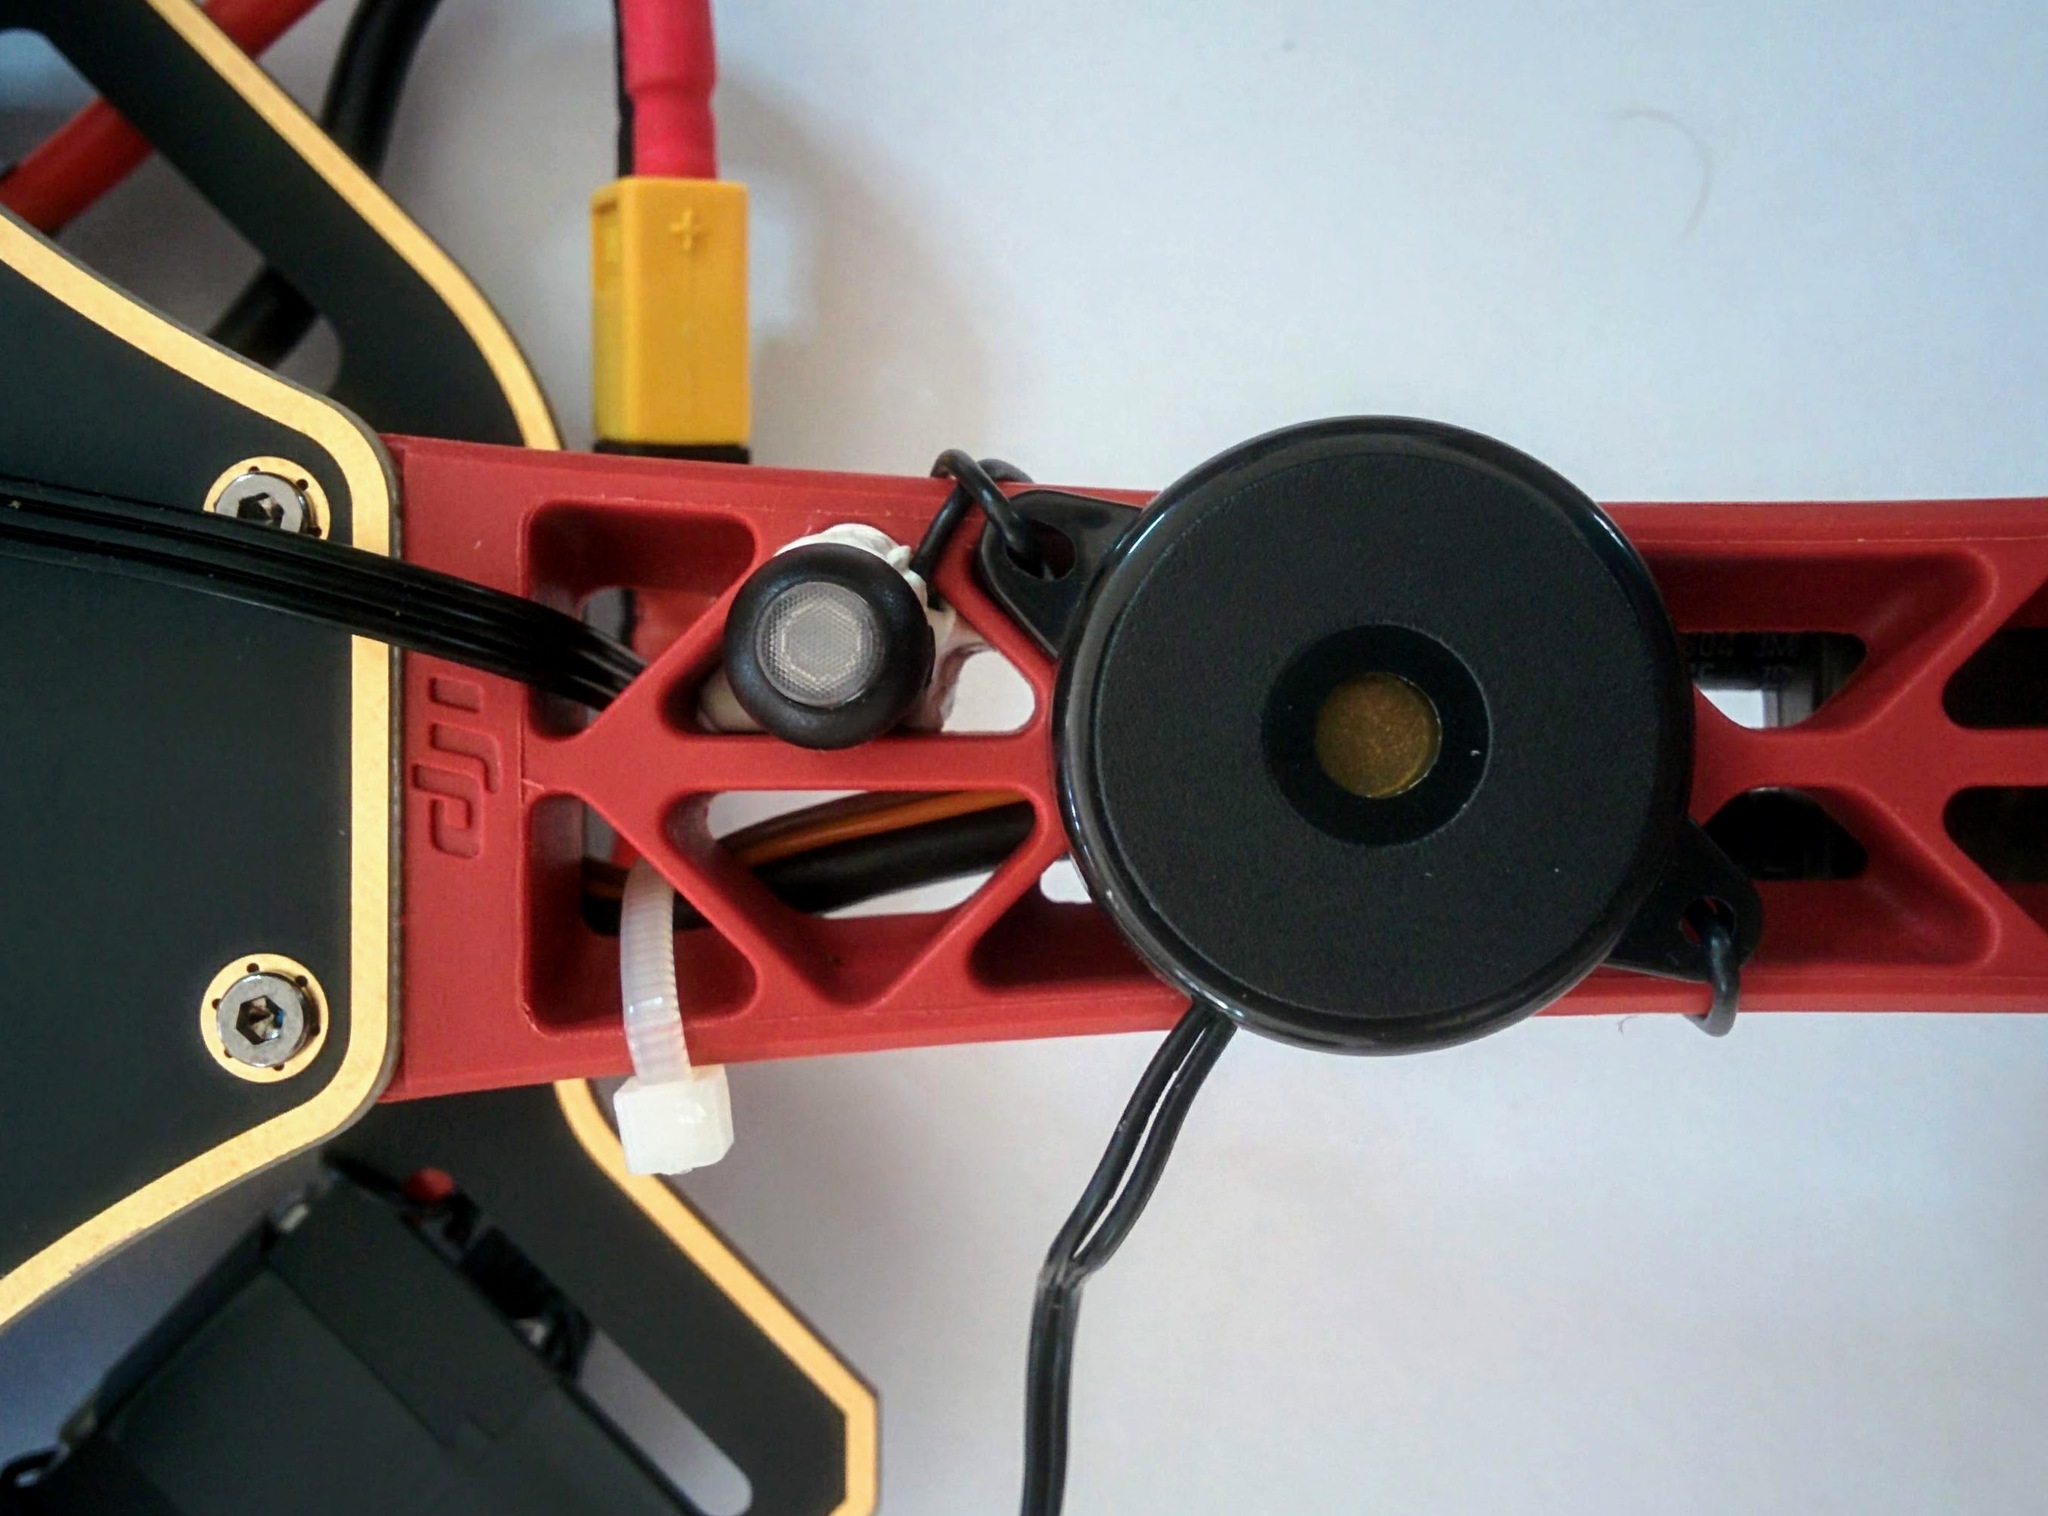
Safety wire fed back up thru frame.

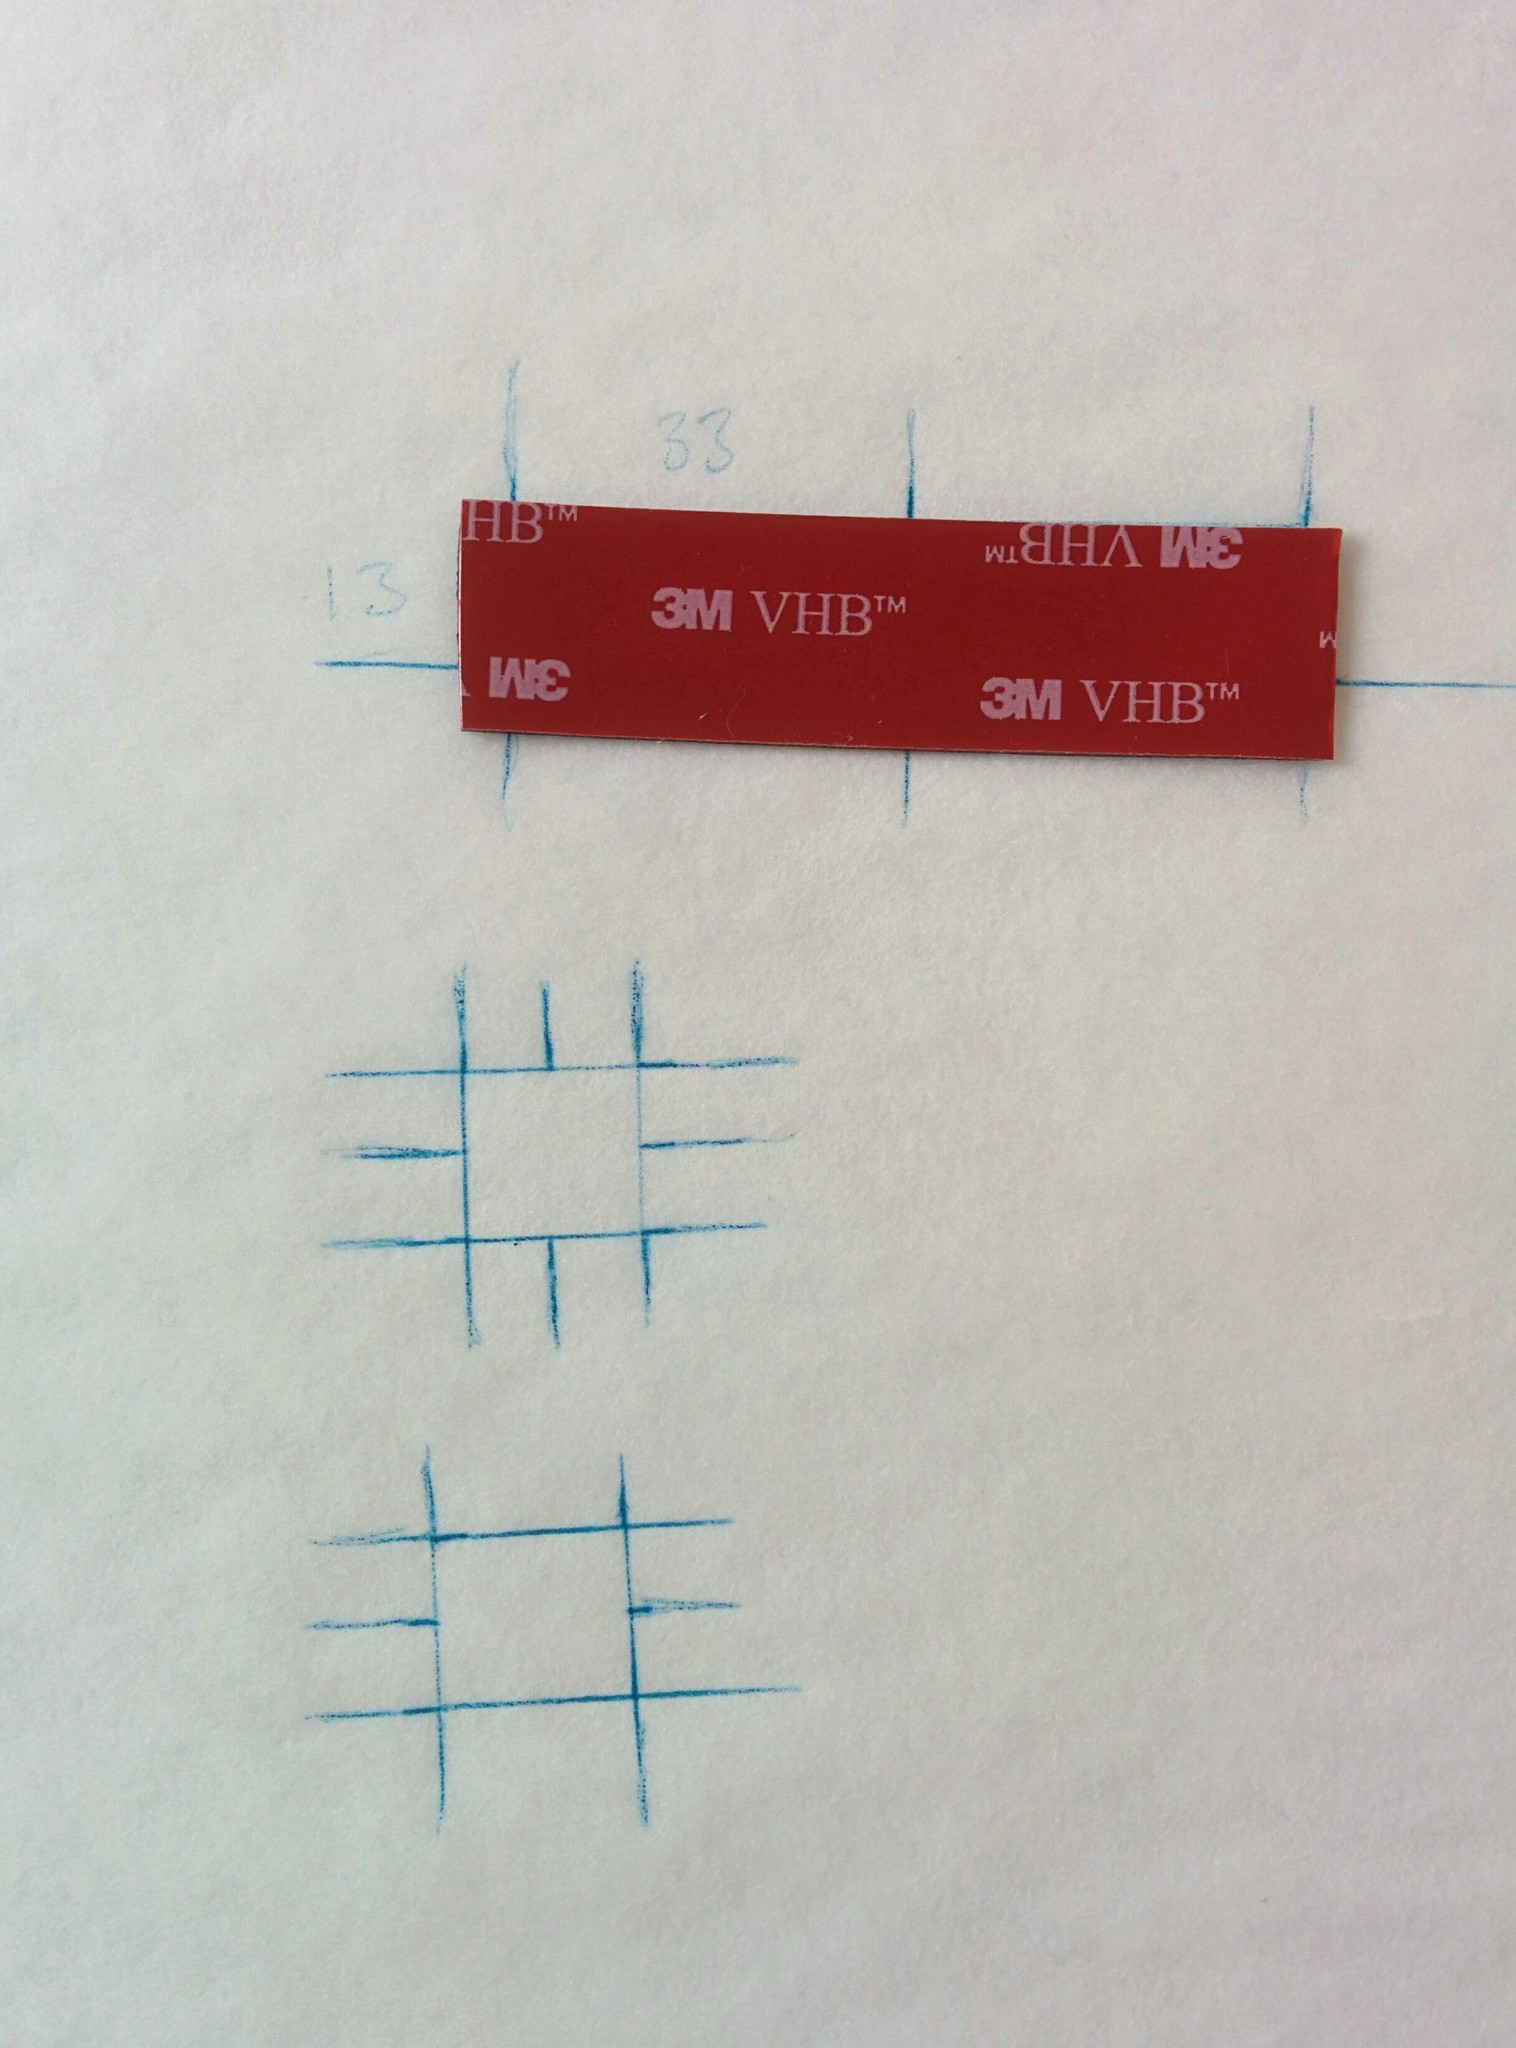
VHB laid down on baking paper / parchment paper.
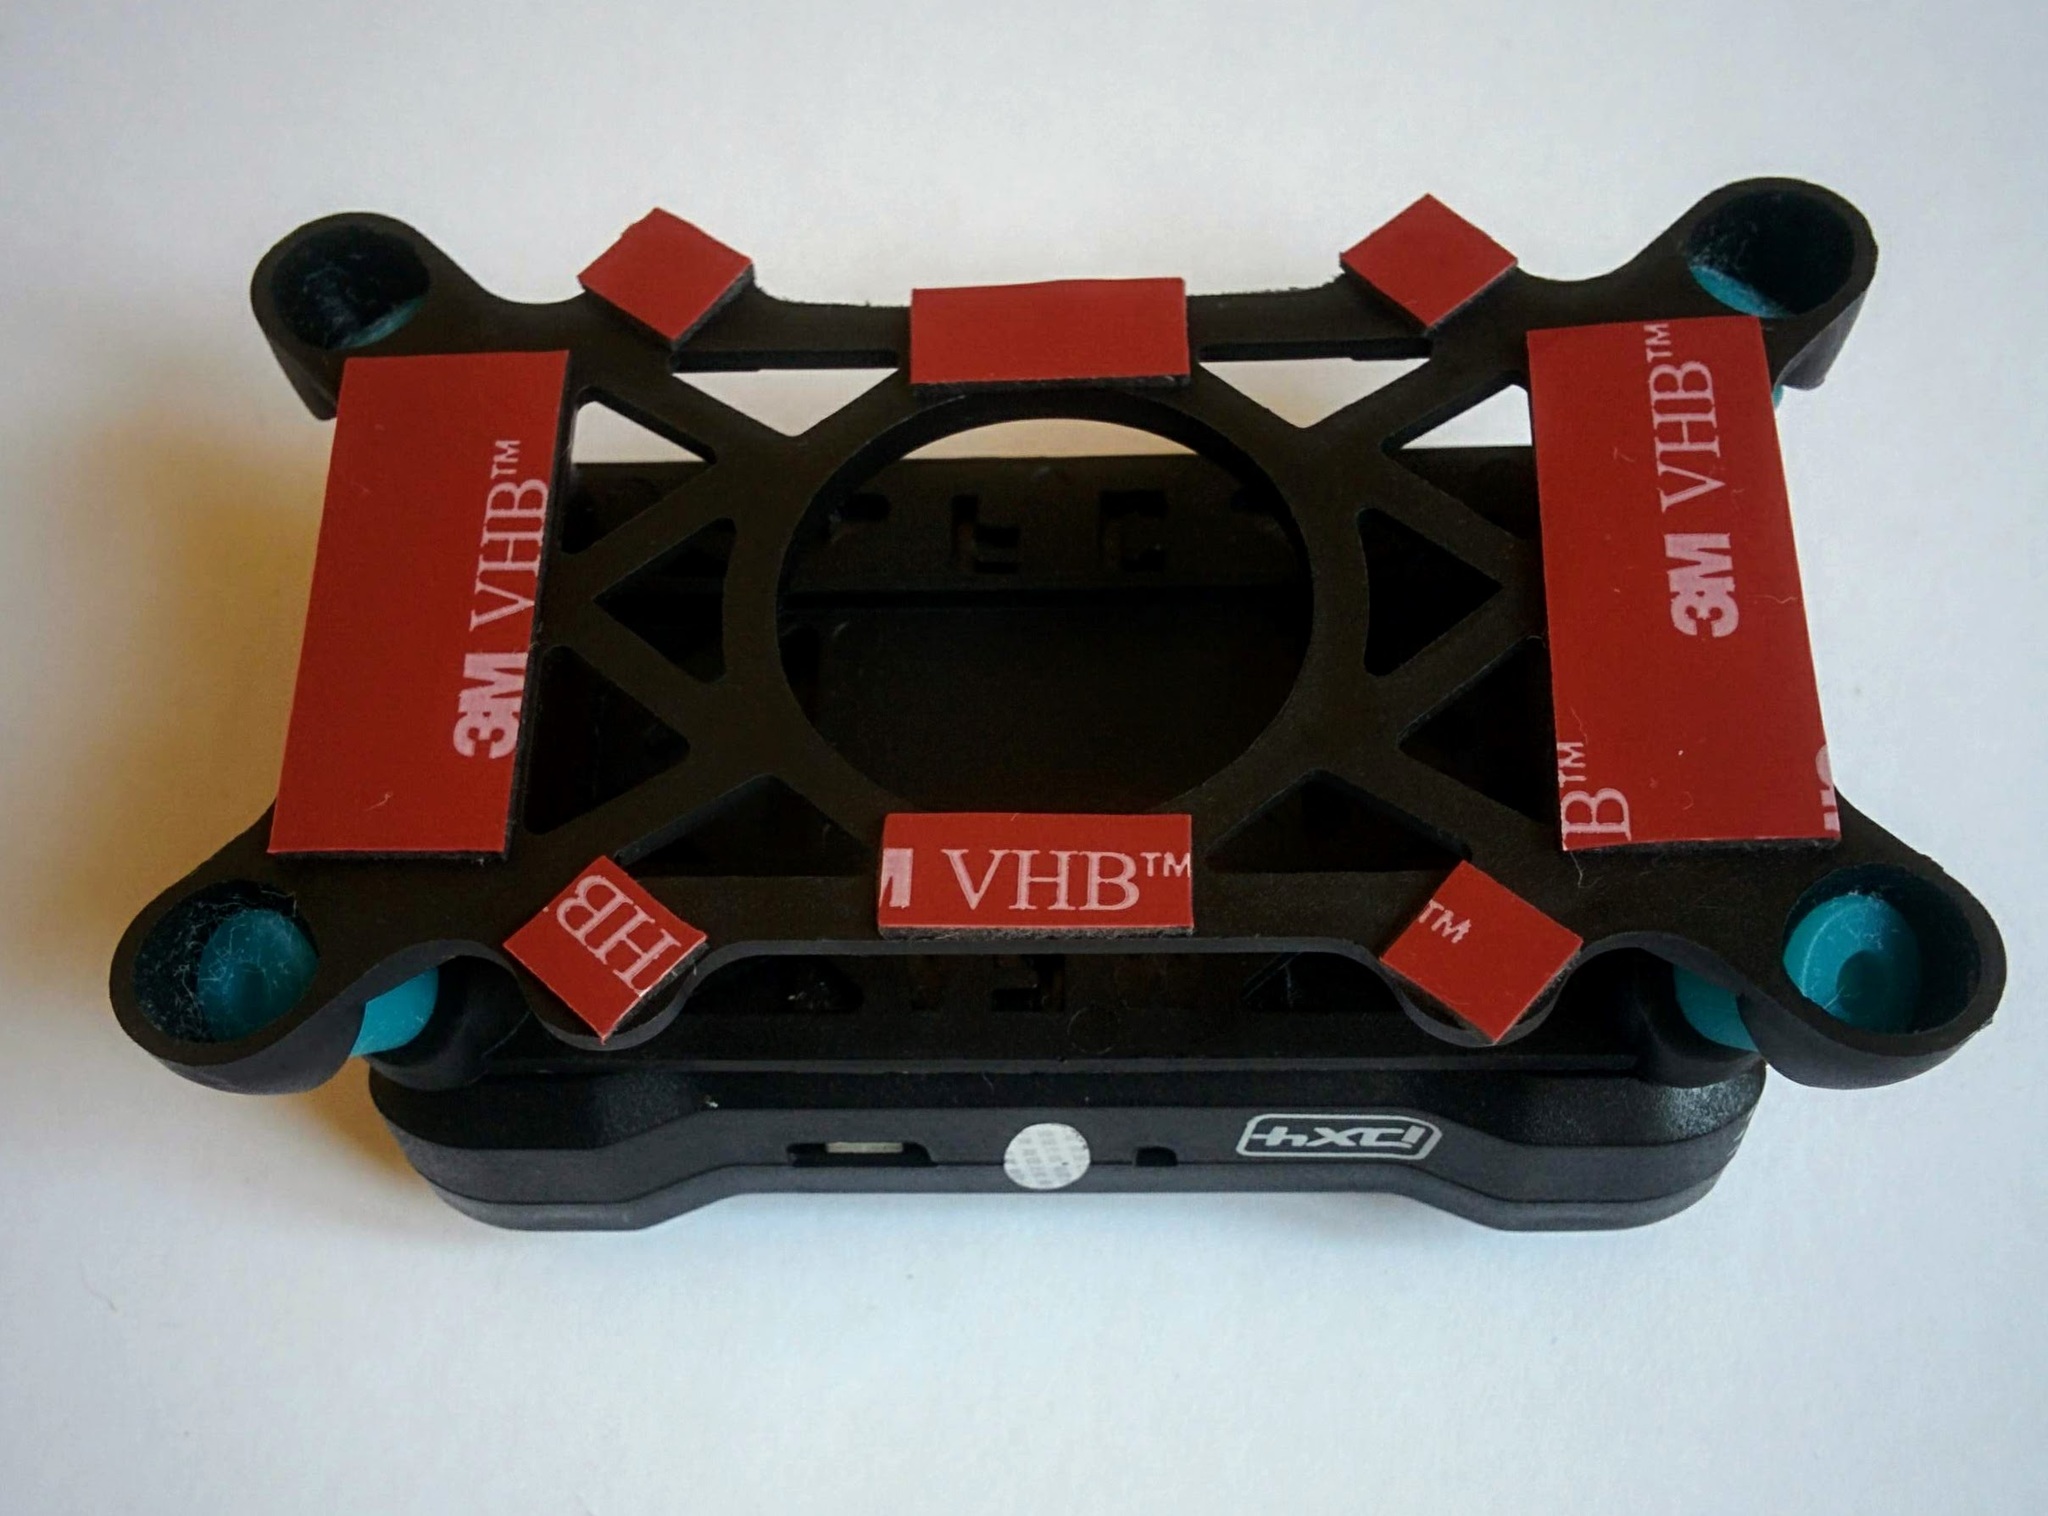
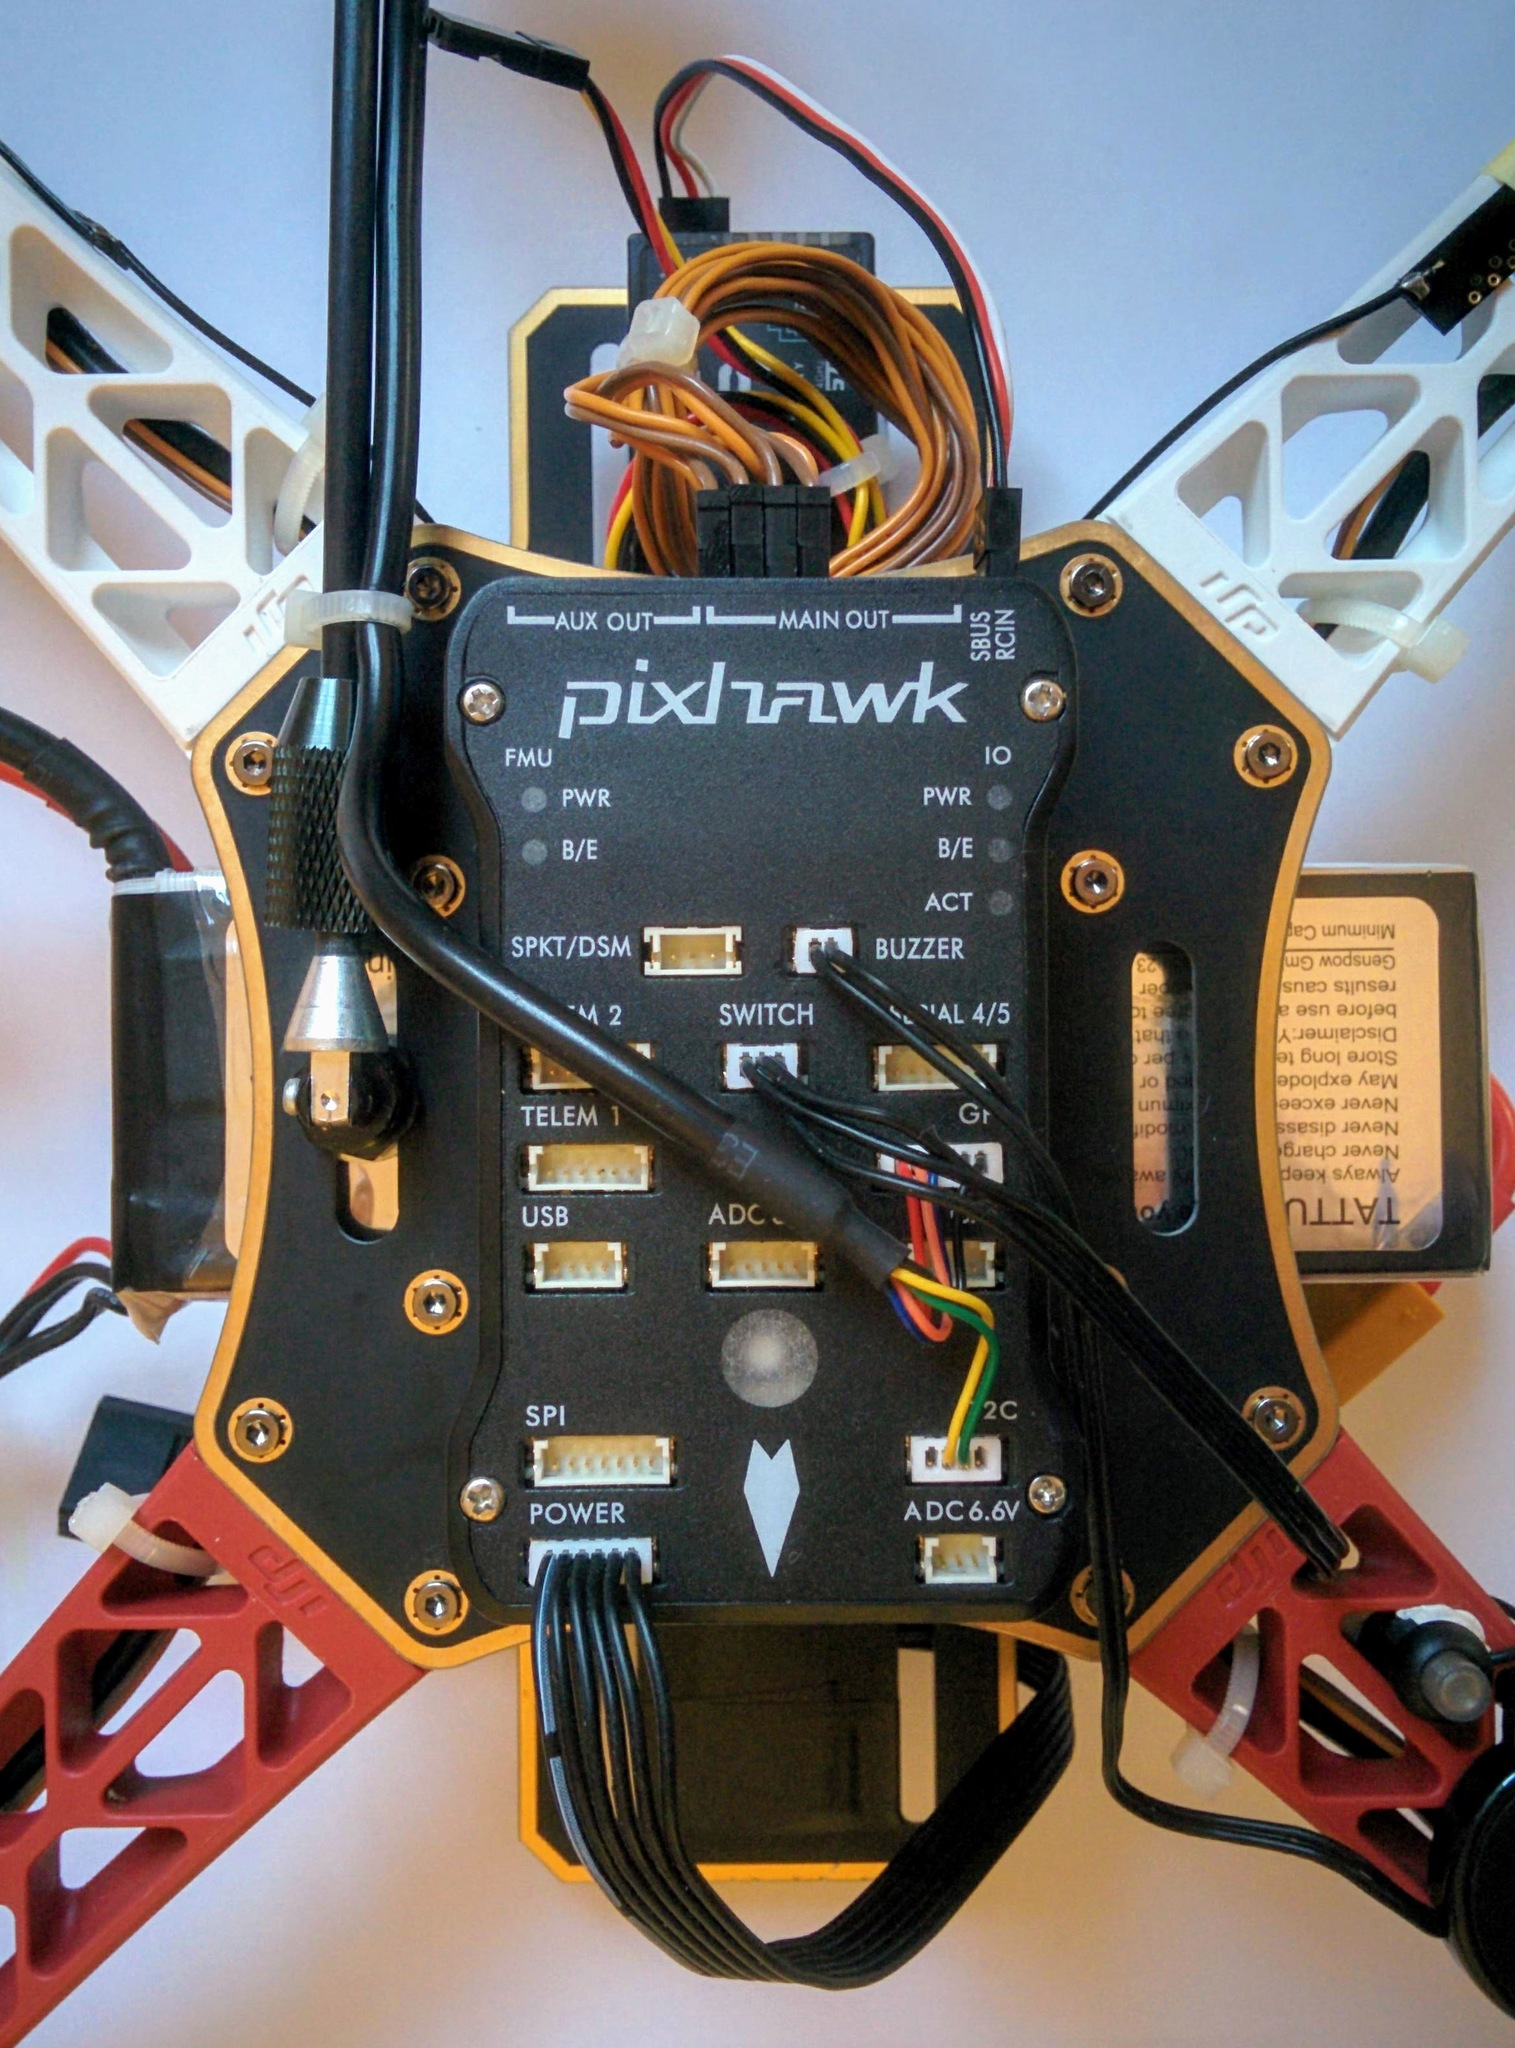
First attach Pixhawk to damping platform.
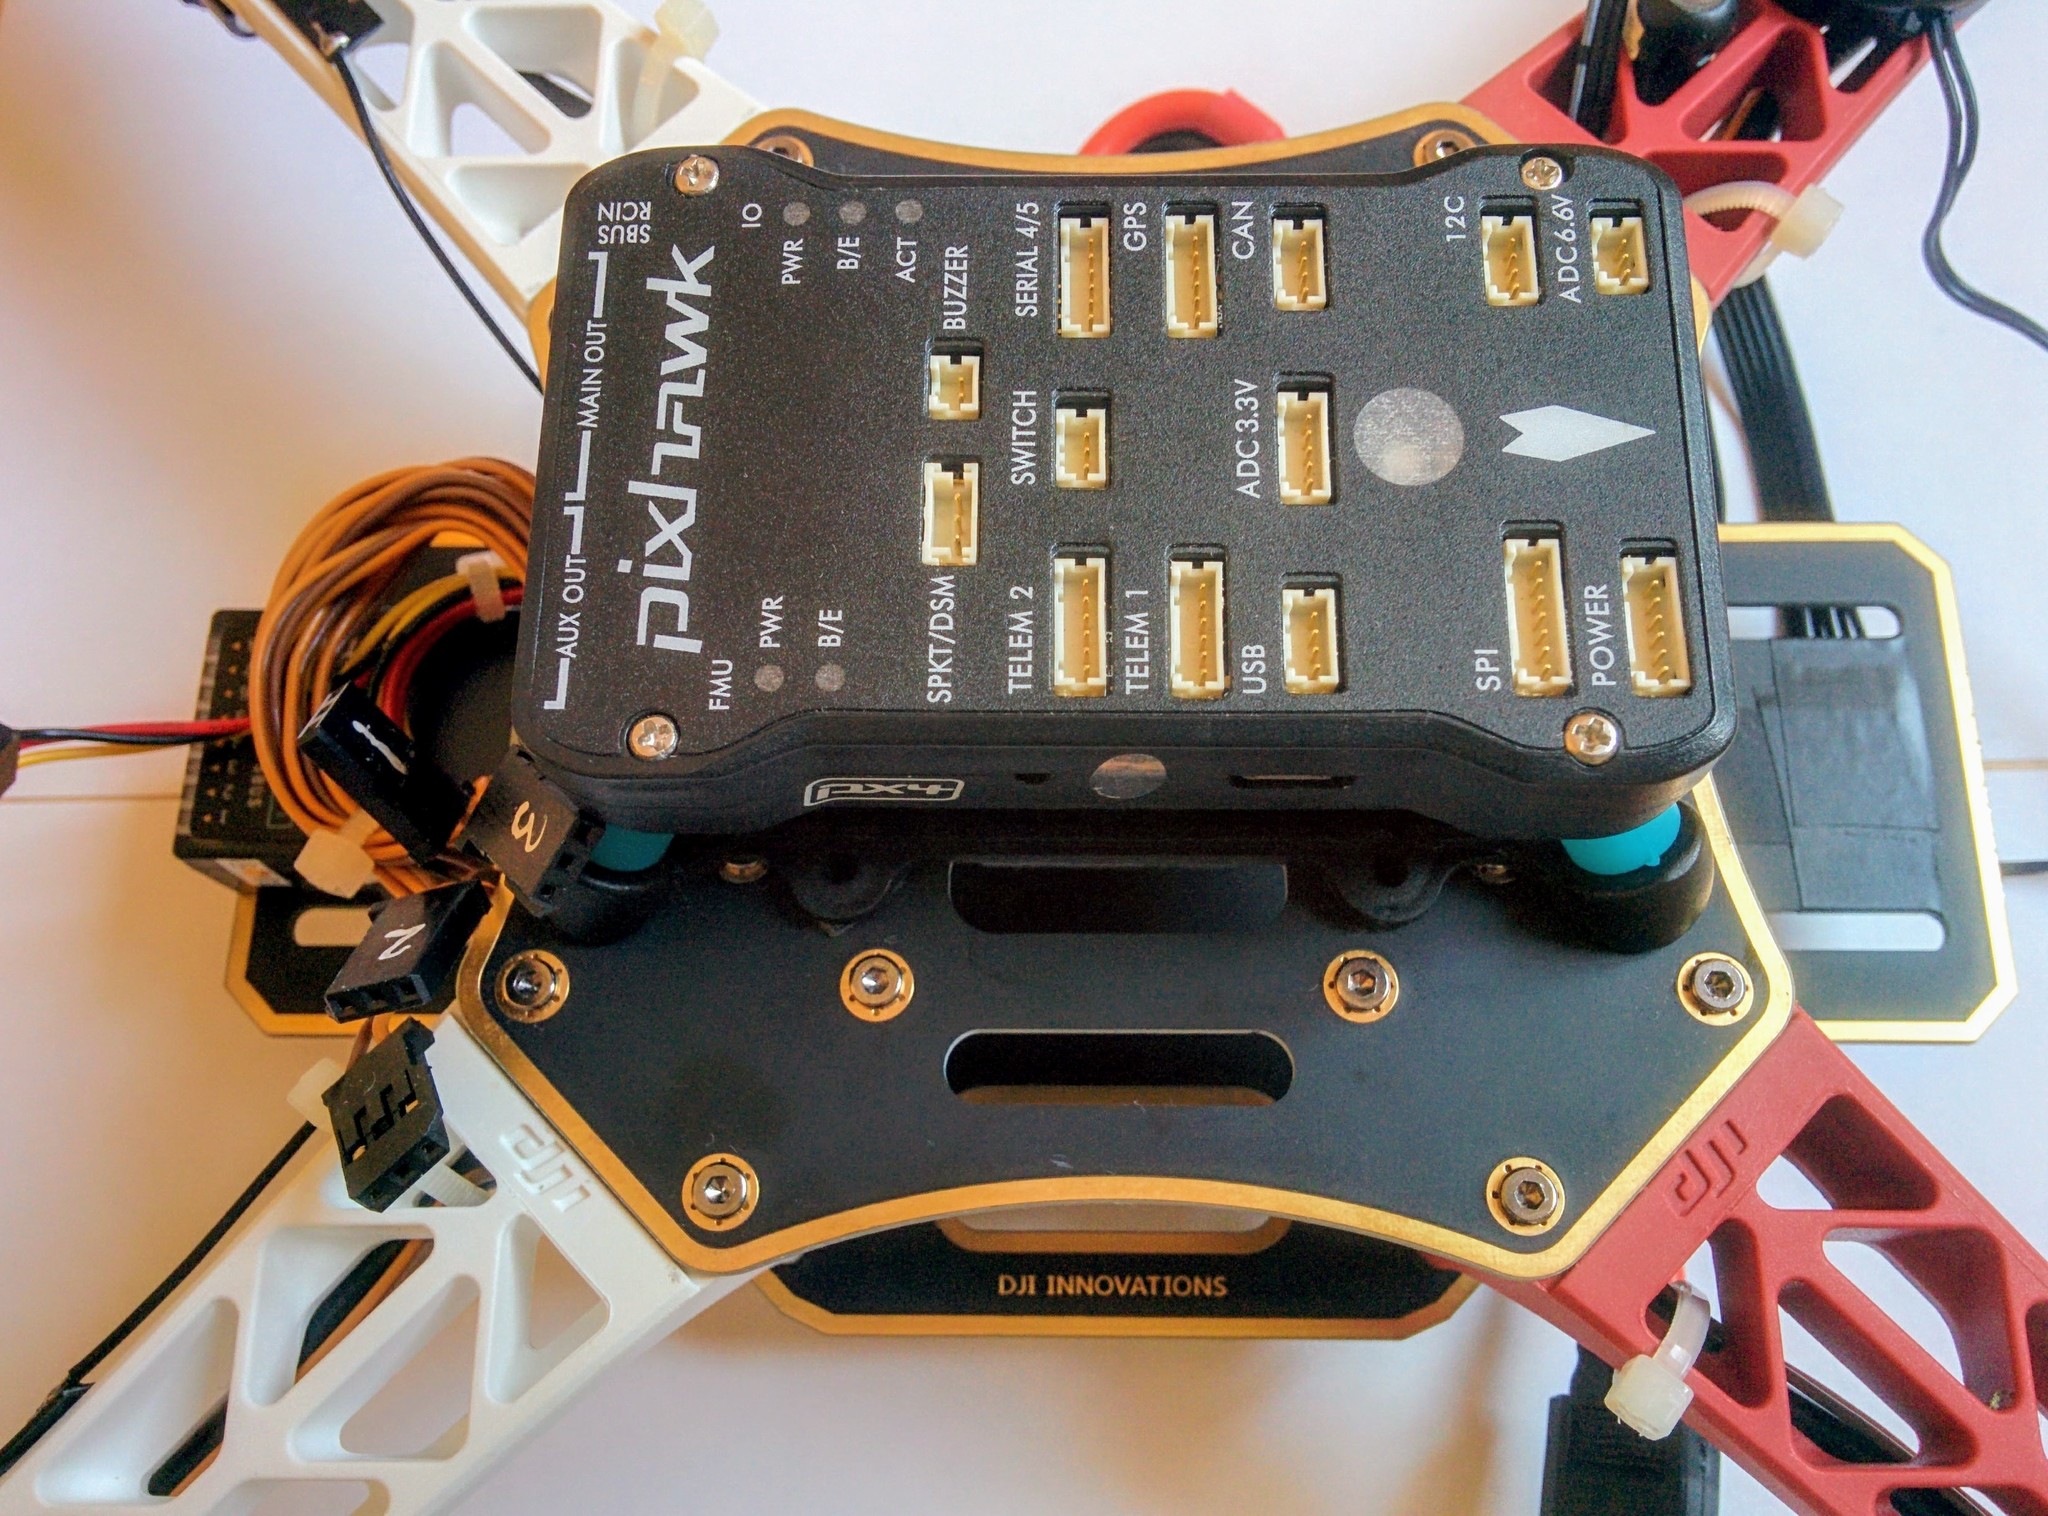
Then attach platform to top plate.
Same - from other side.
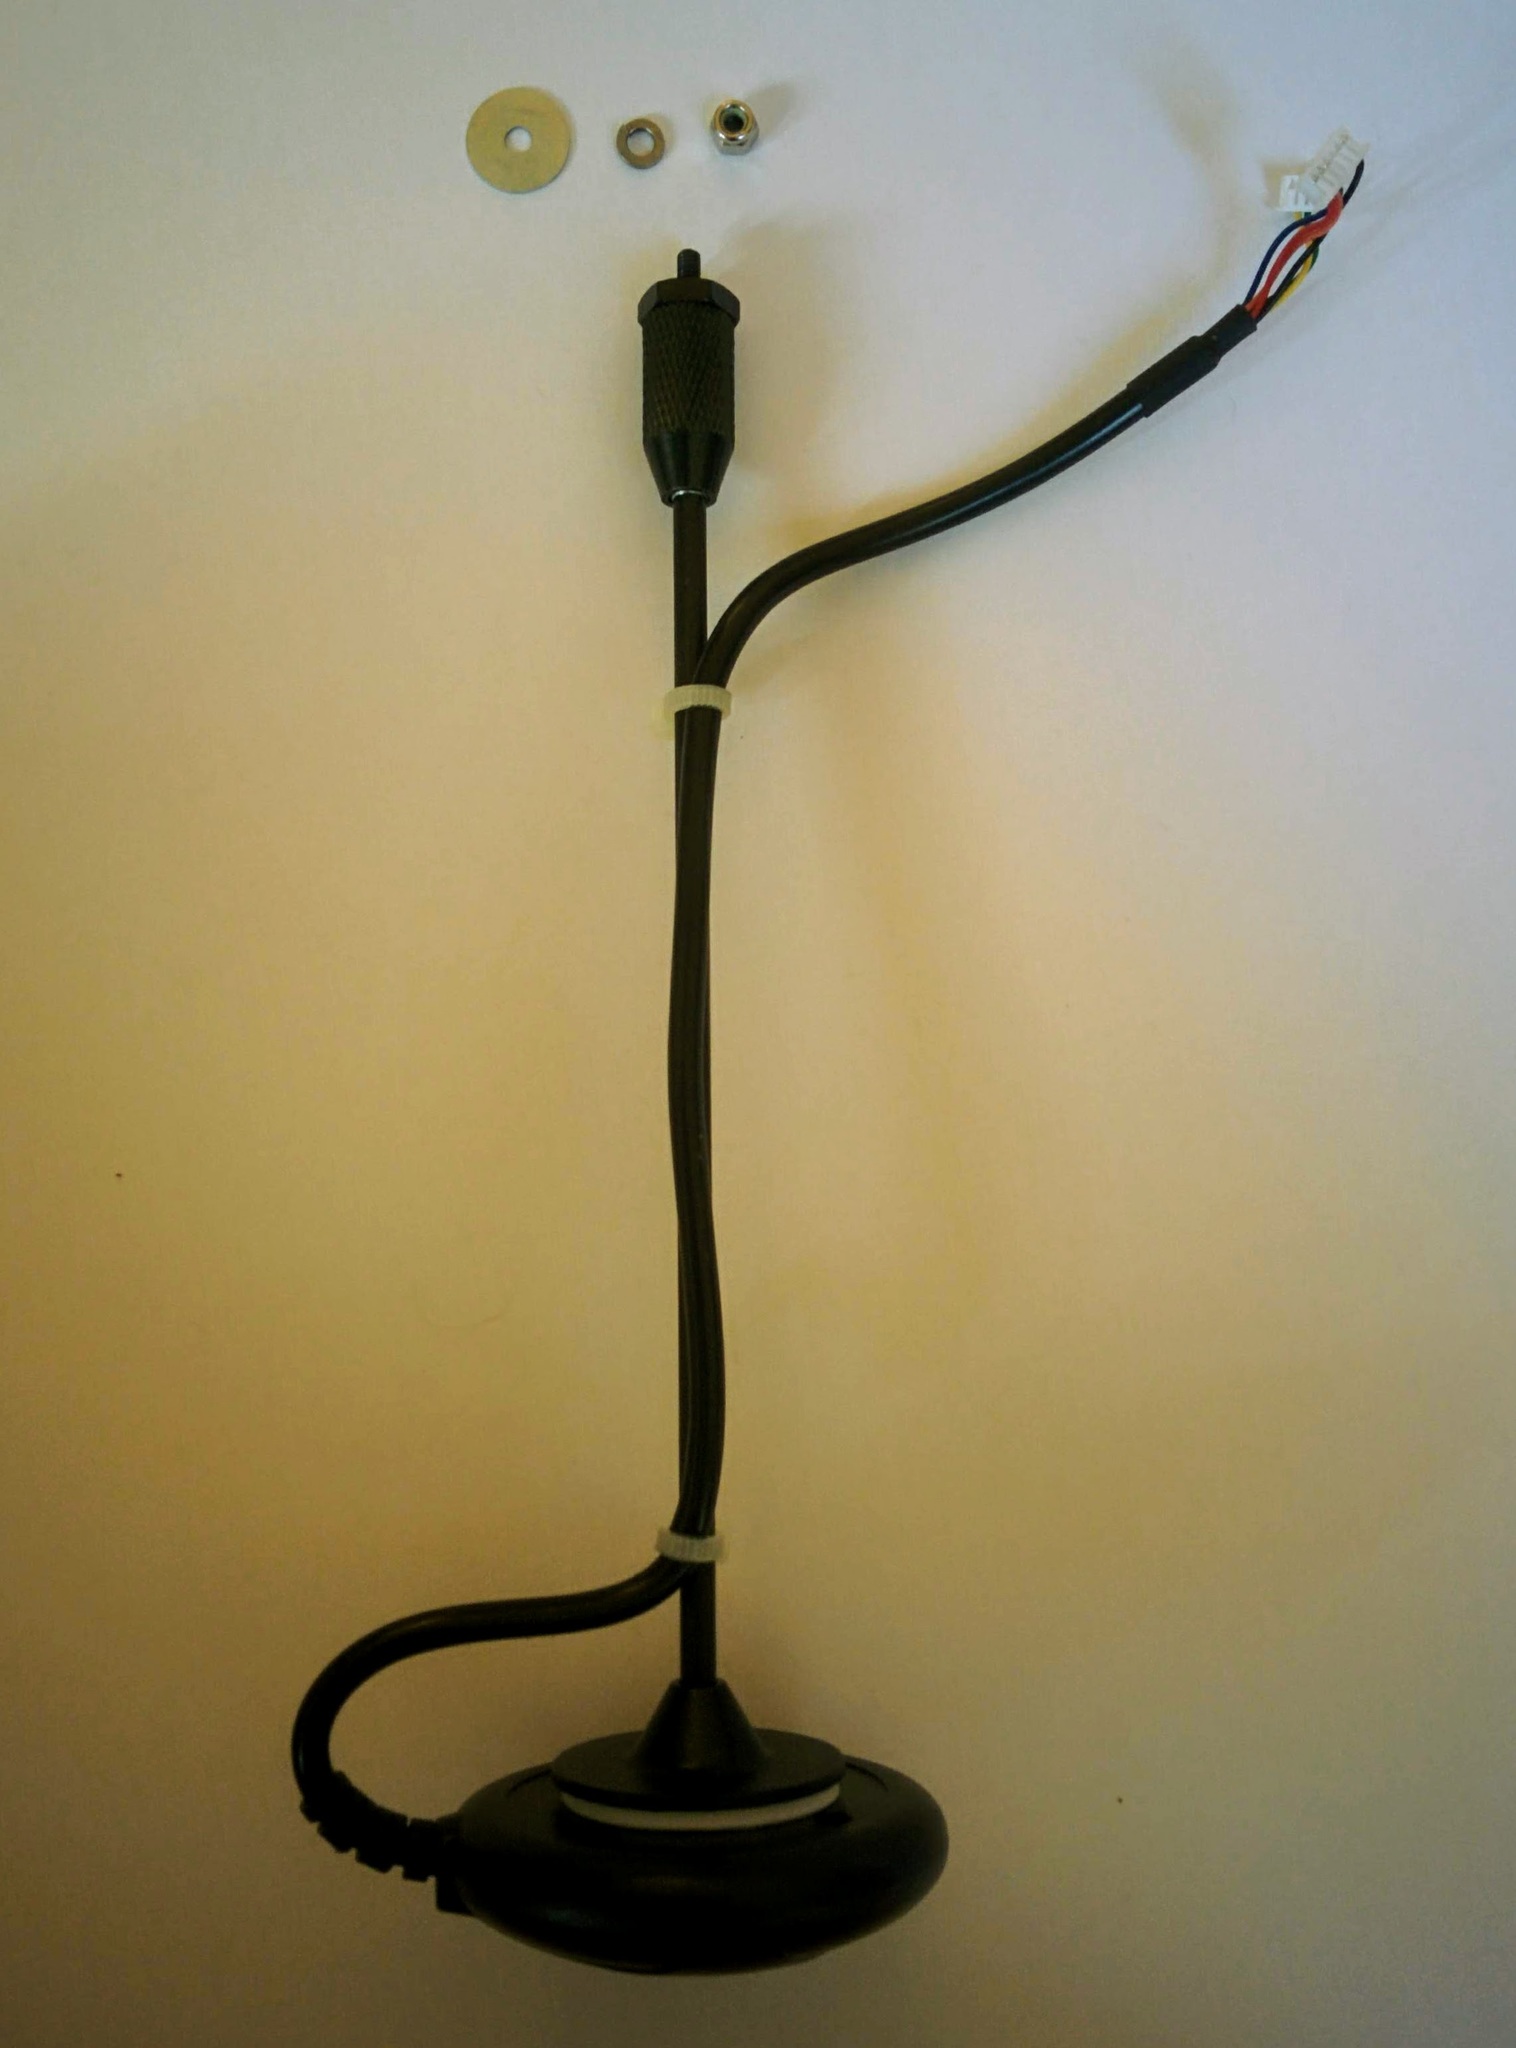
GPS attached to mast and ready to install.
Installed 1.
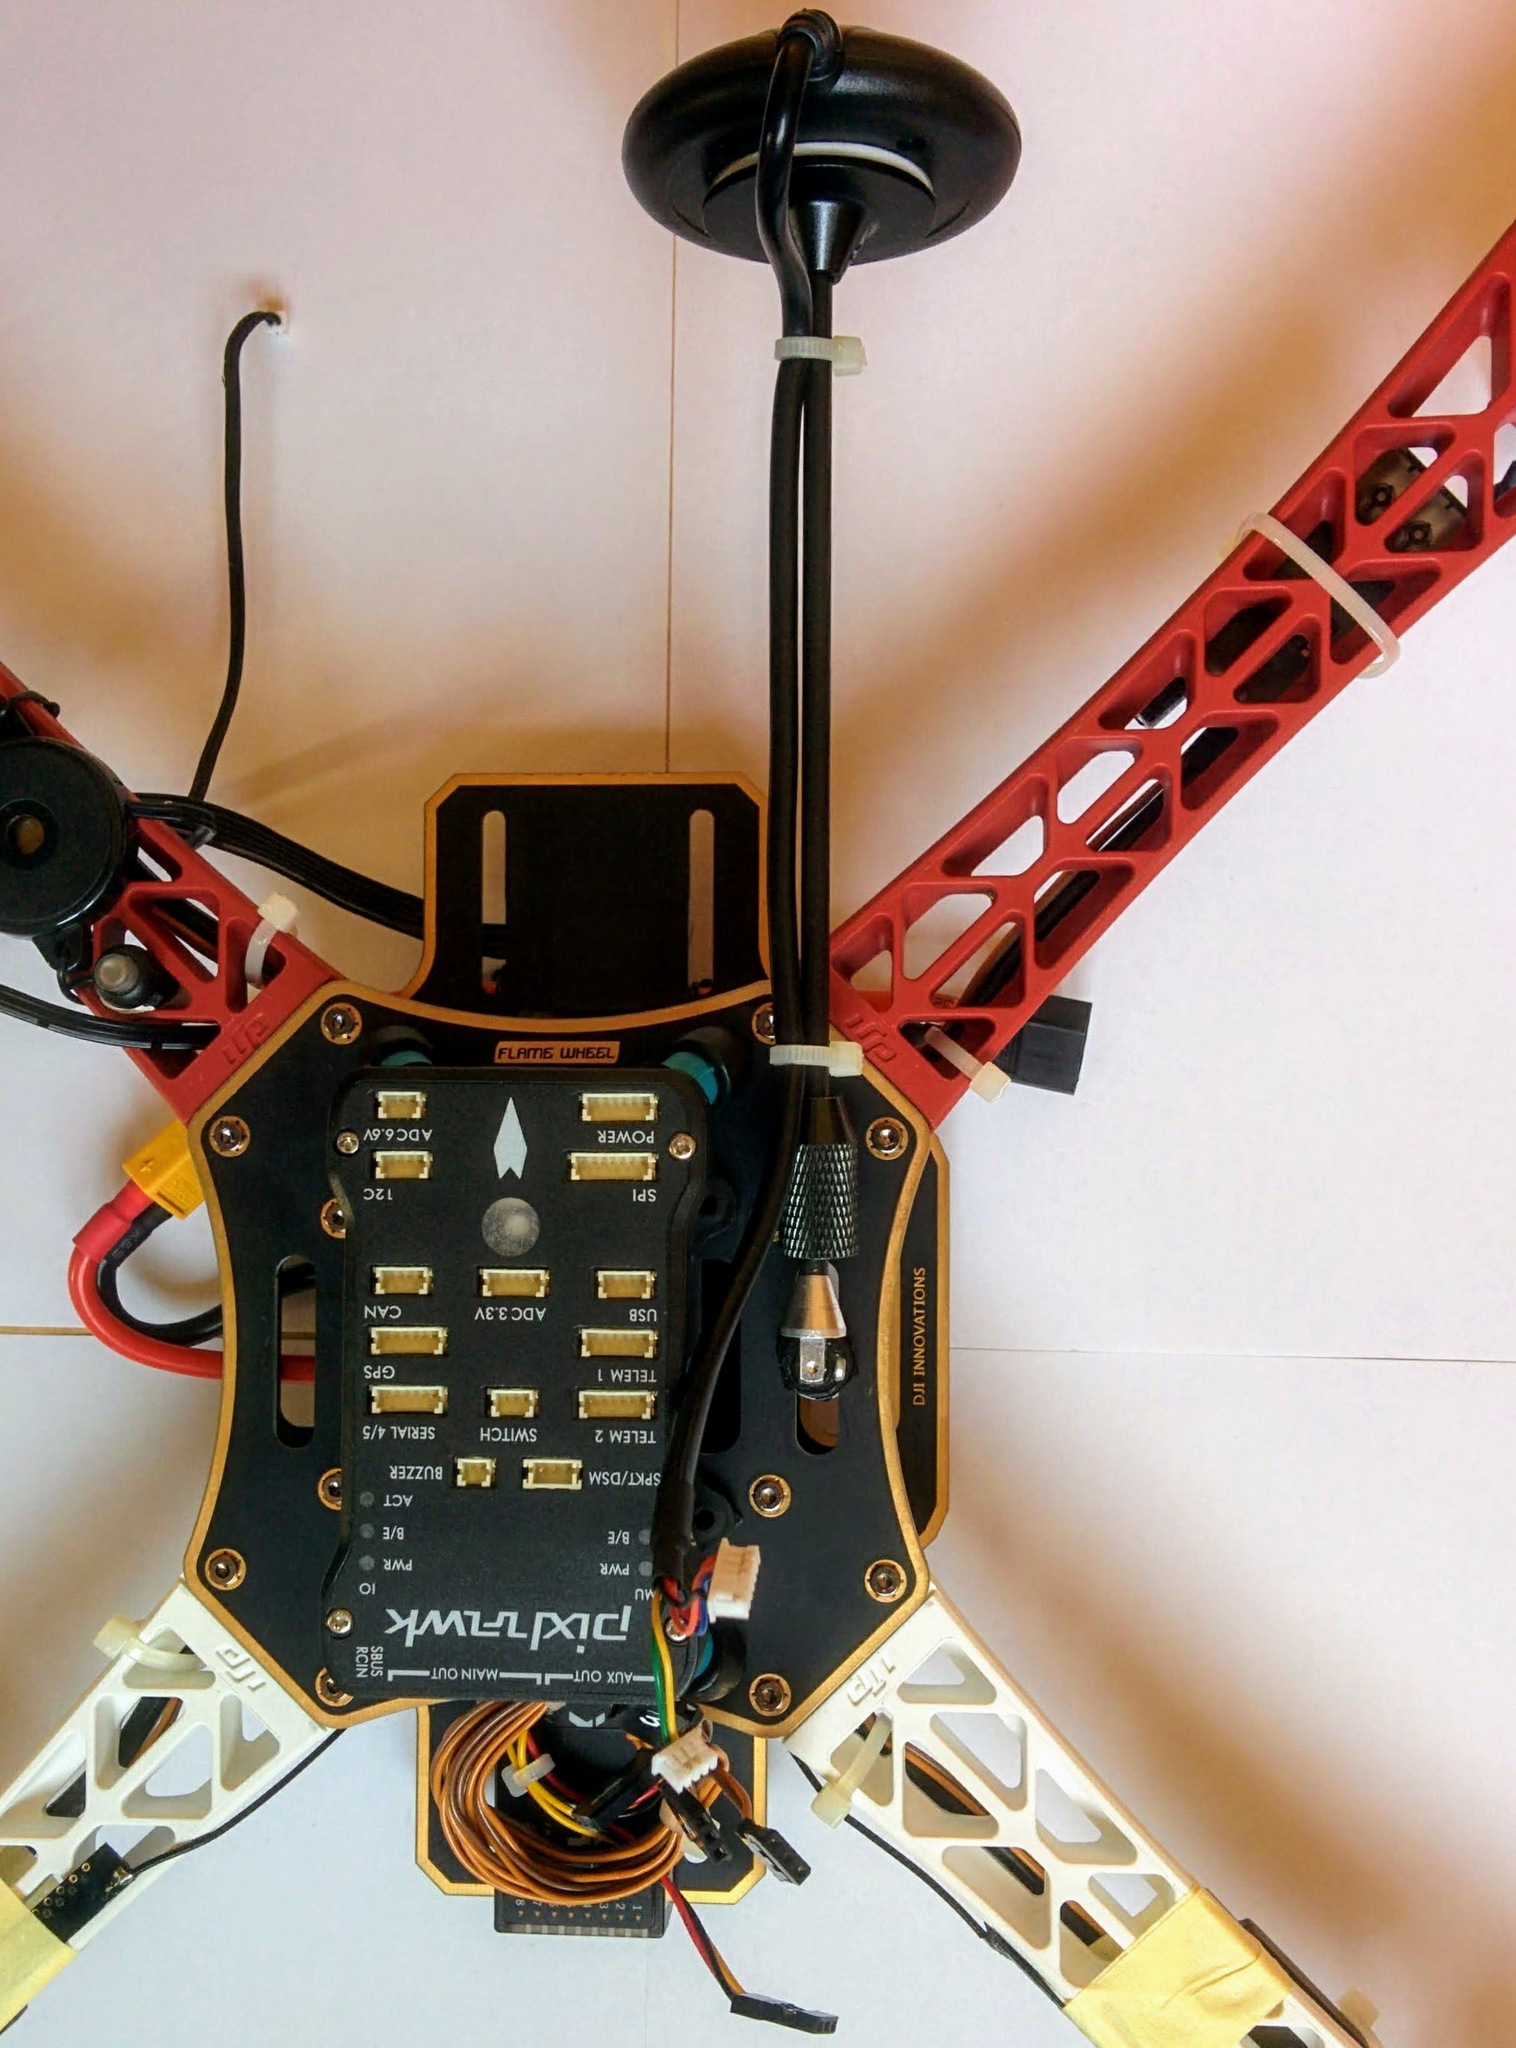
Installed 2.
Make sure arm doesn't prevent you flipping onto top or bottom side.
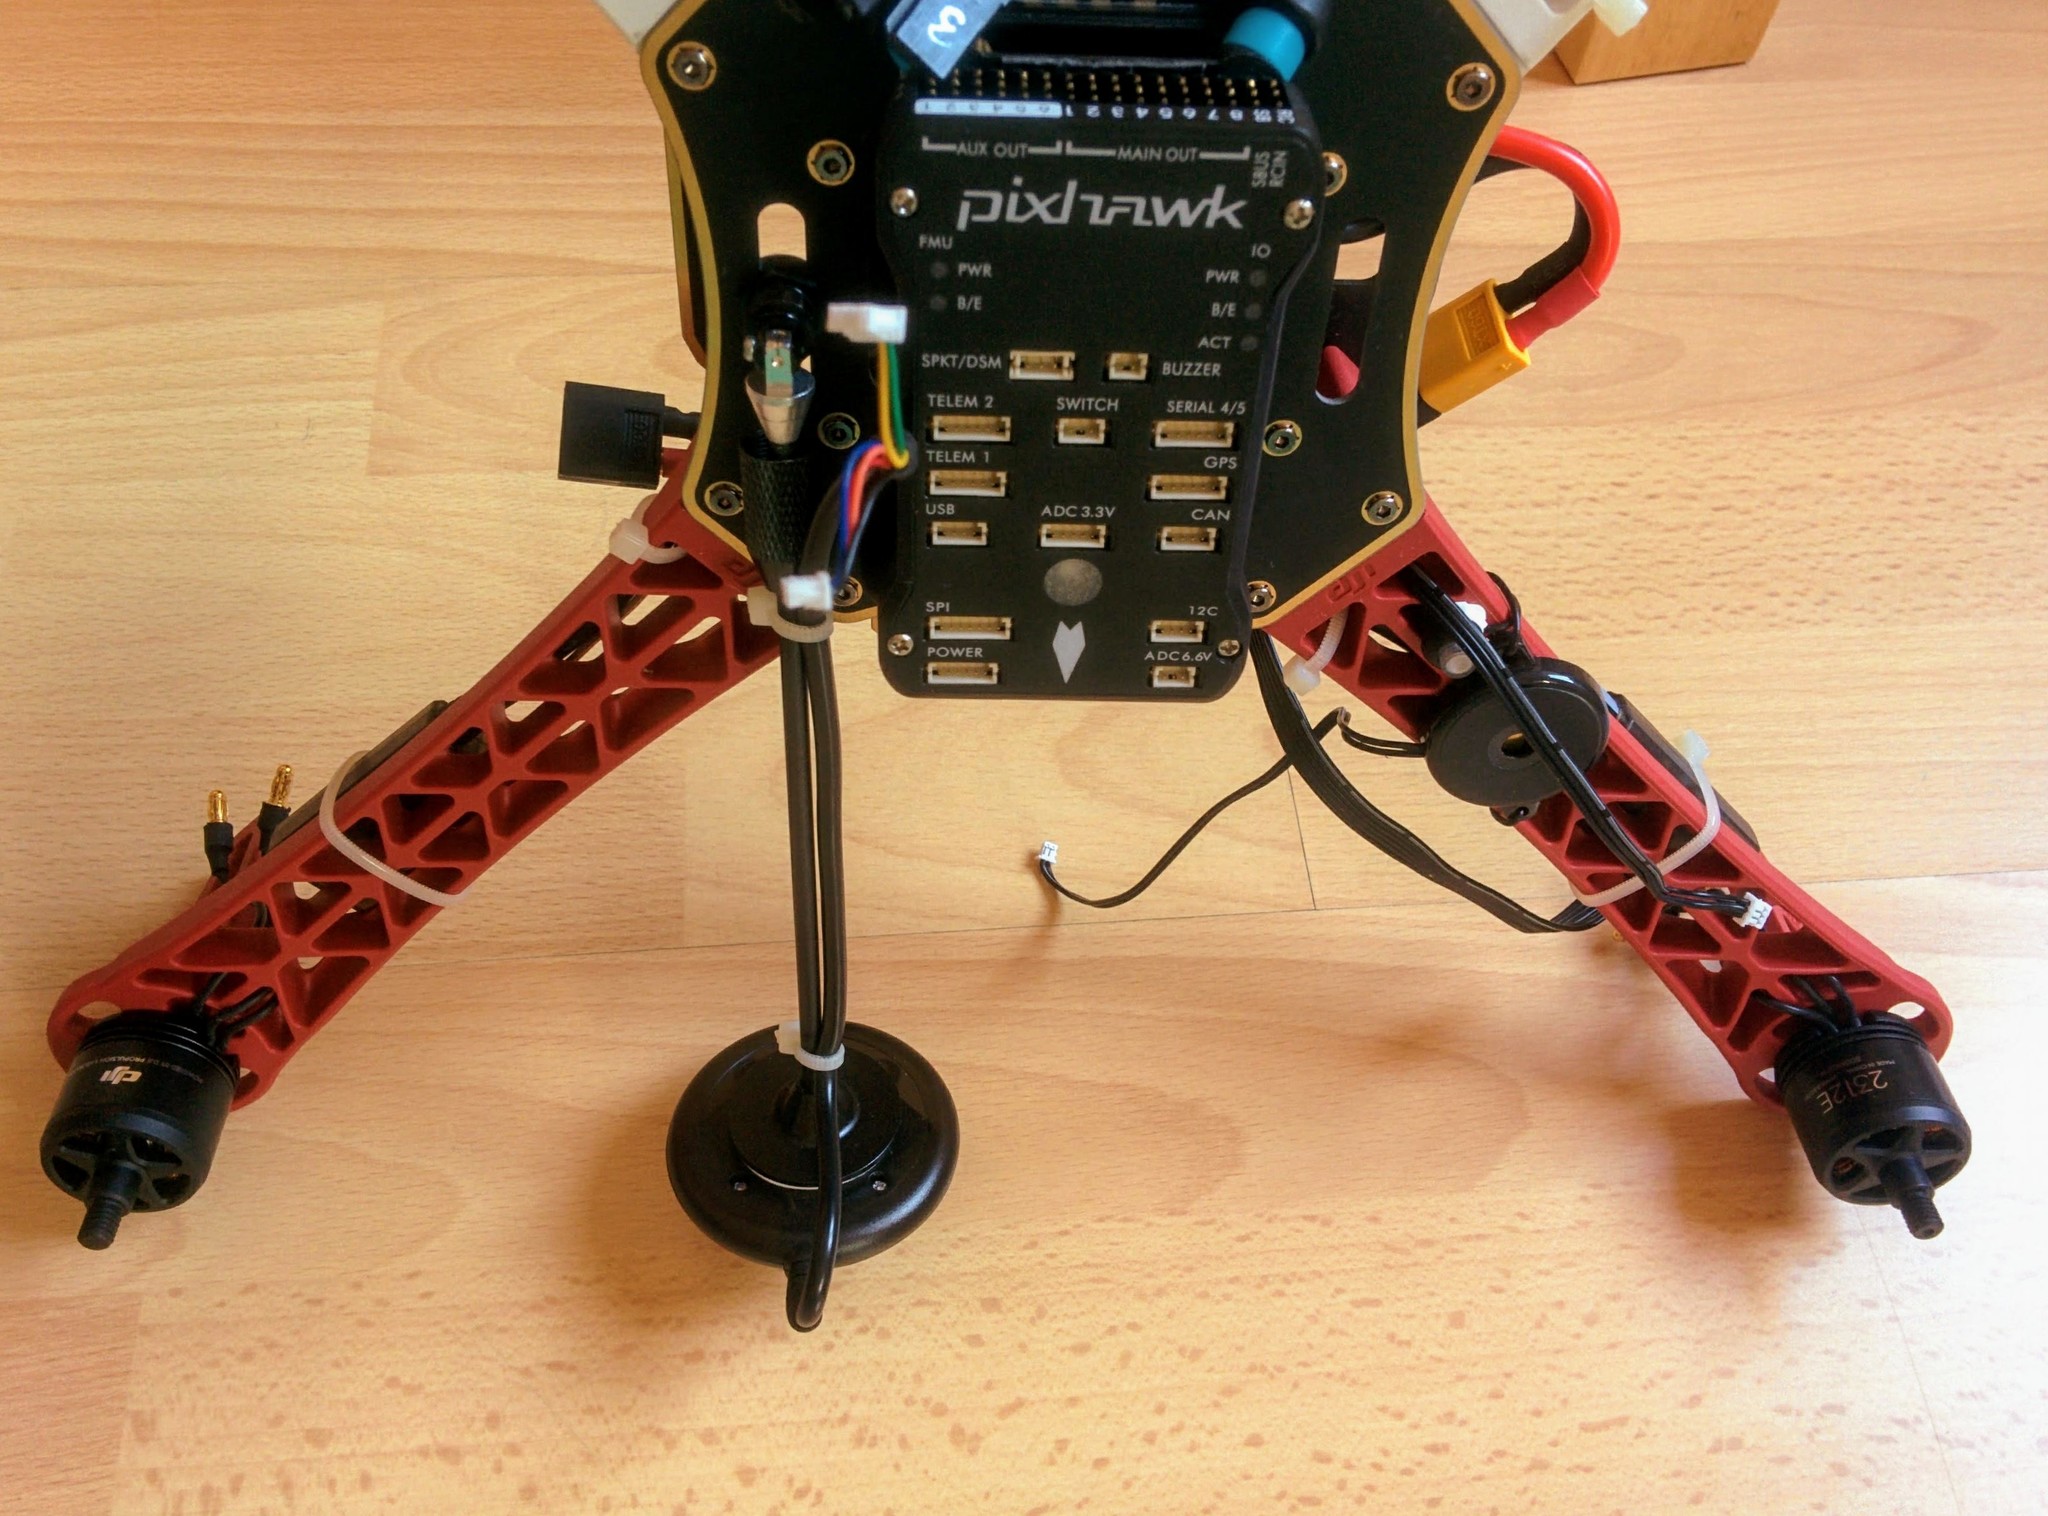
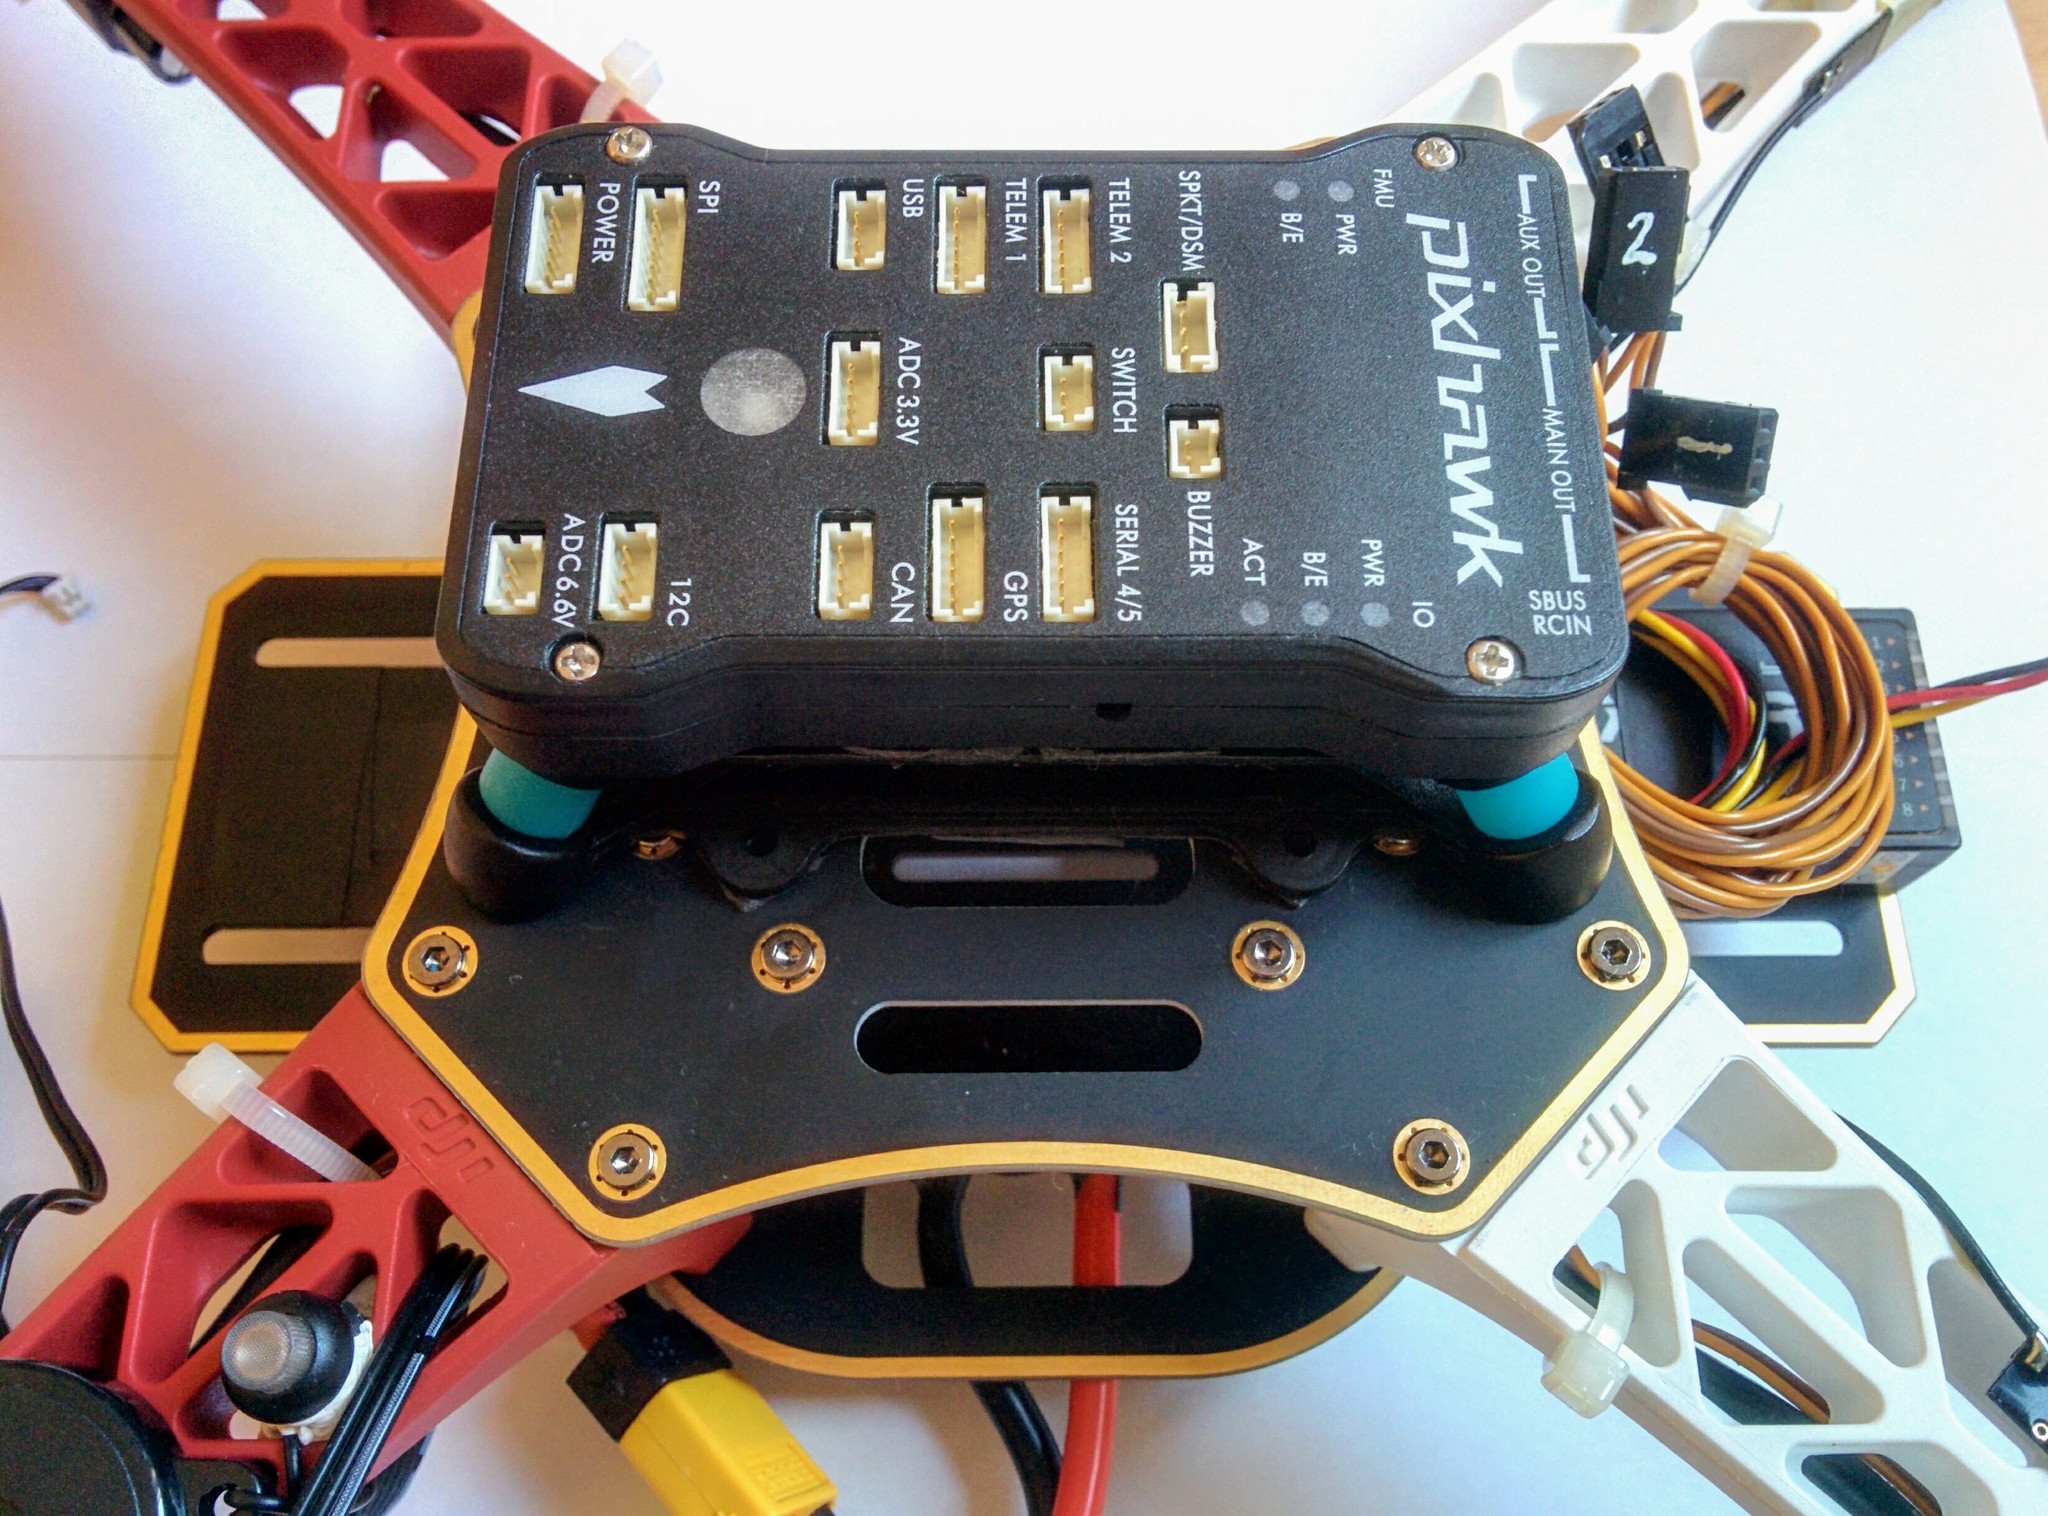
Now finally start connecting things.
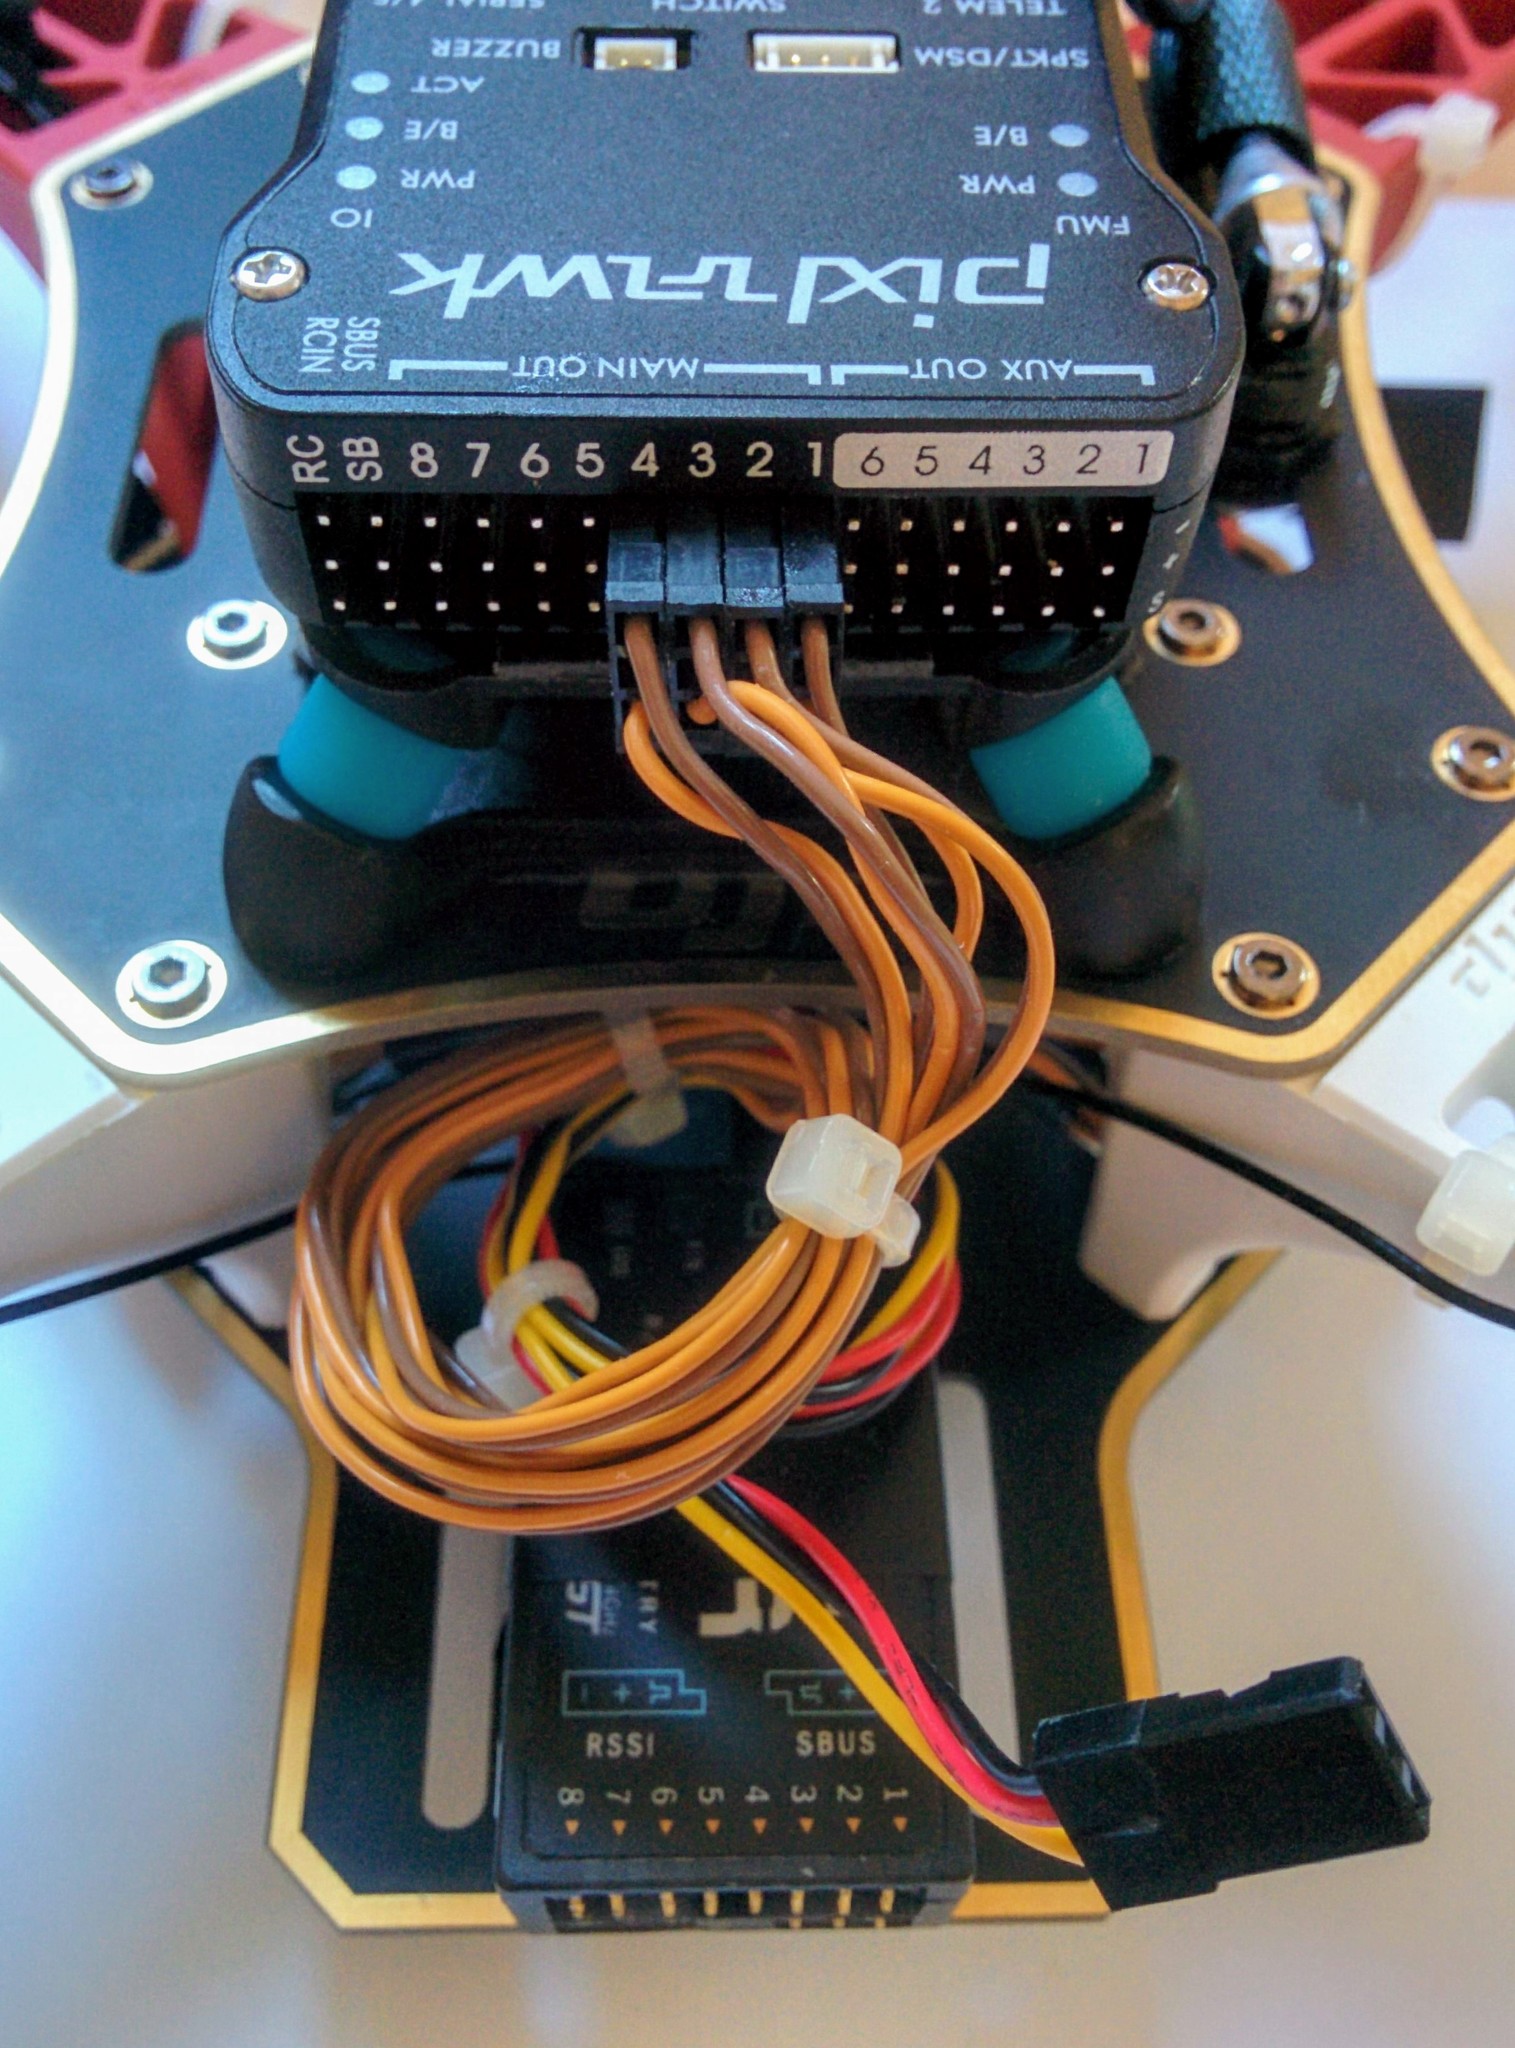
ESCs connected.
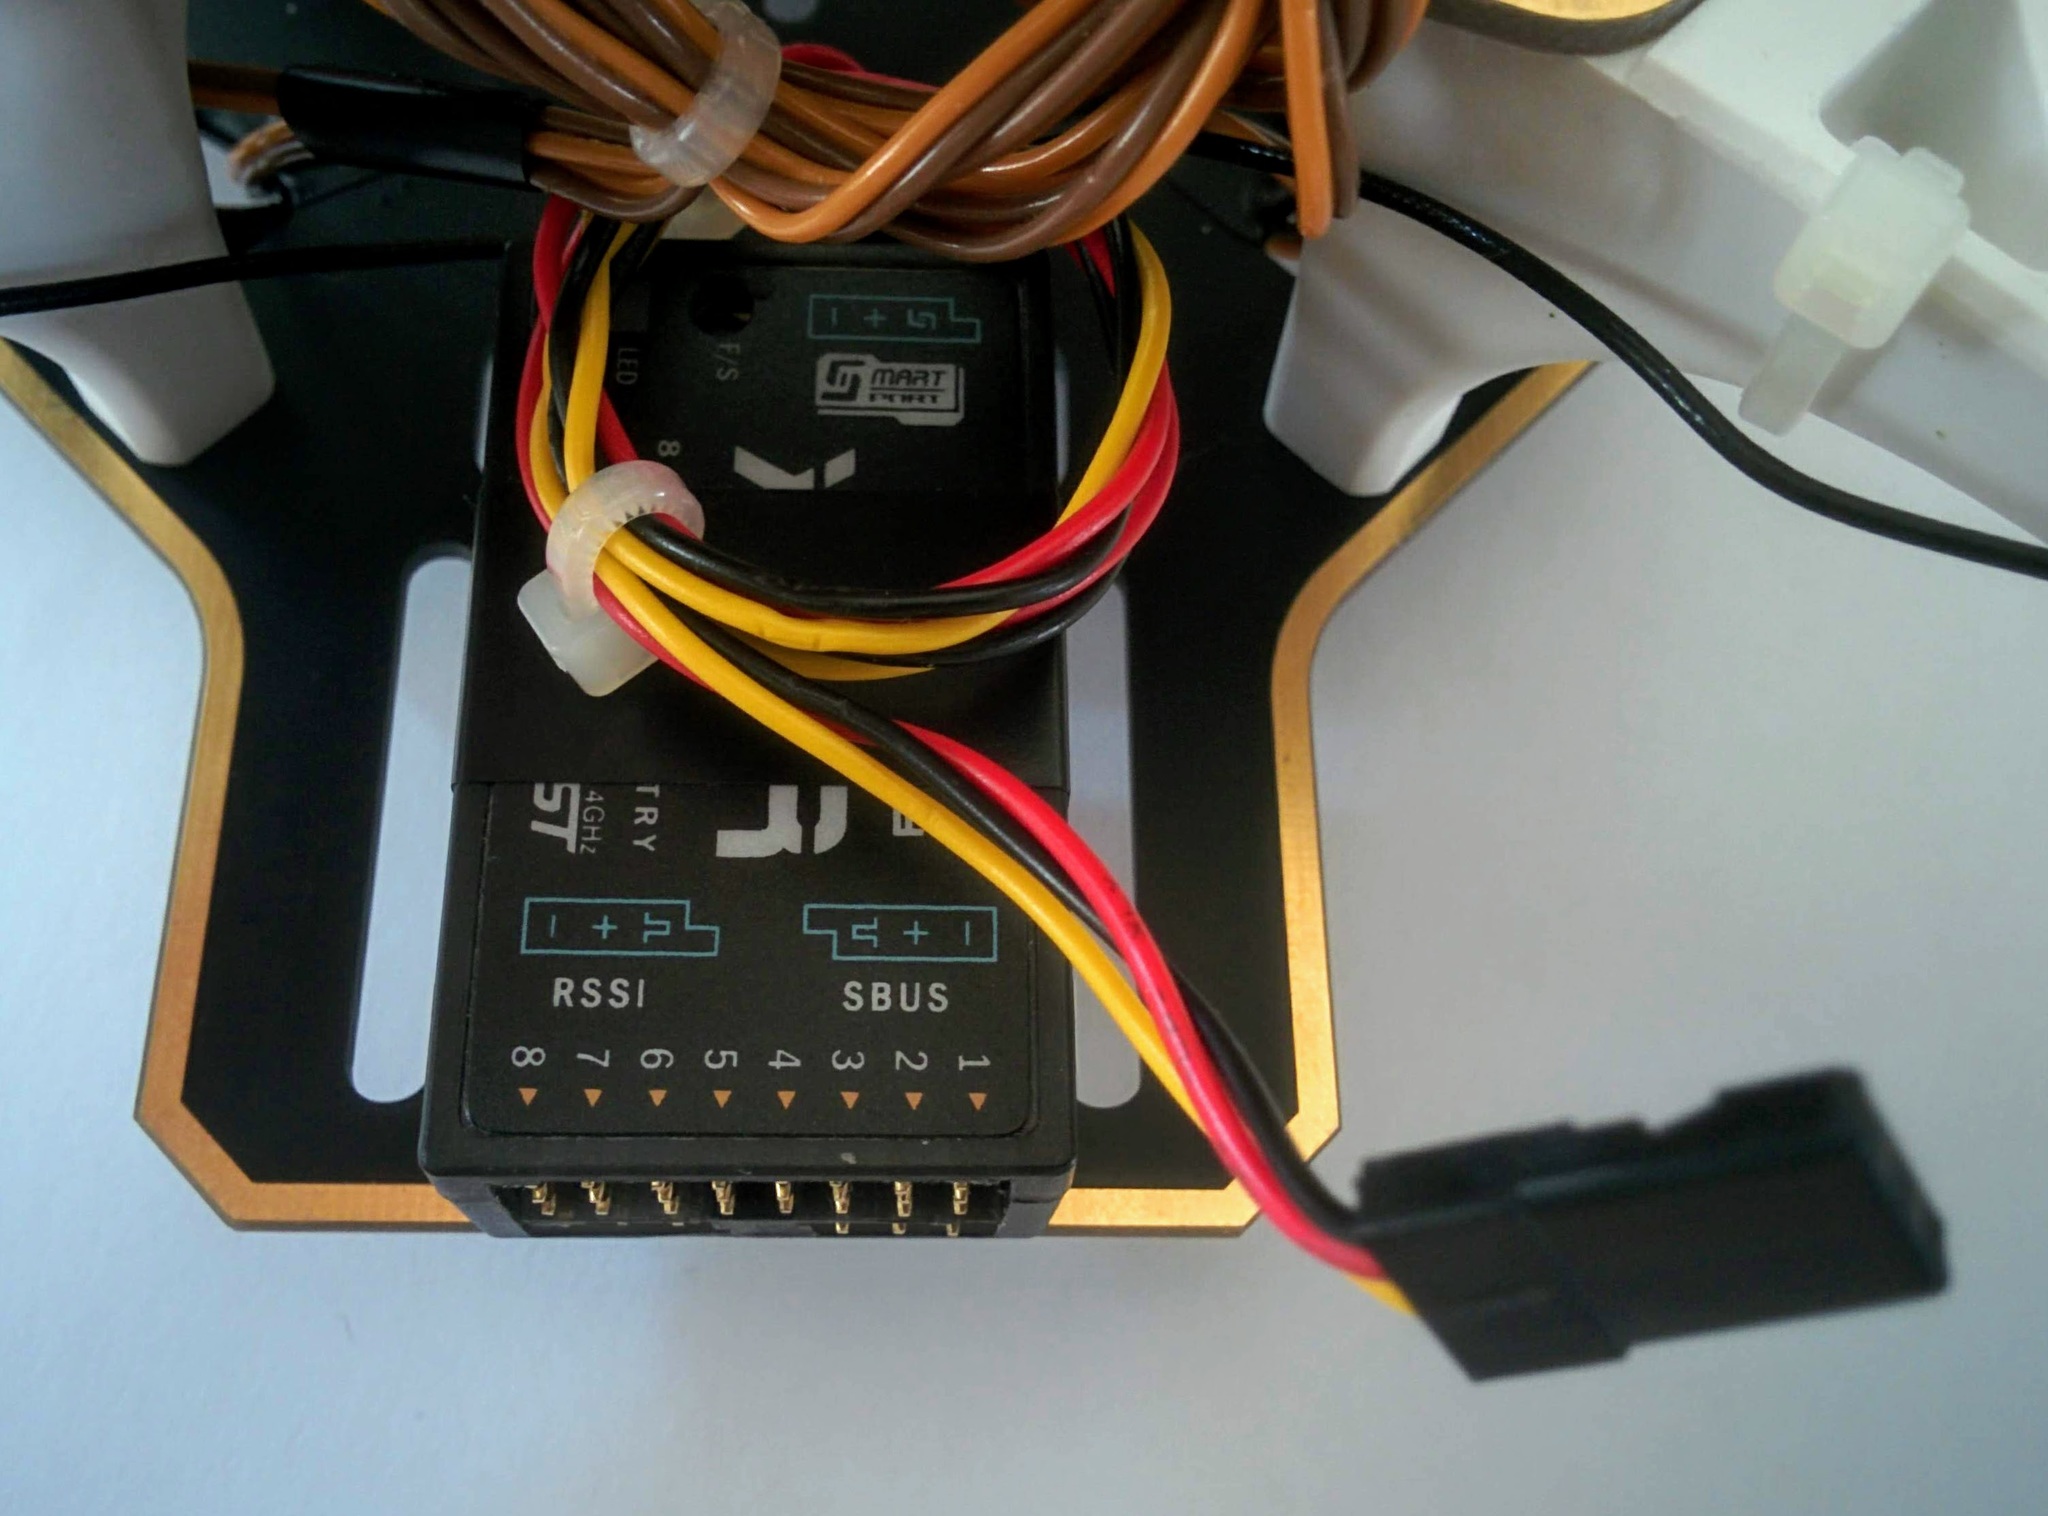
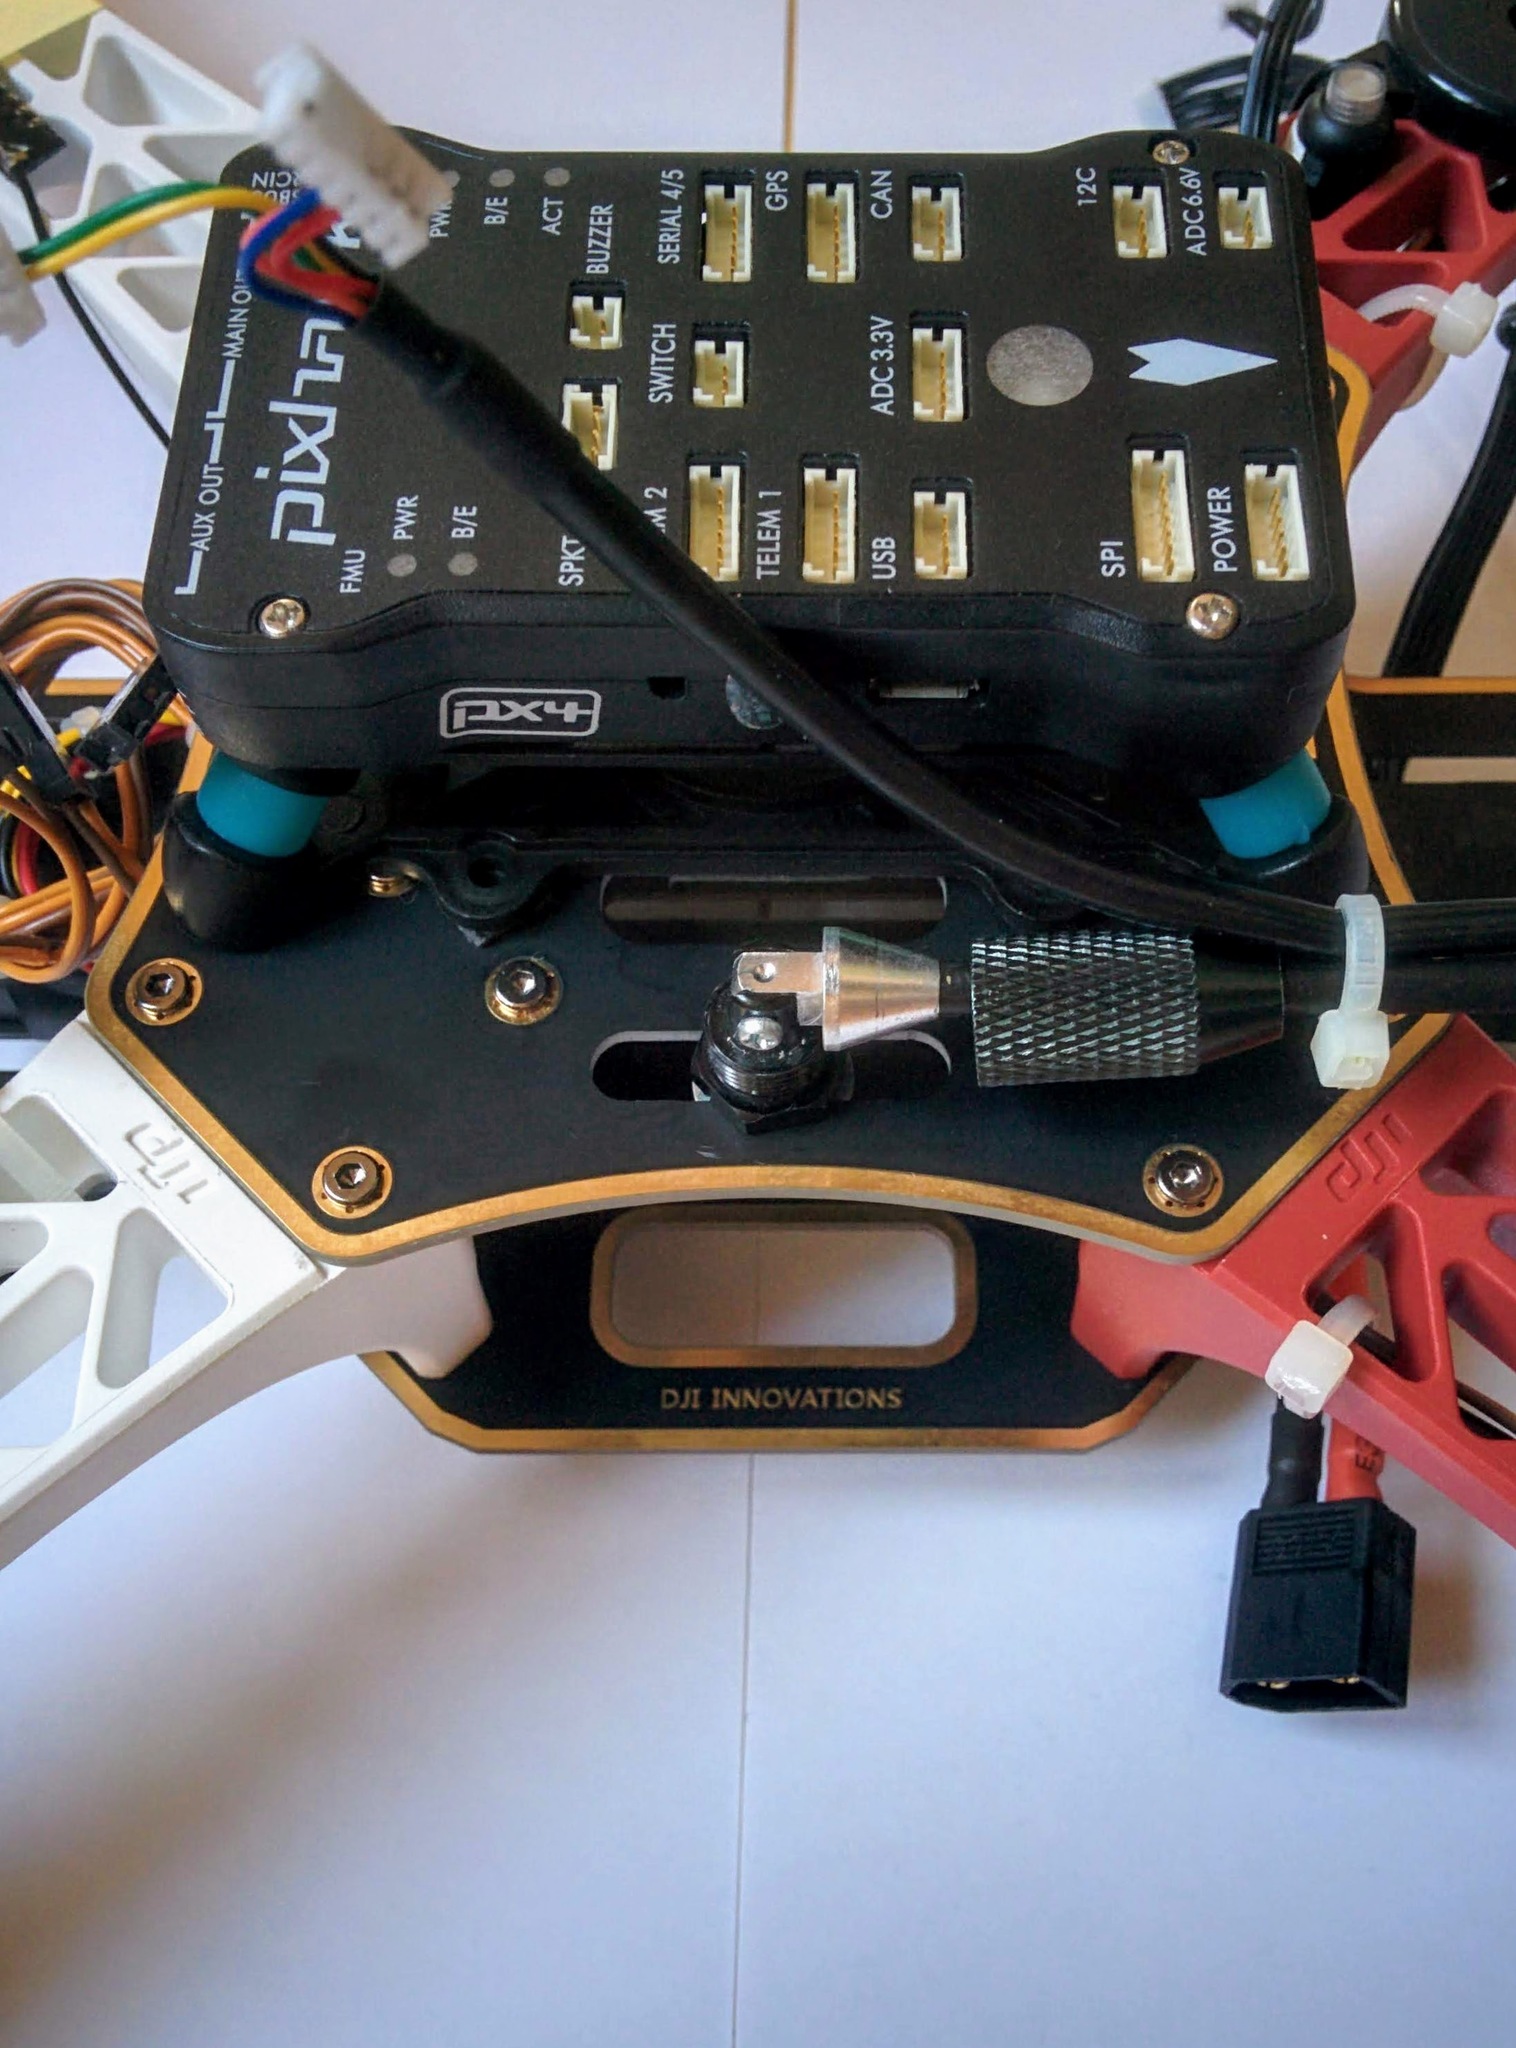
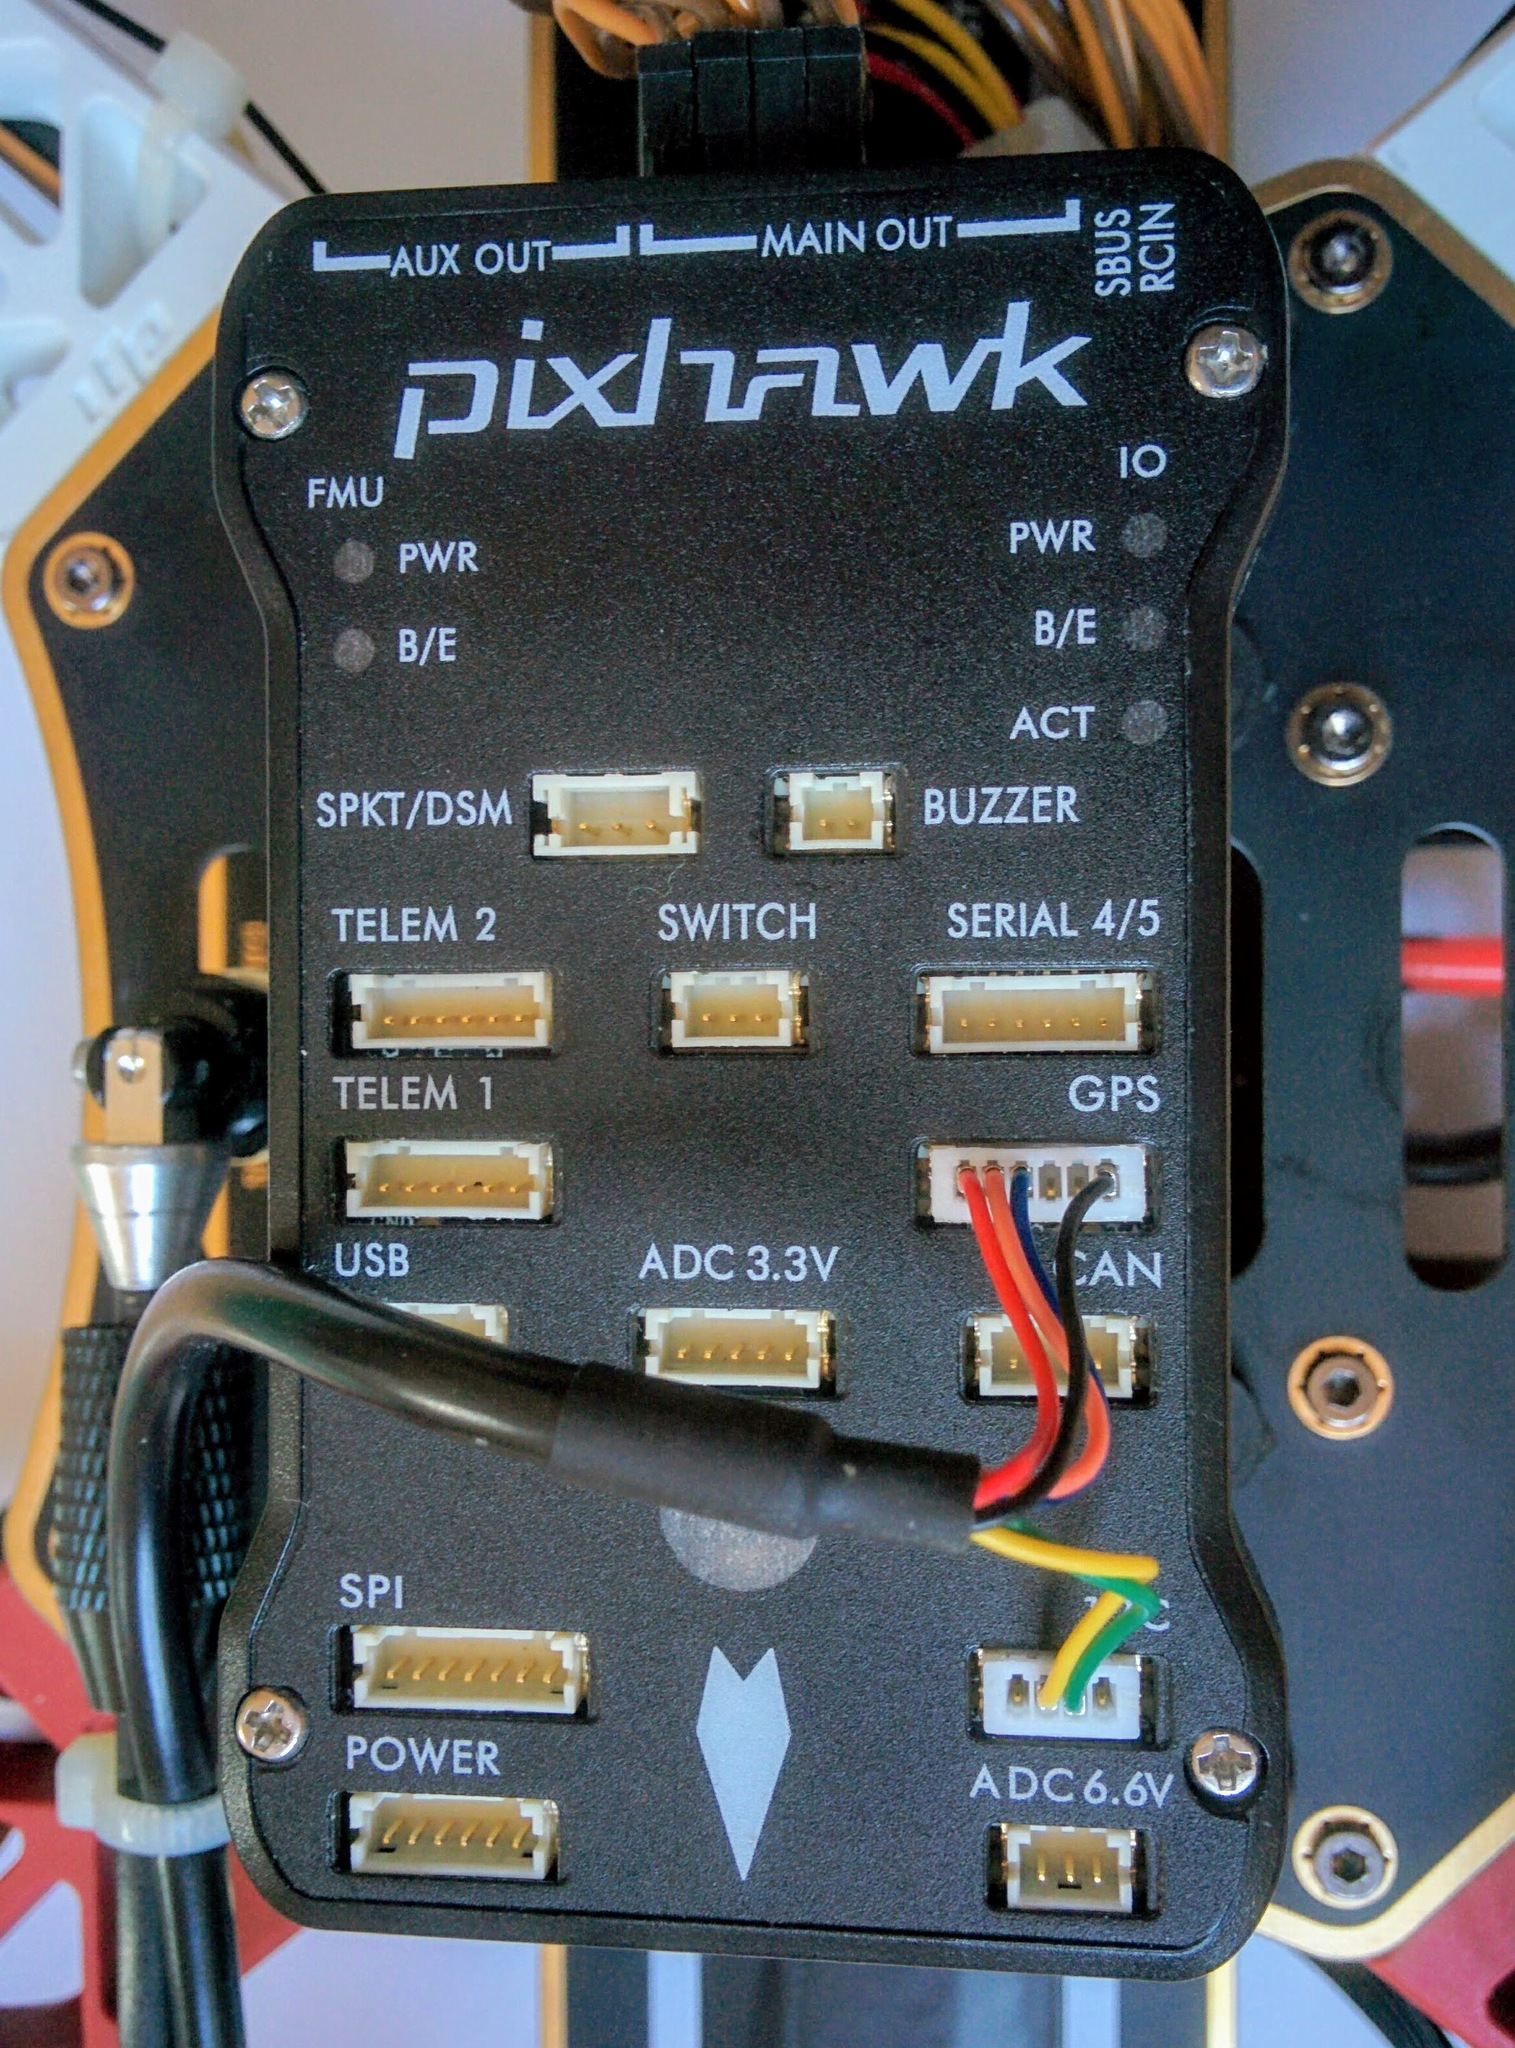
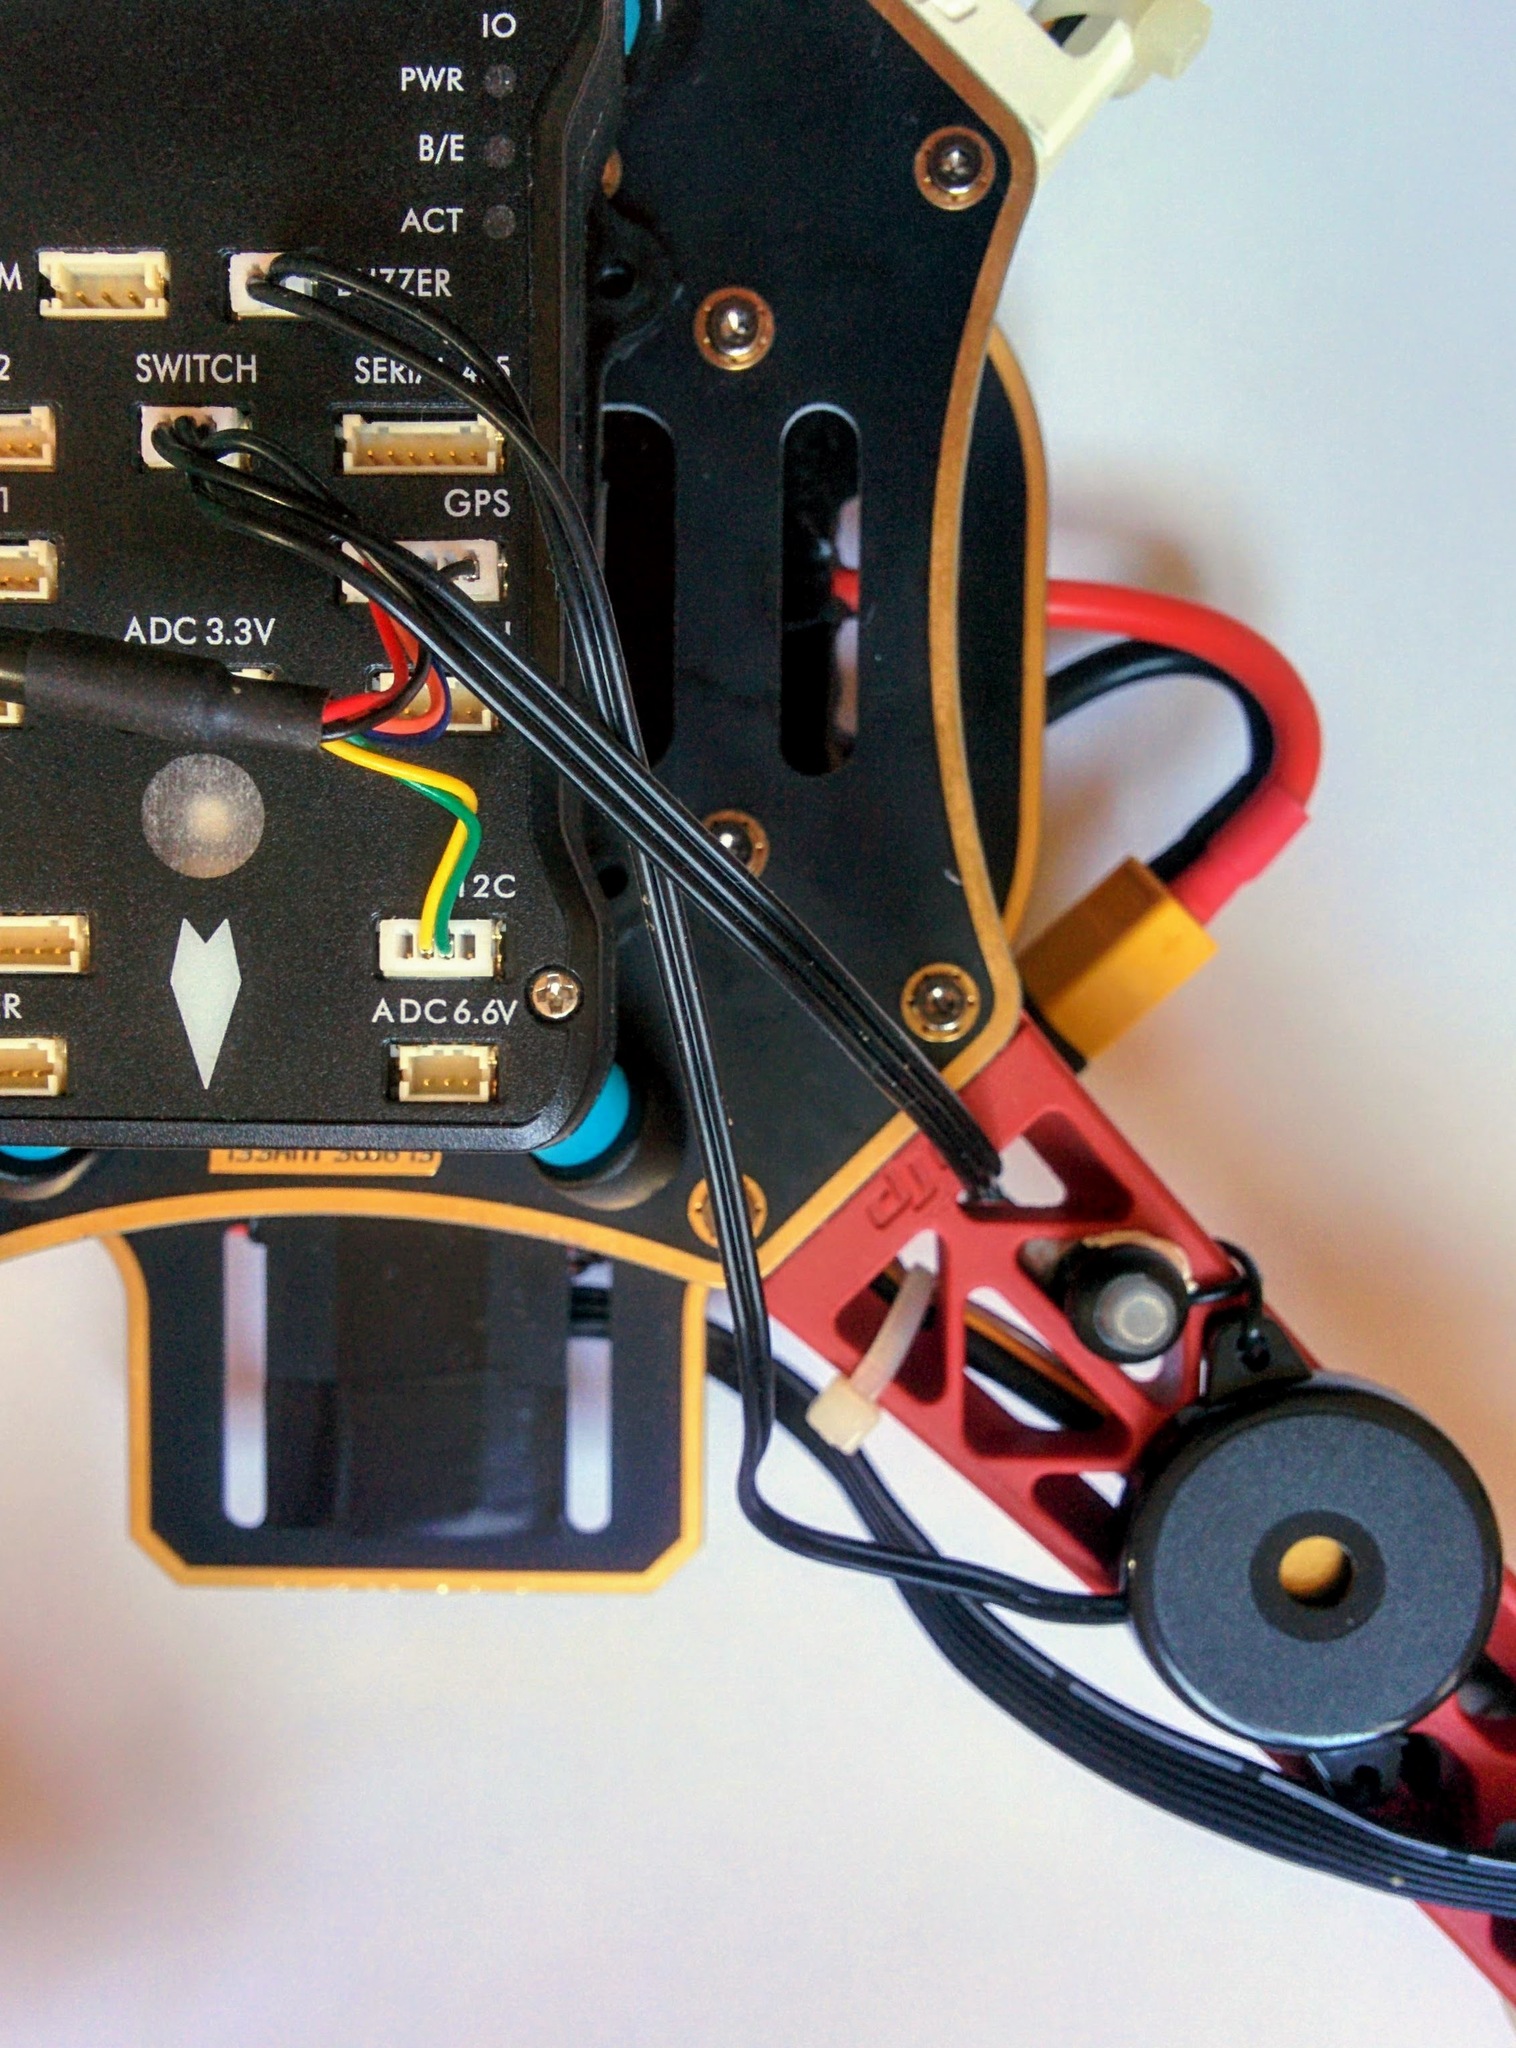
GPS connected (note labels are above sockets).
Buzzer and safety switch attached.
Power module connected.

RX connected.
Battery strap loose.
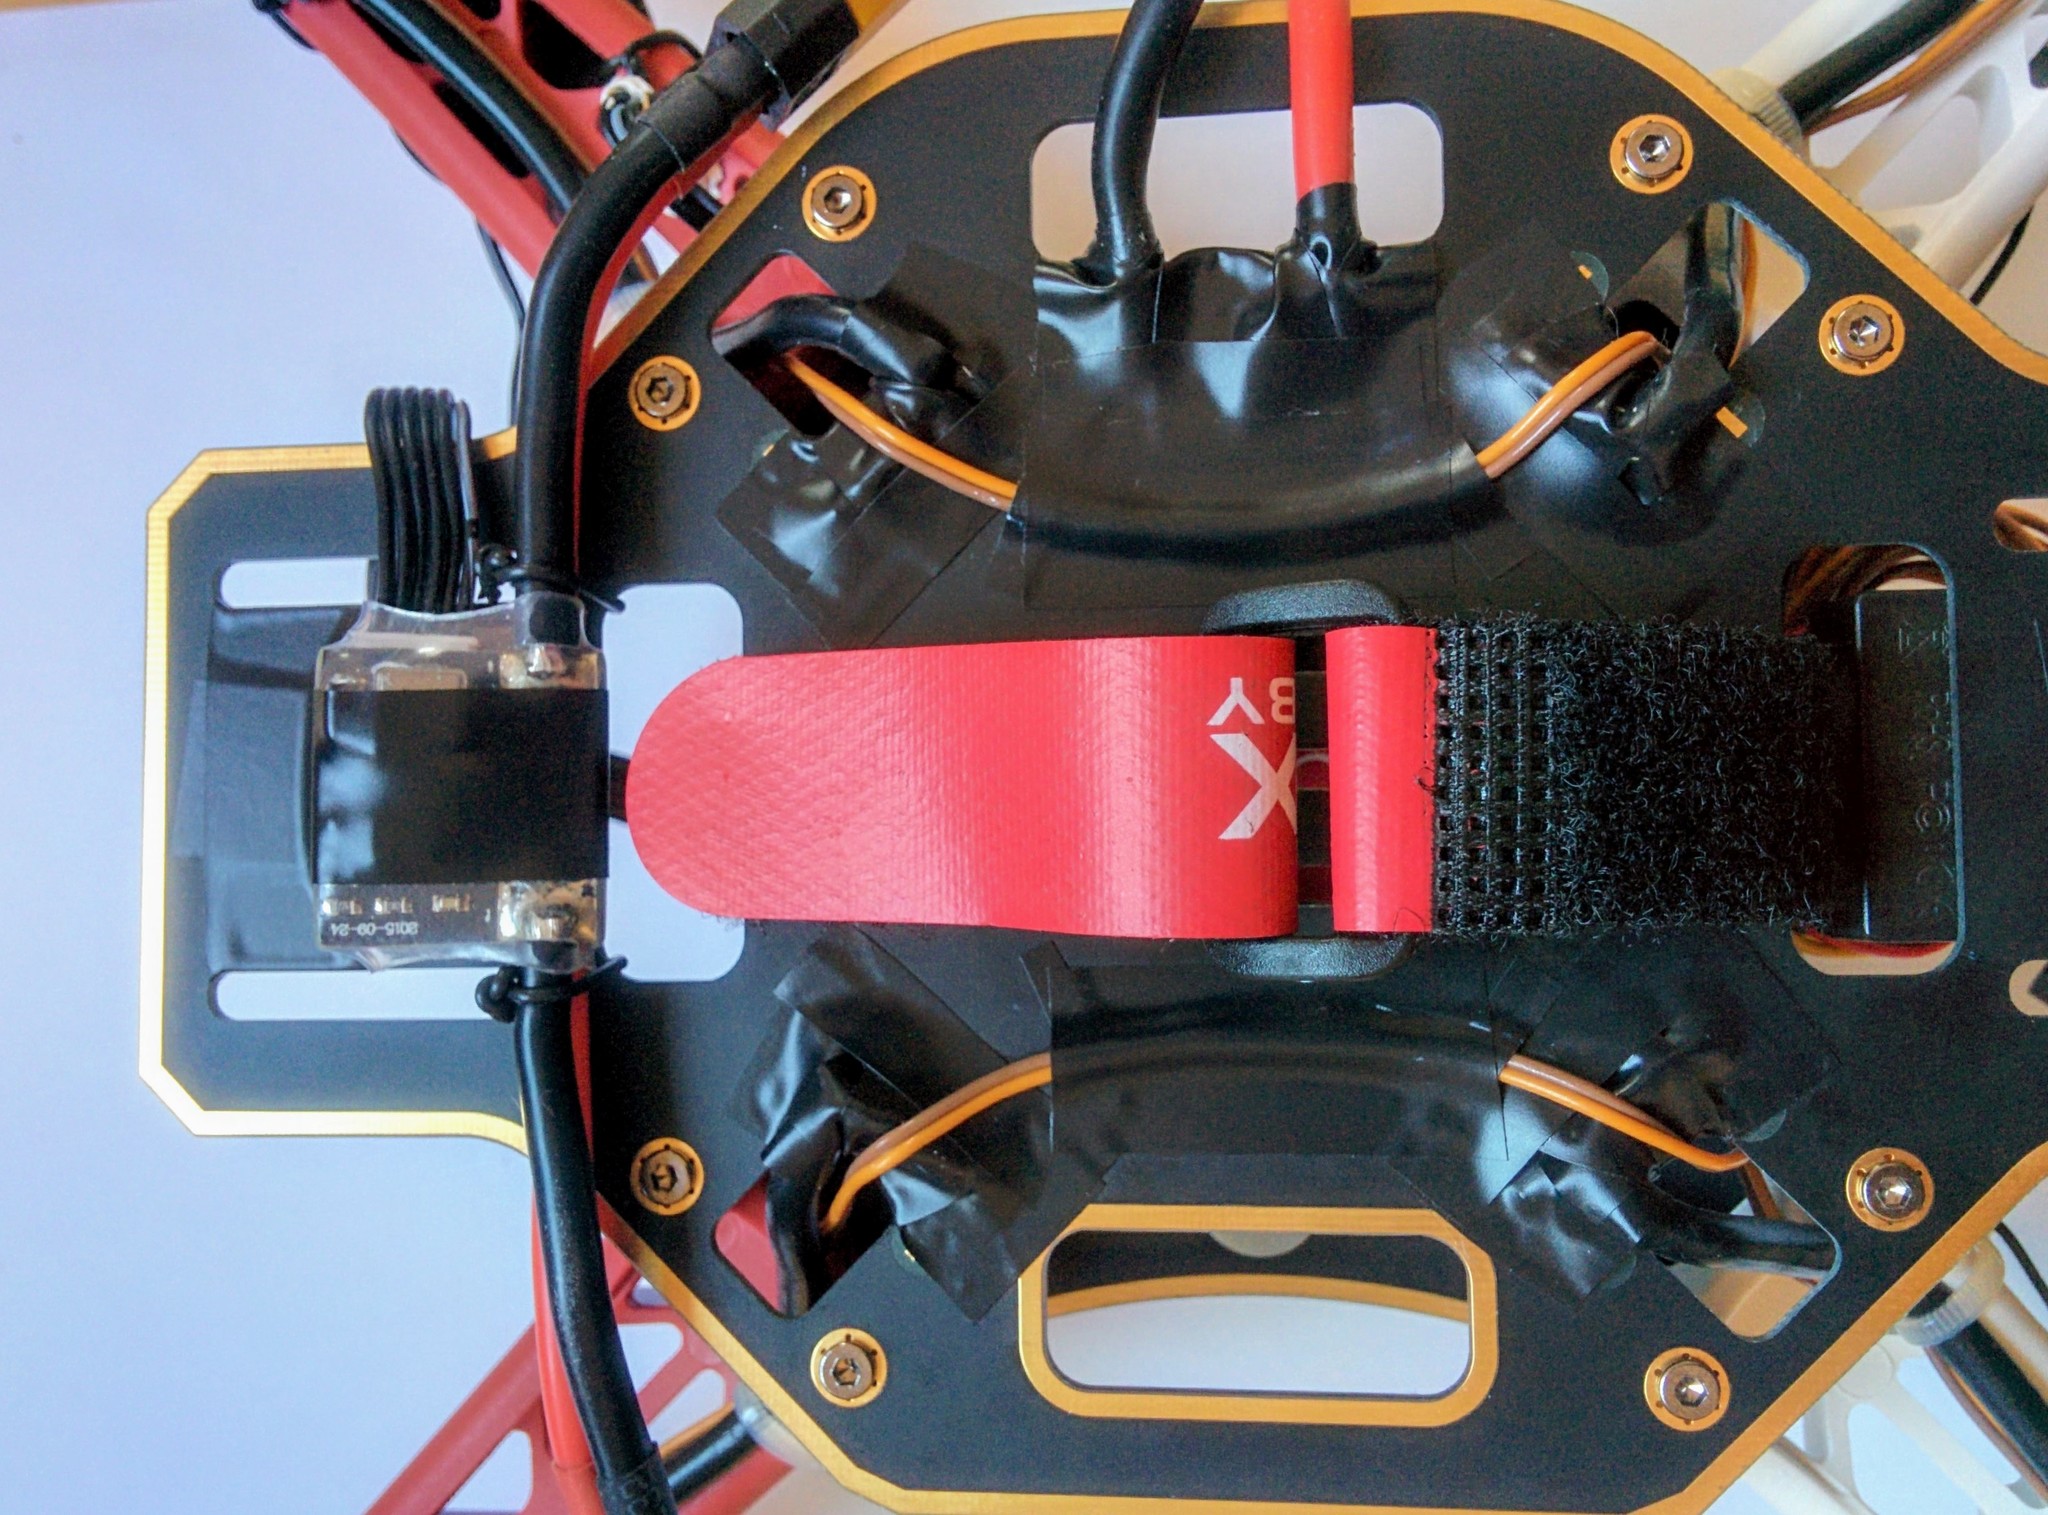
Battery in place and strap pulled tight.
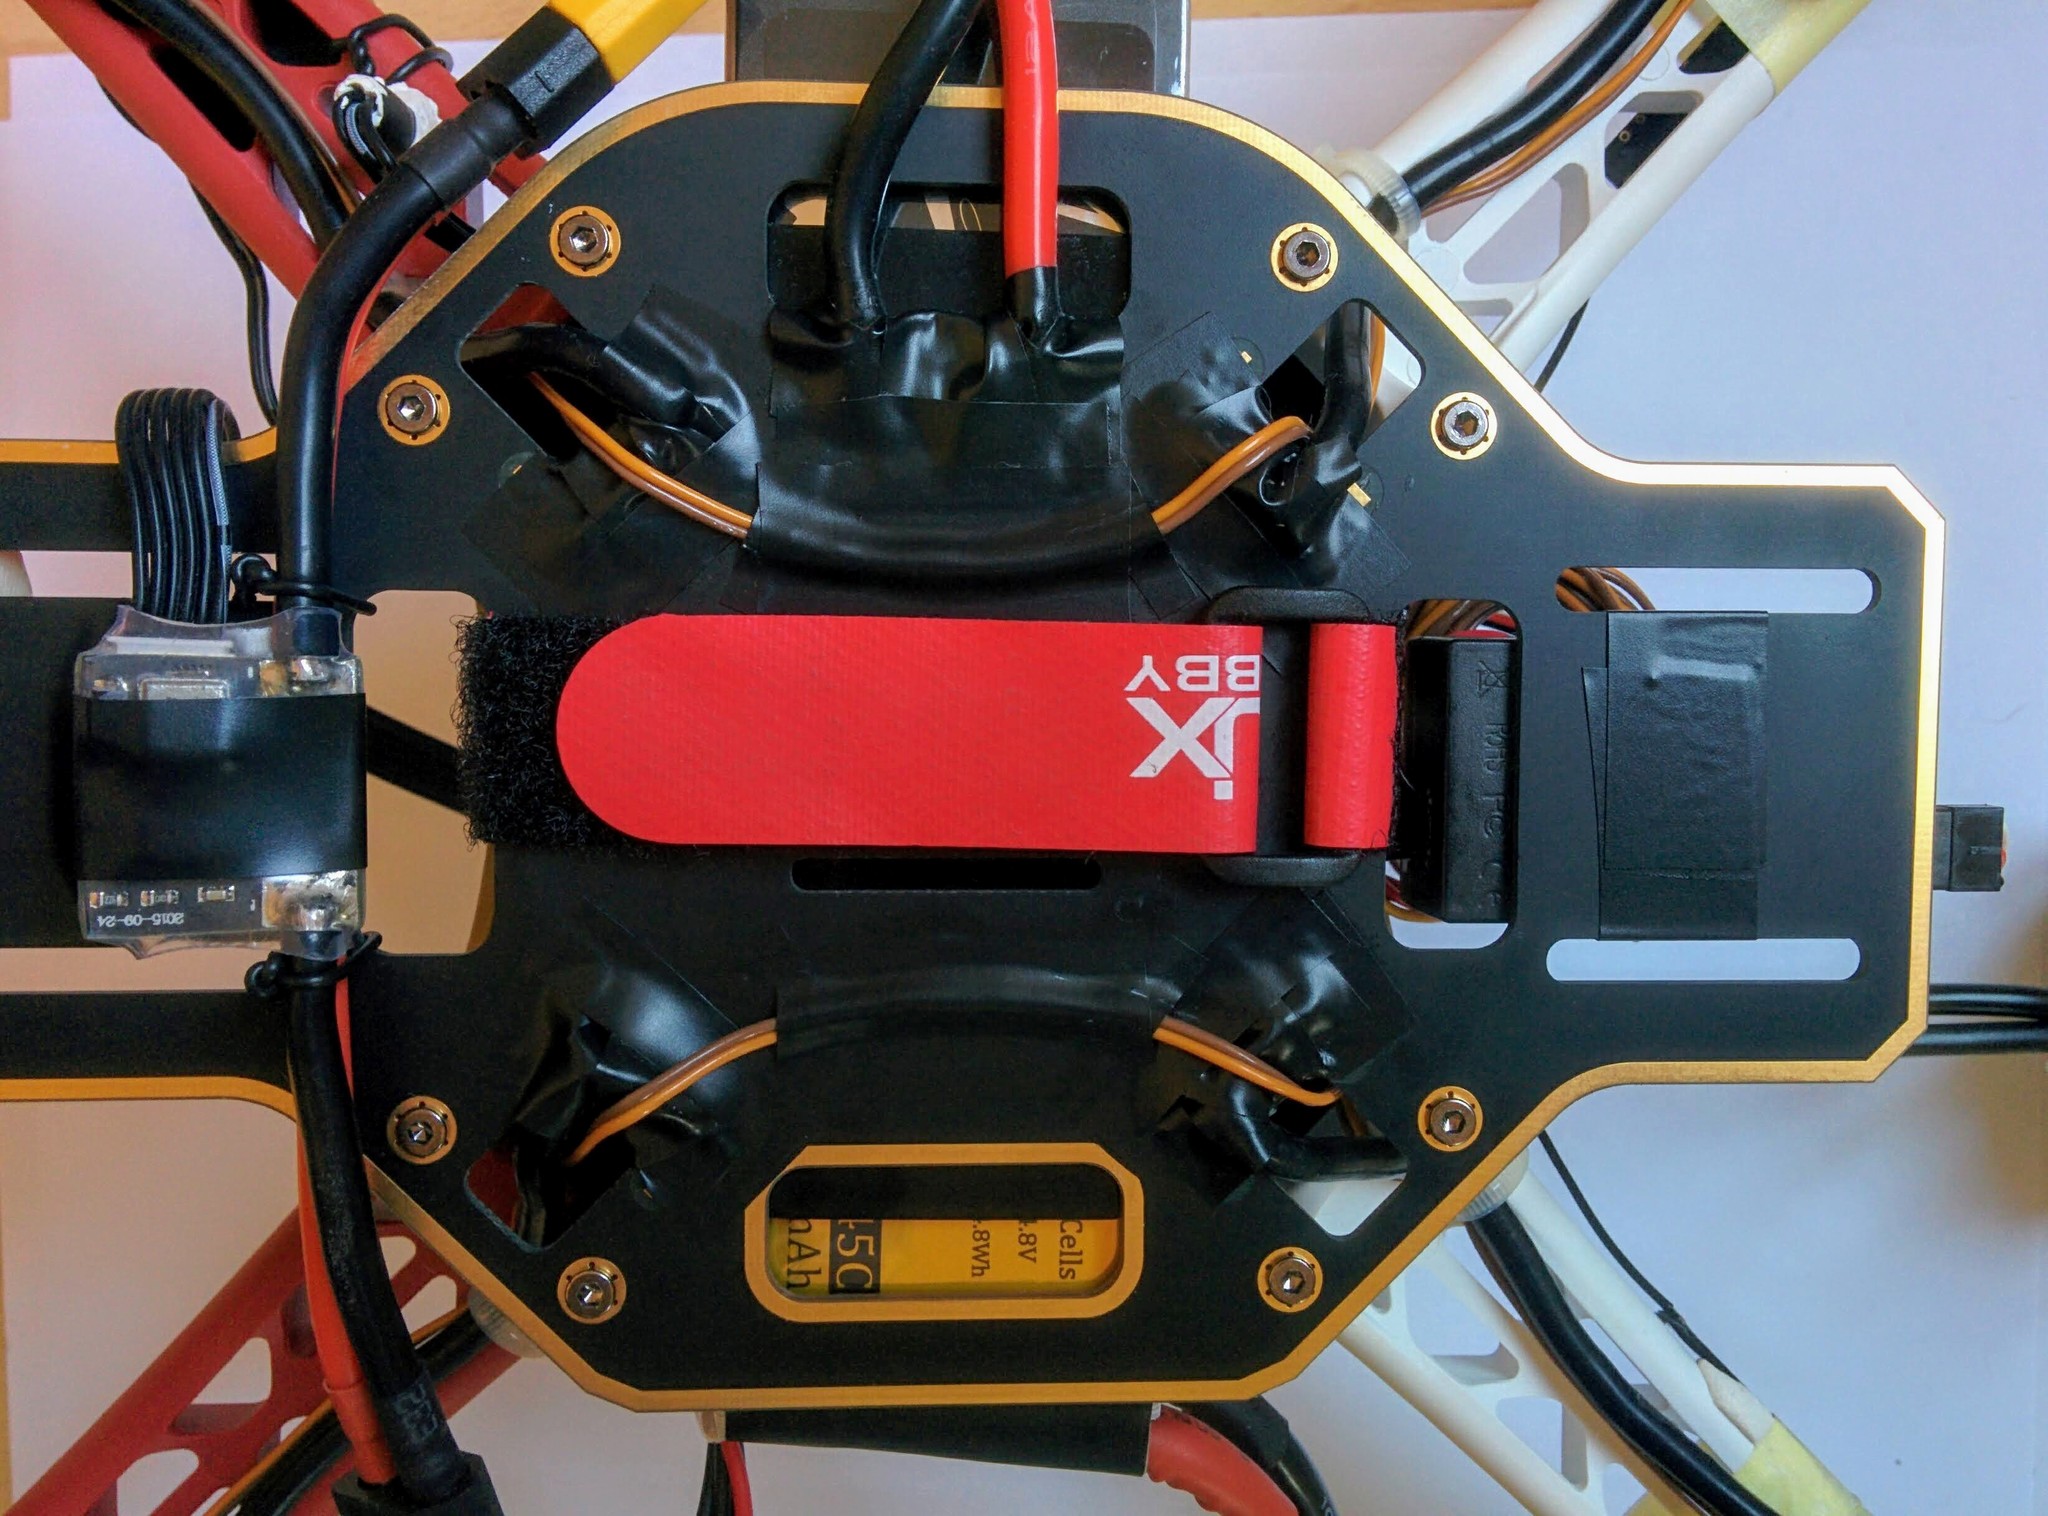
Battery in place - top view.
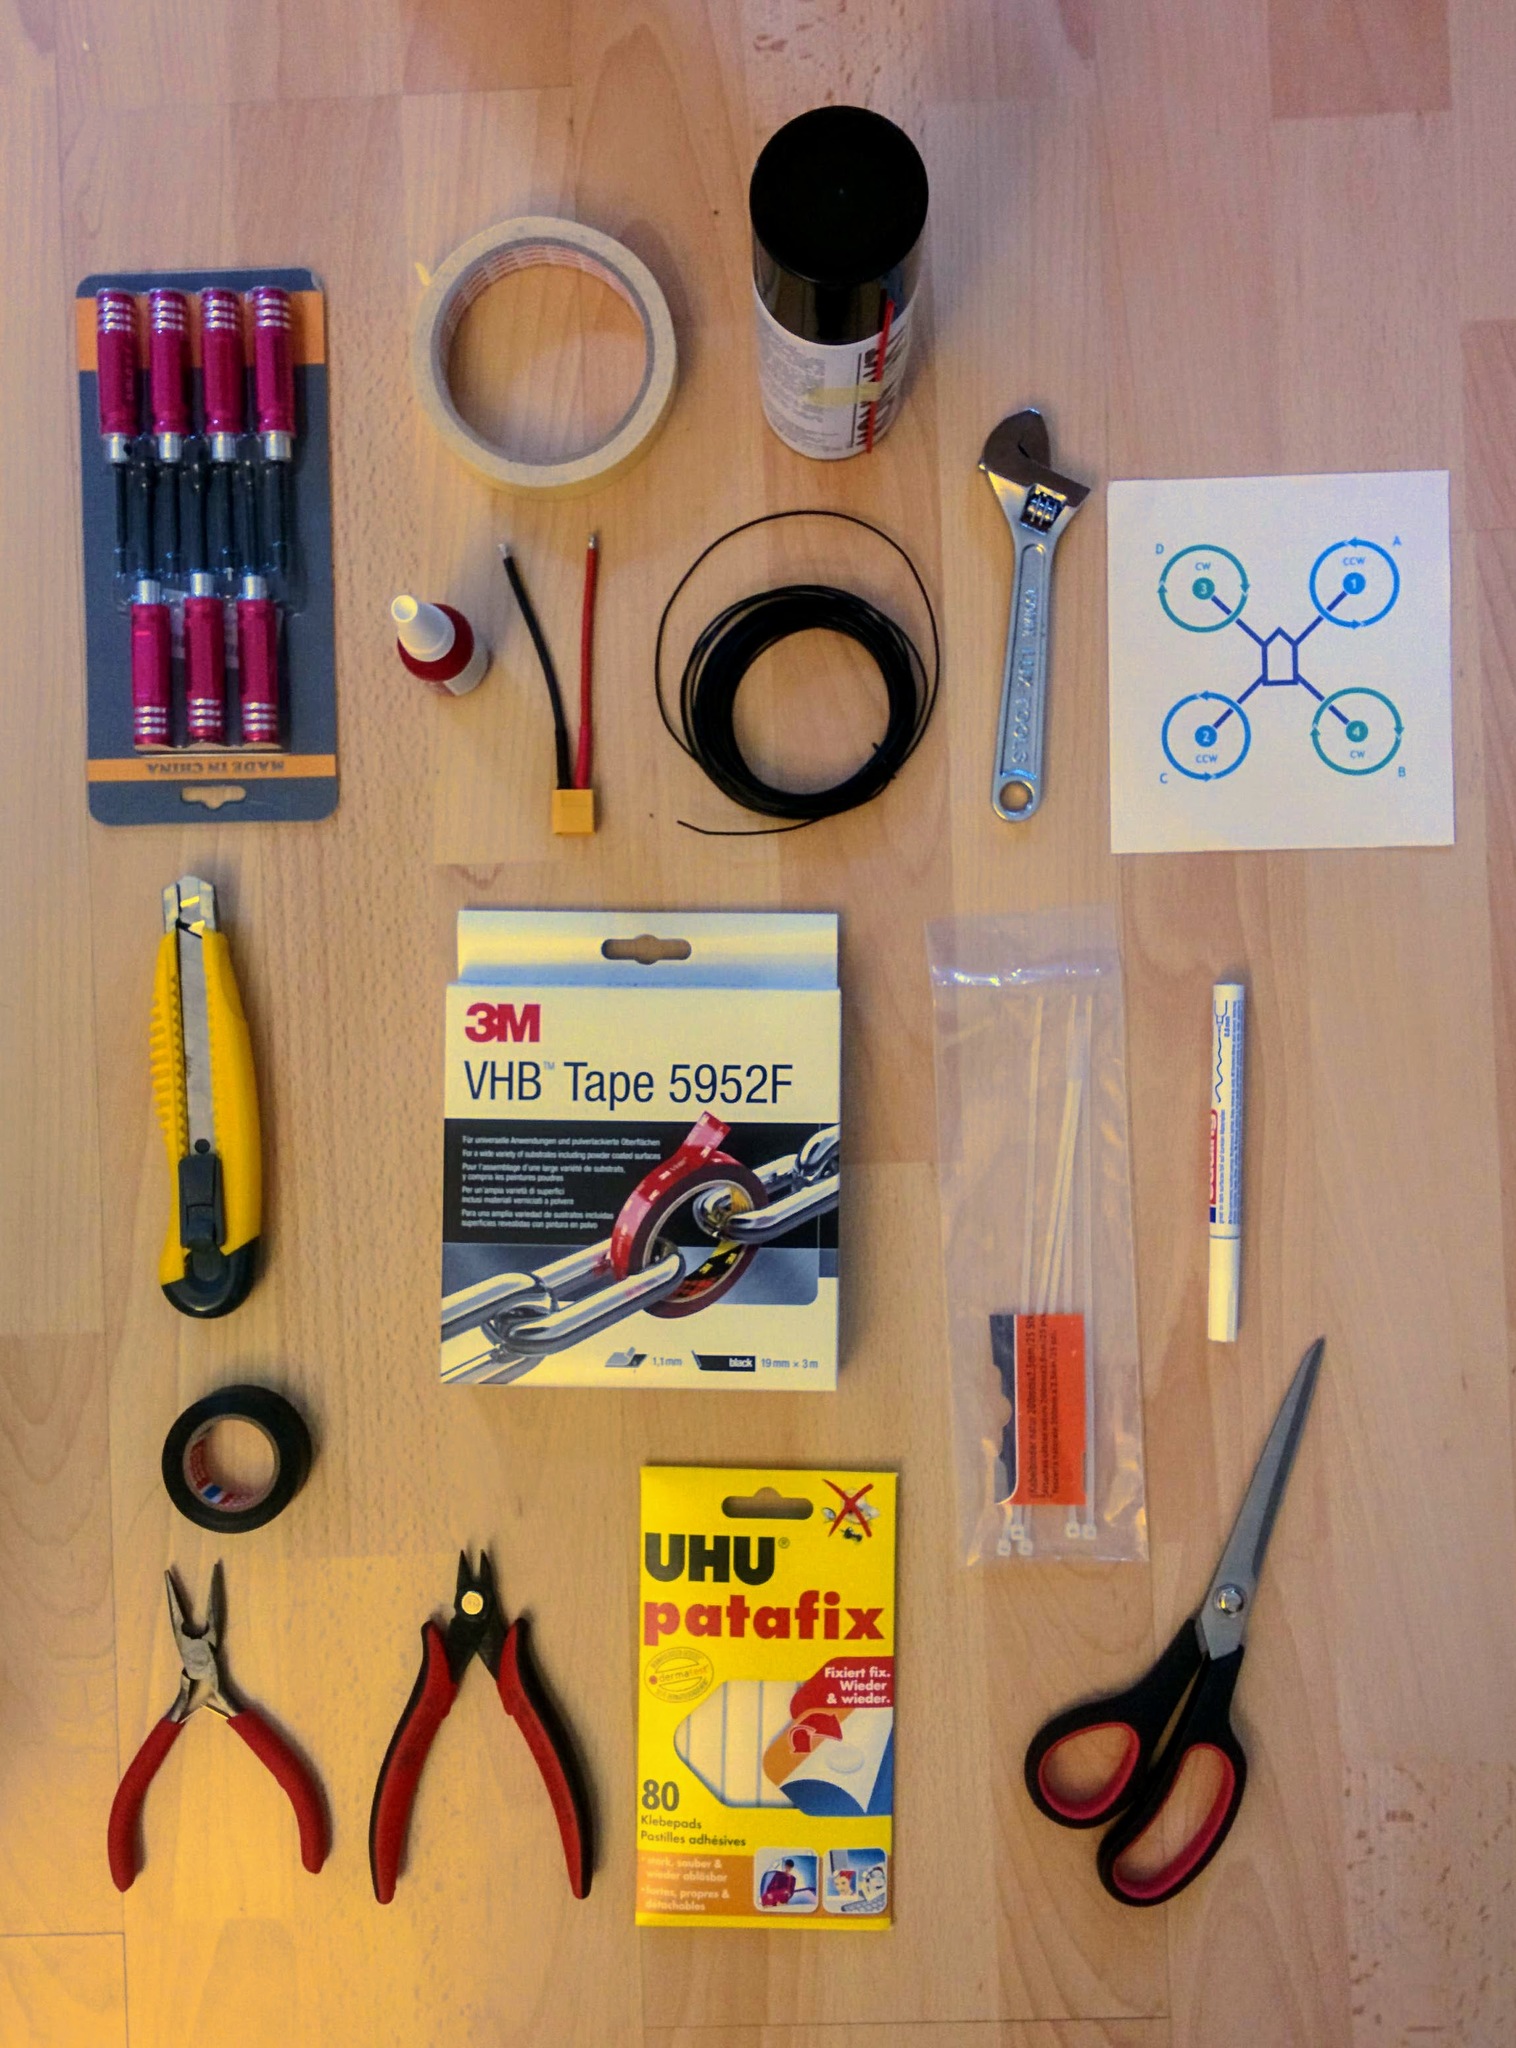
Material and tools used.
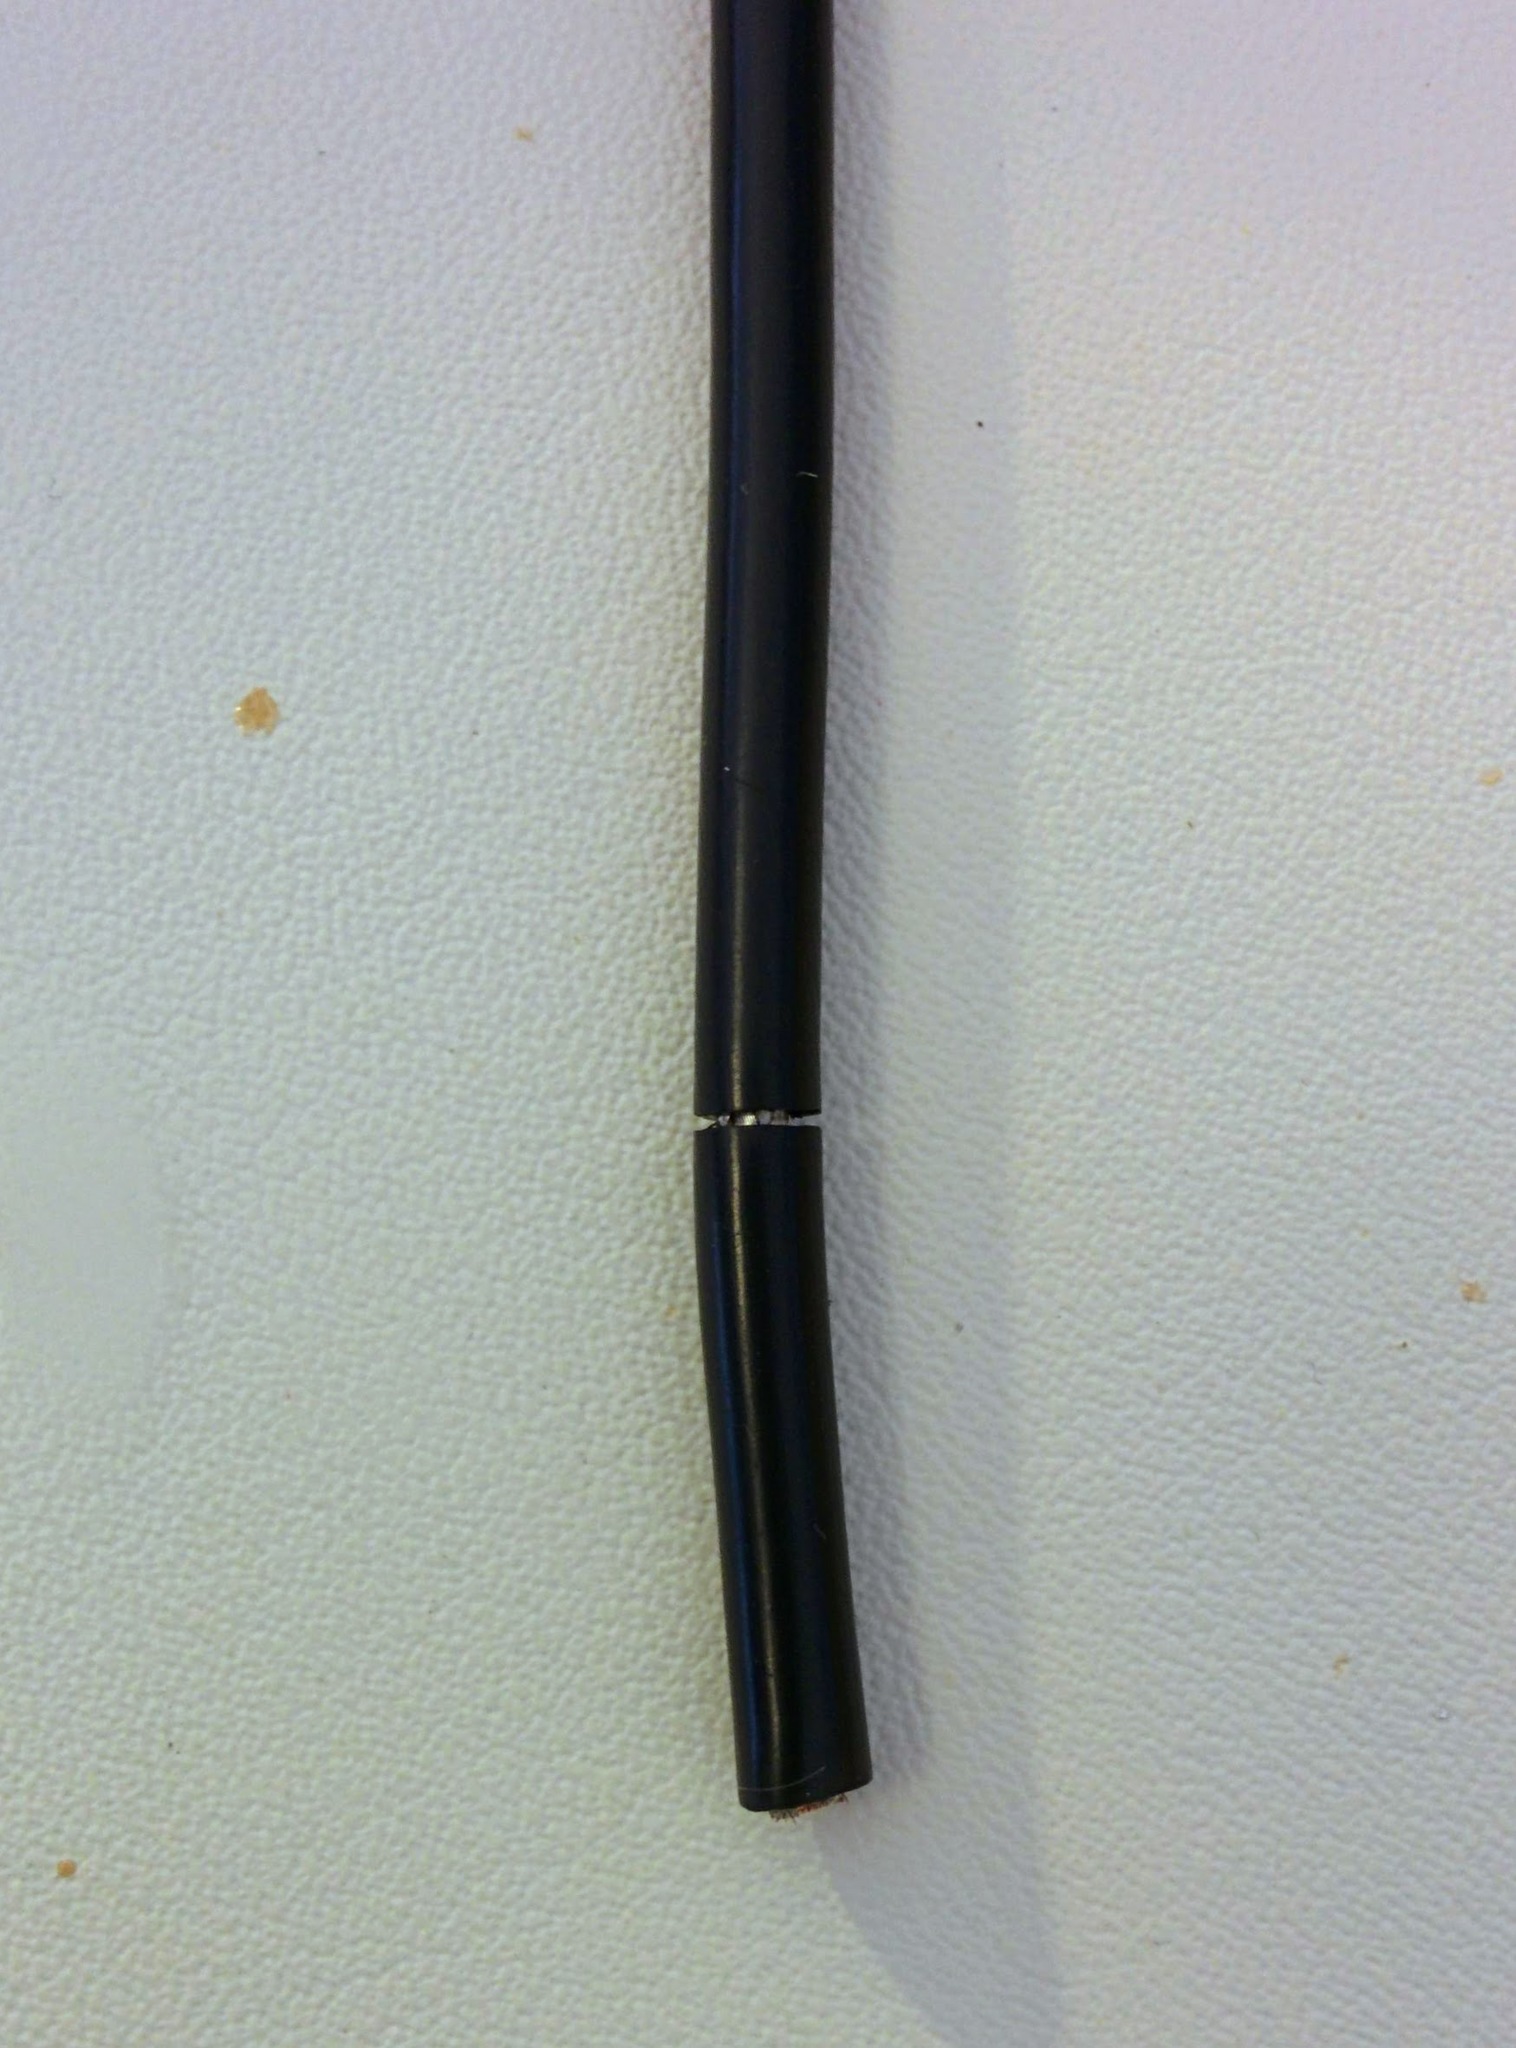
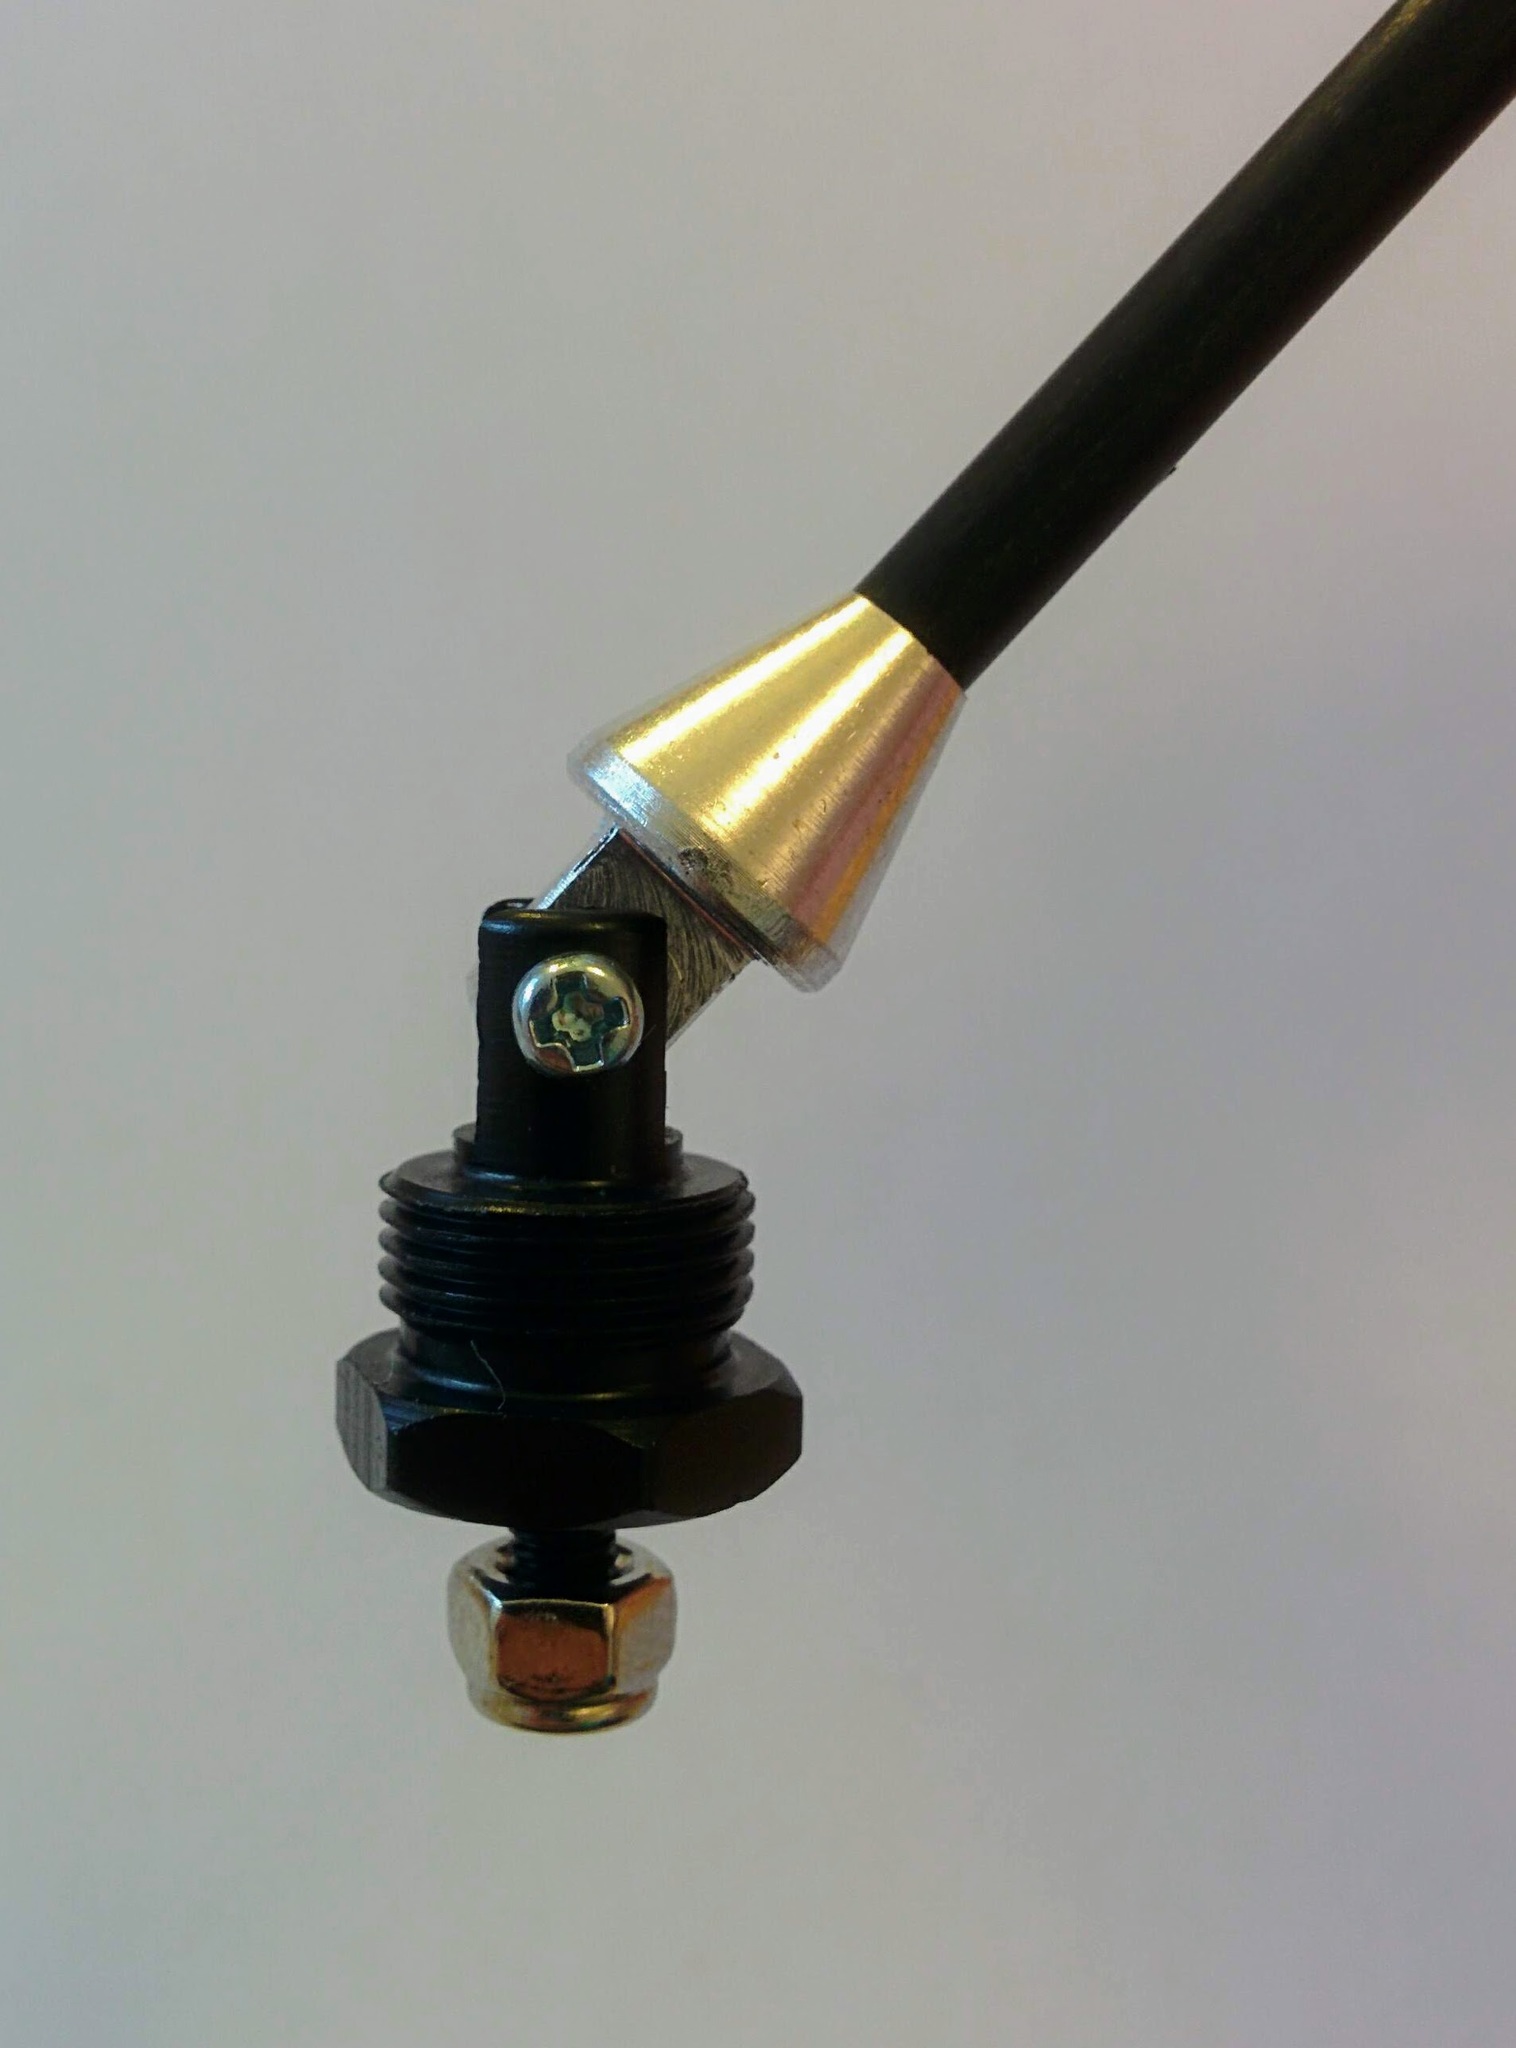
GPS masts
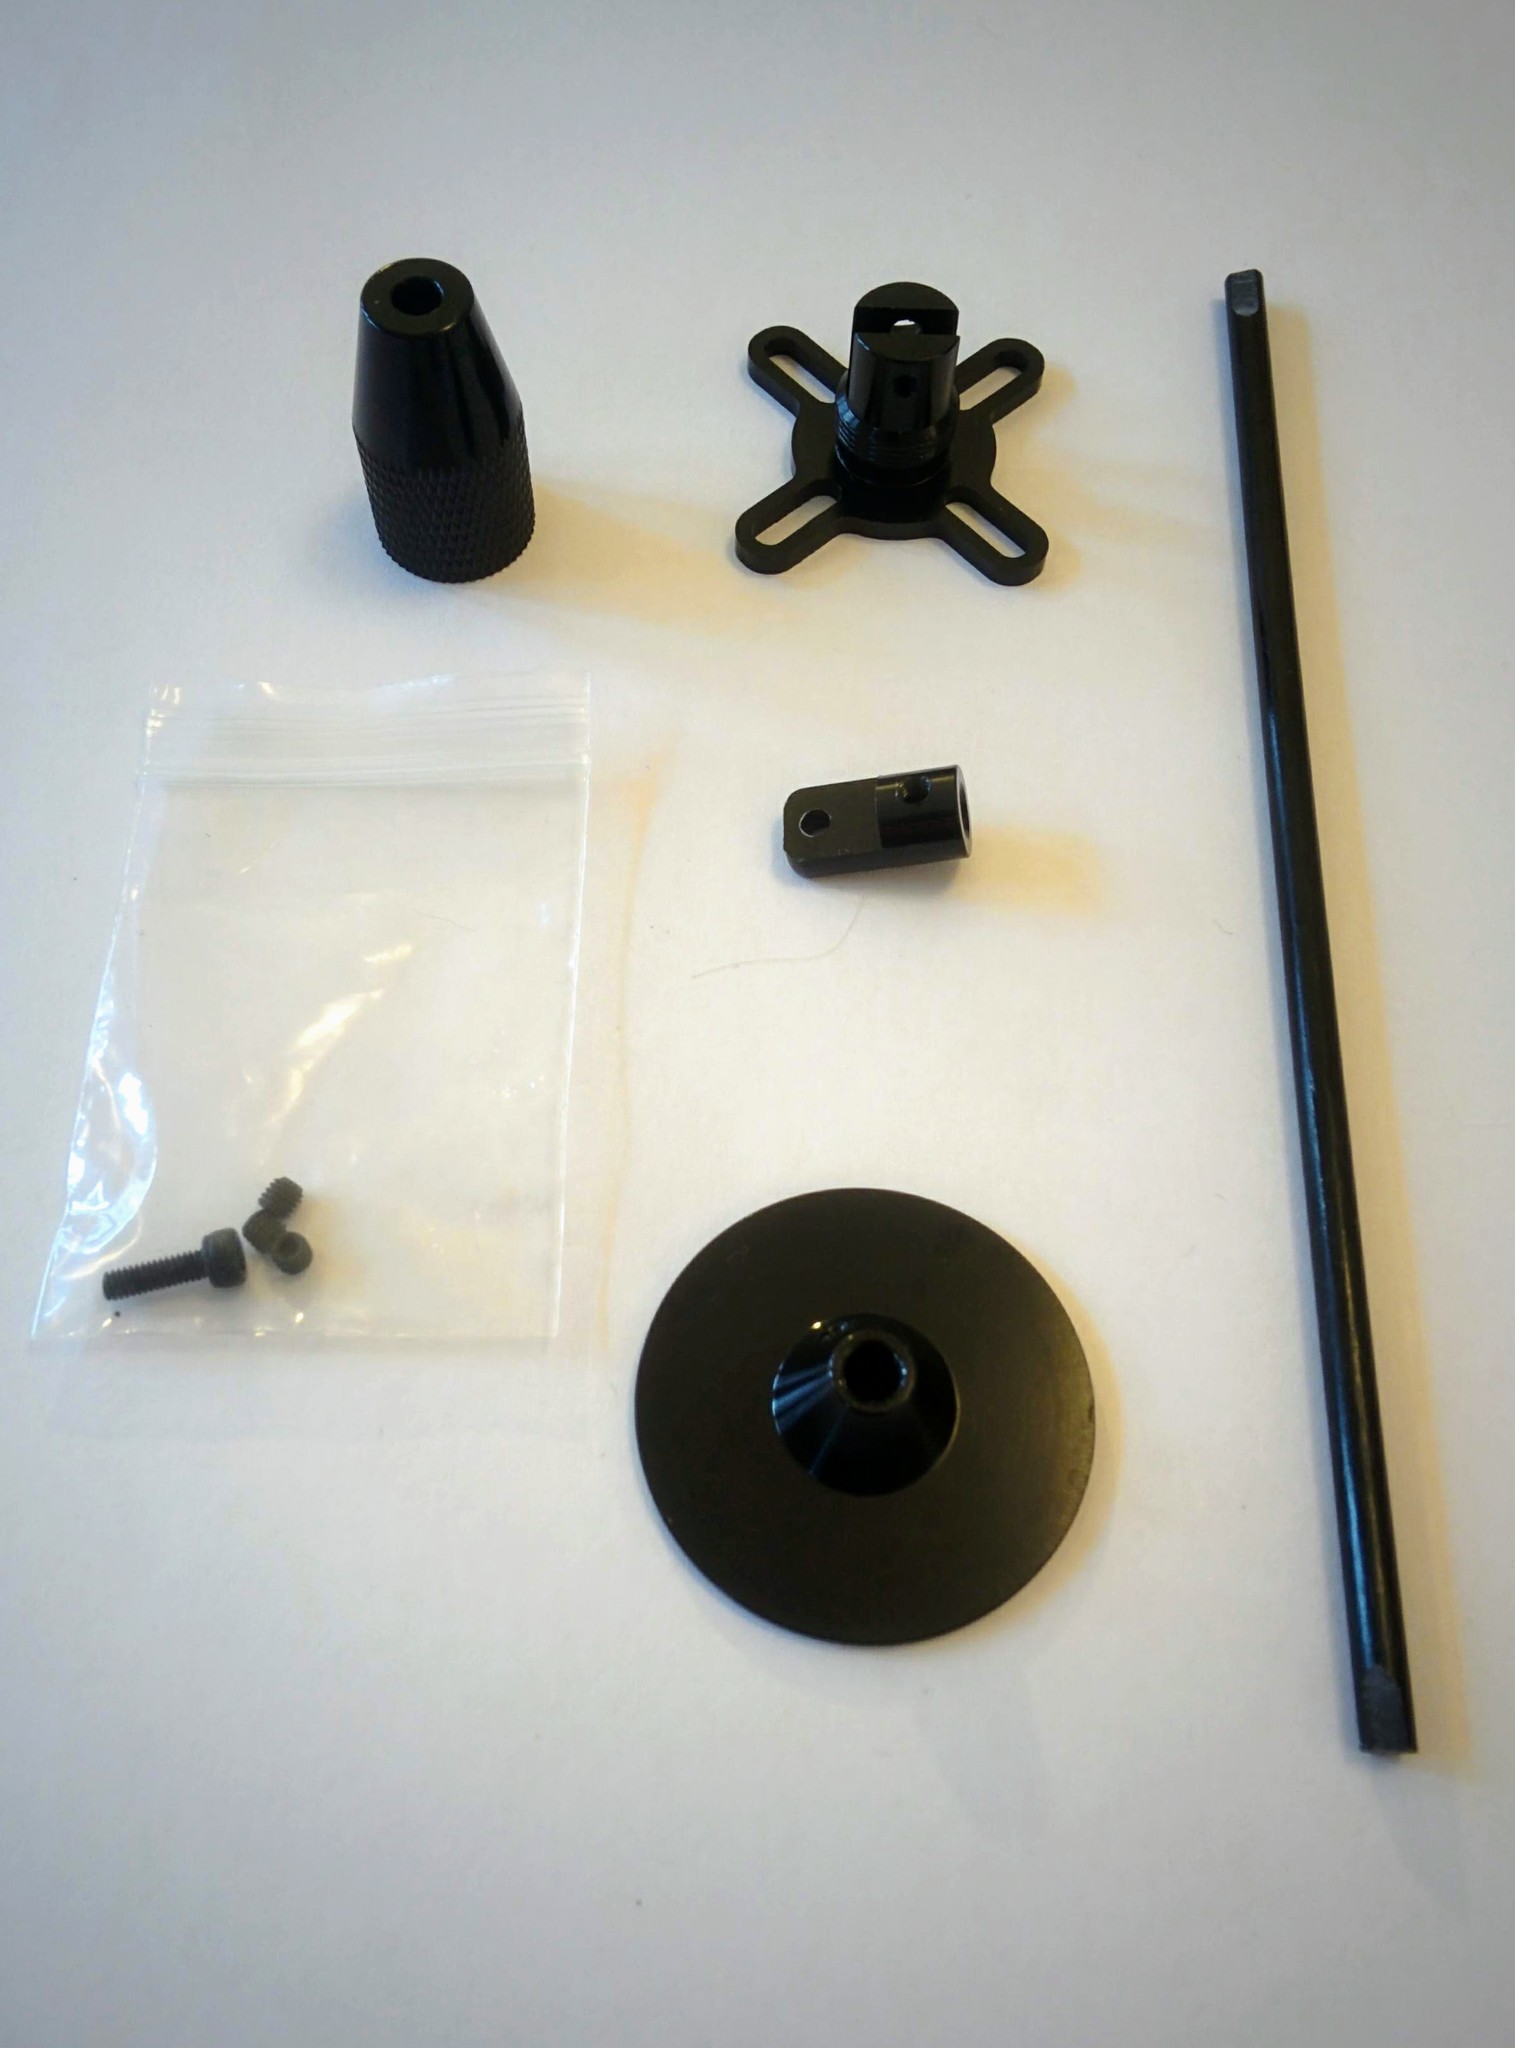
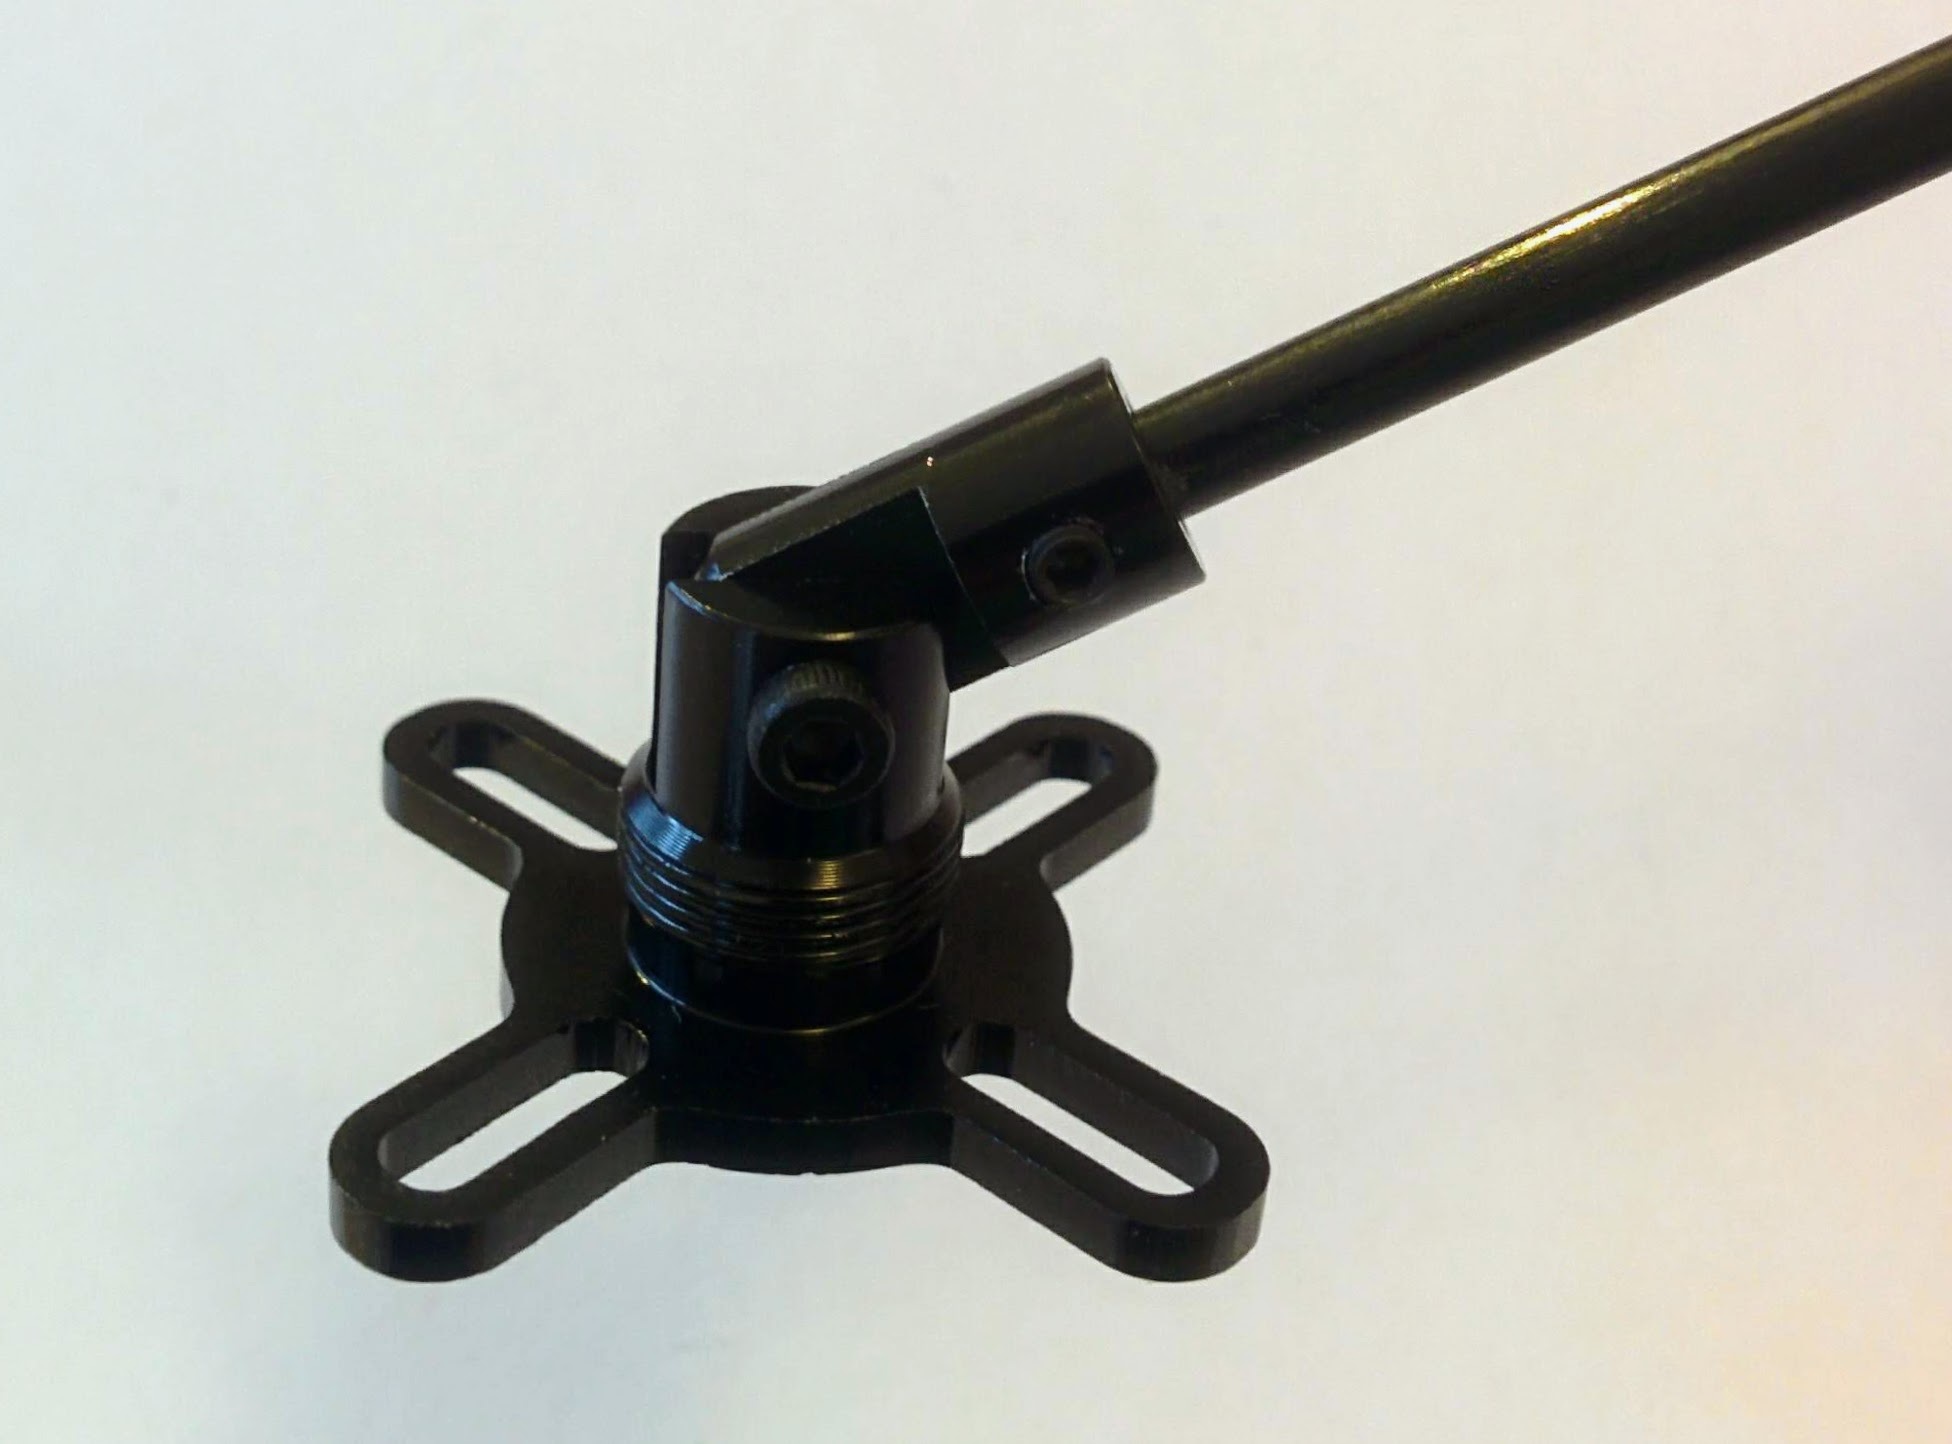
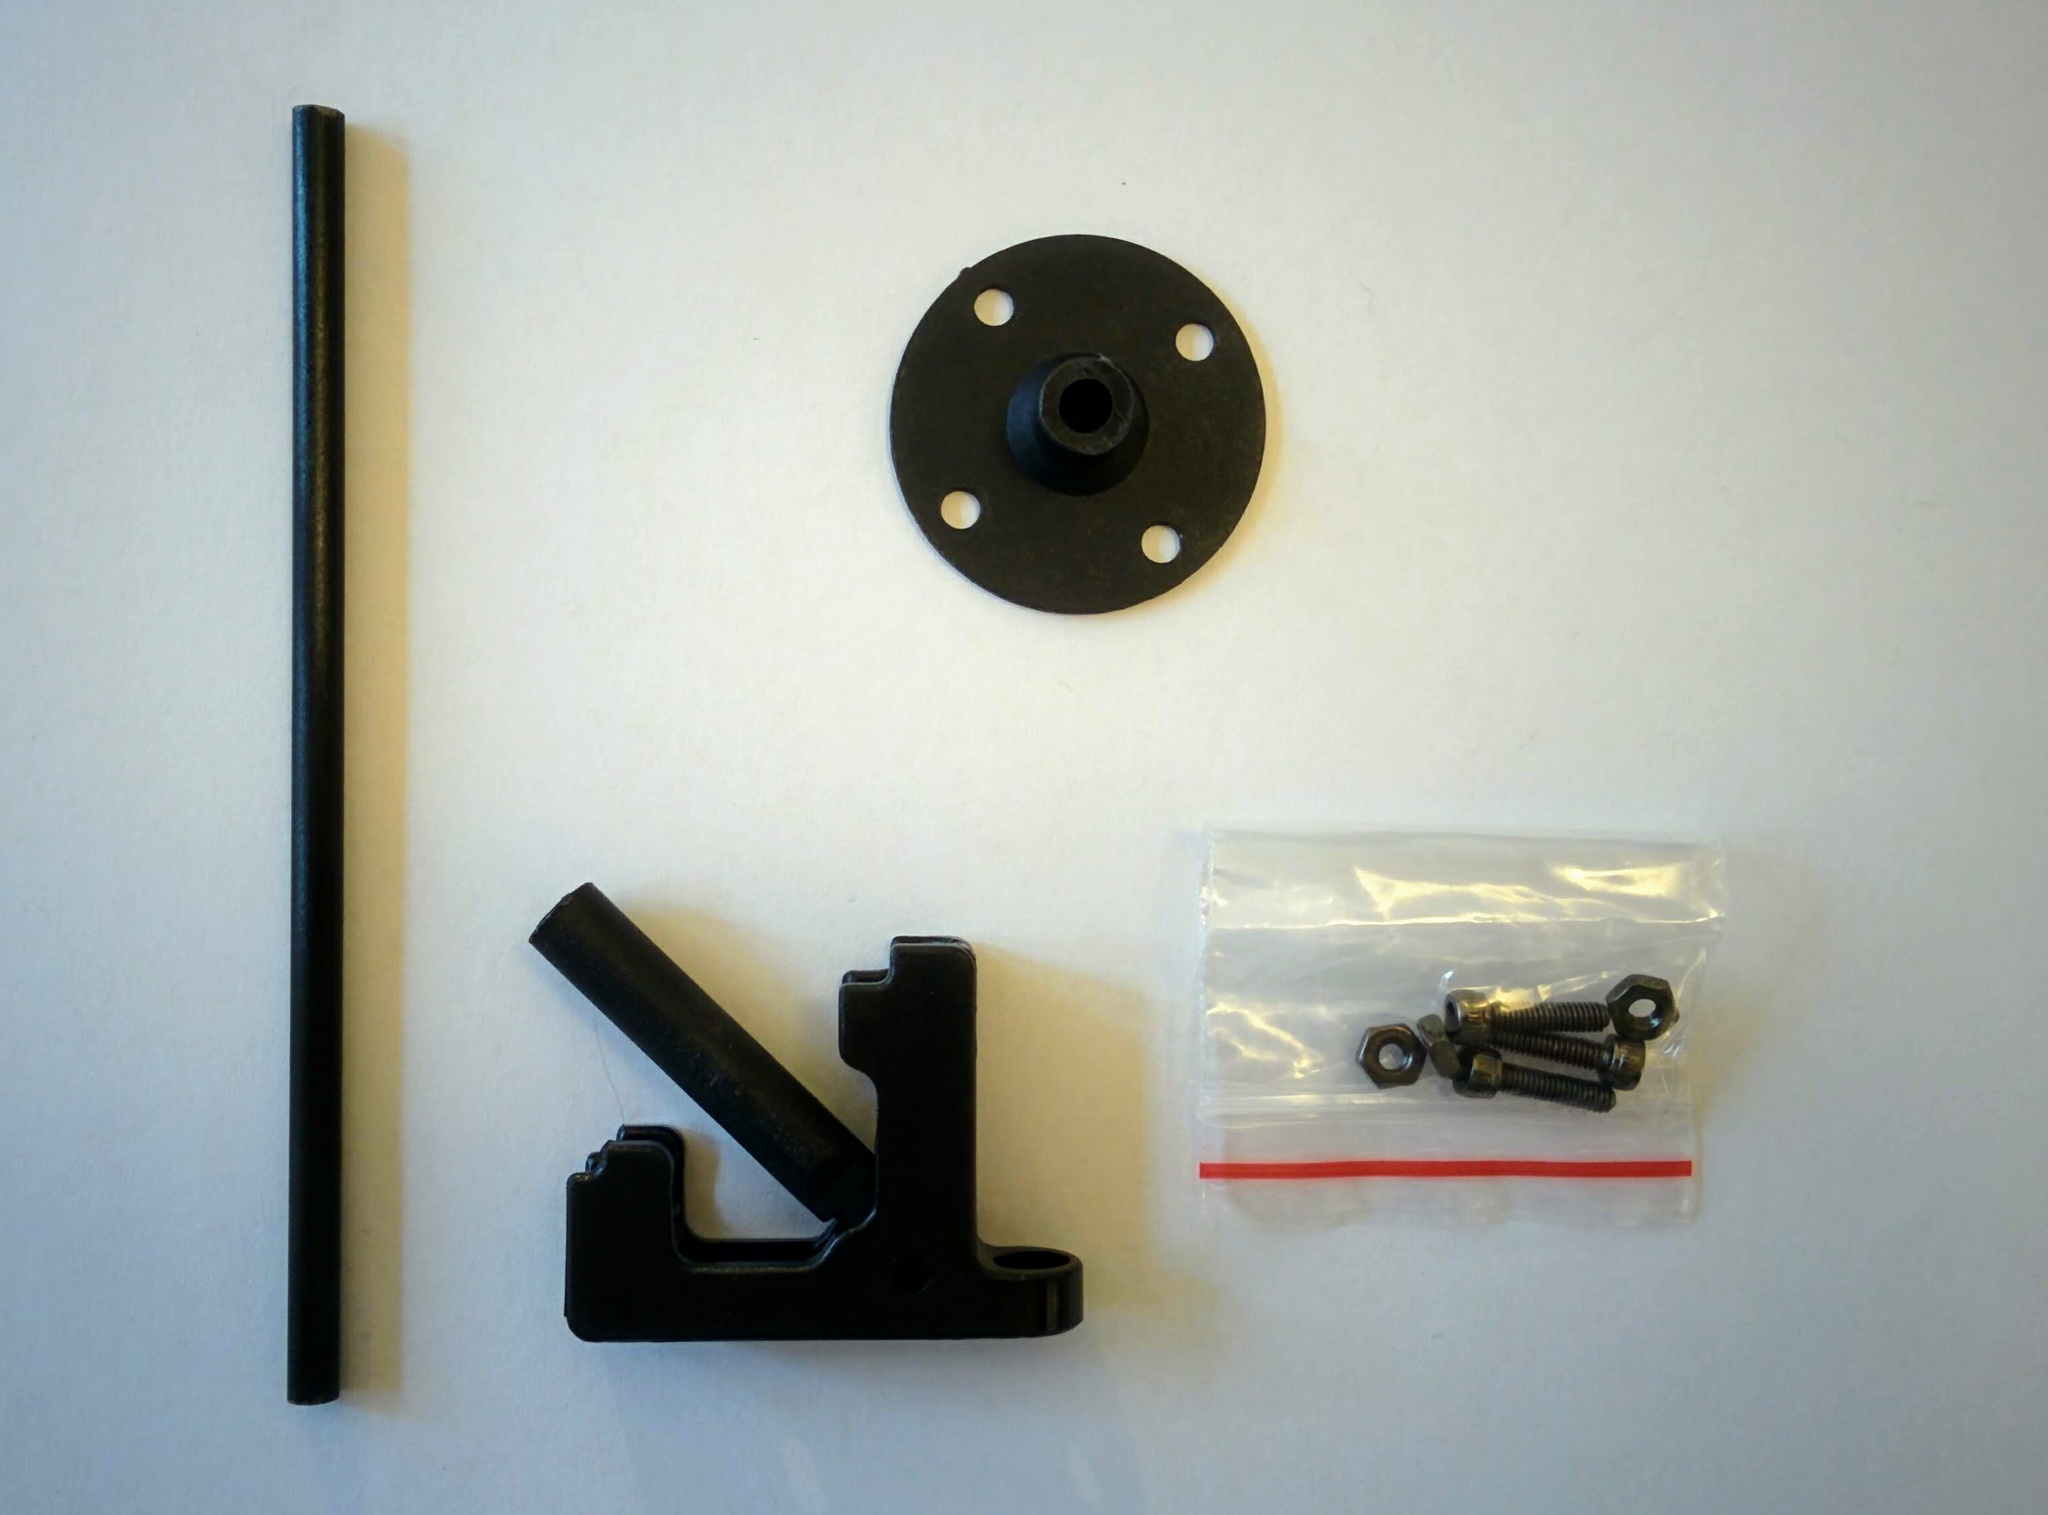
4-bolt stand
Parts.
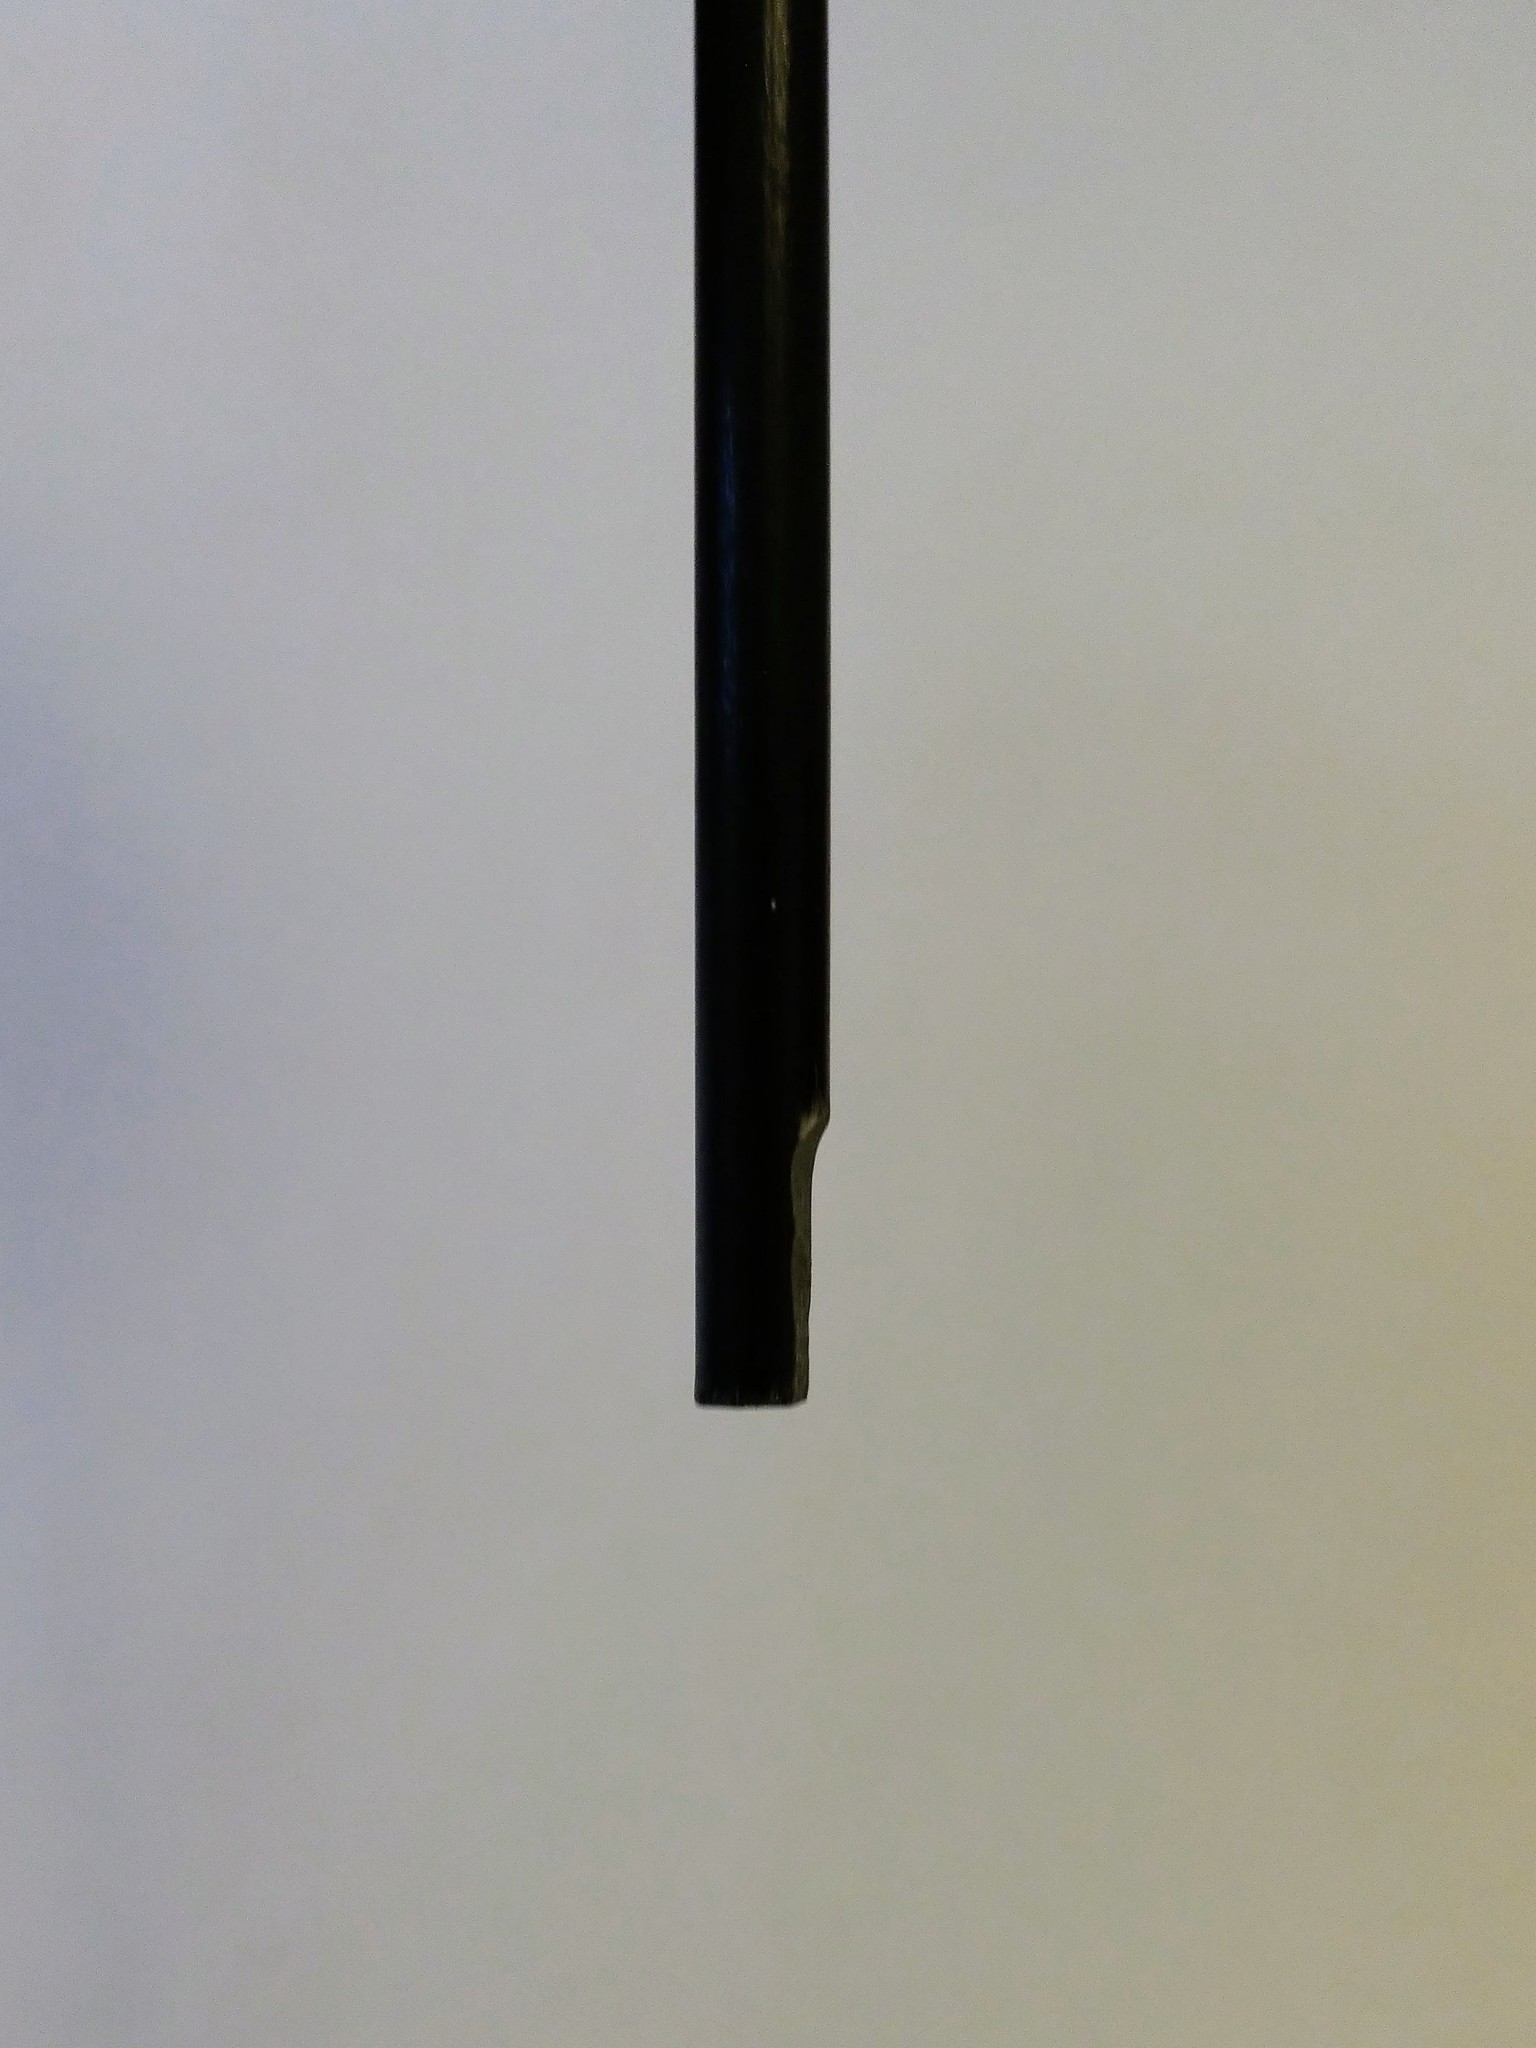
Joint.
Notch (on some versions).
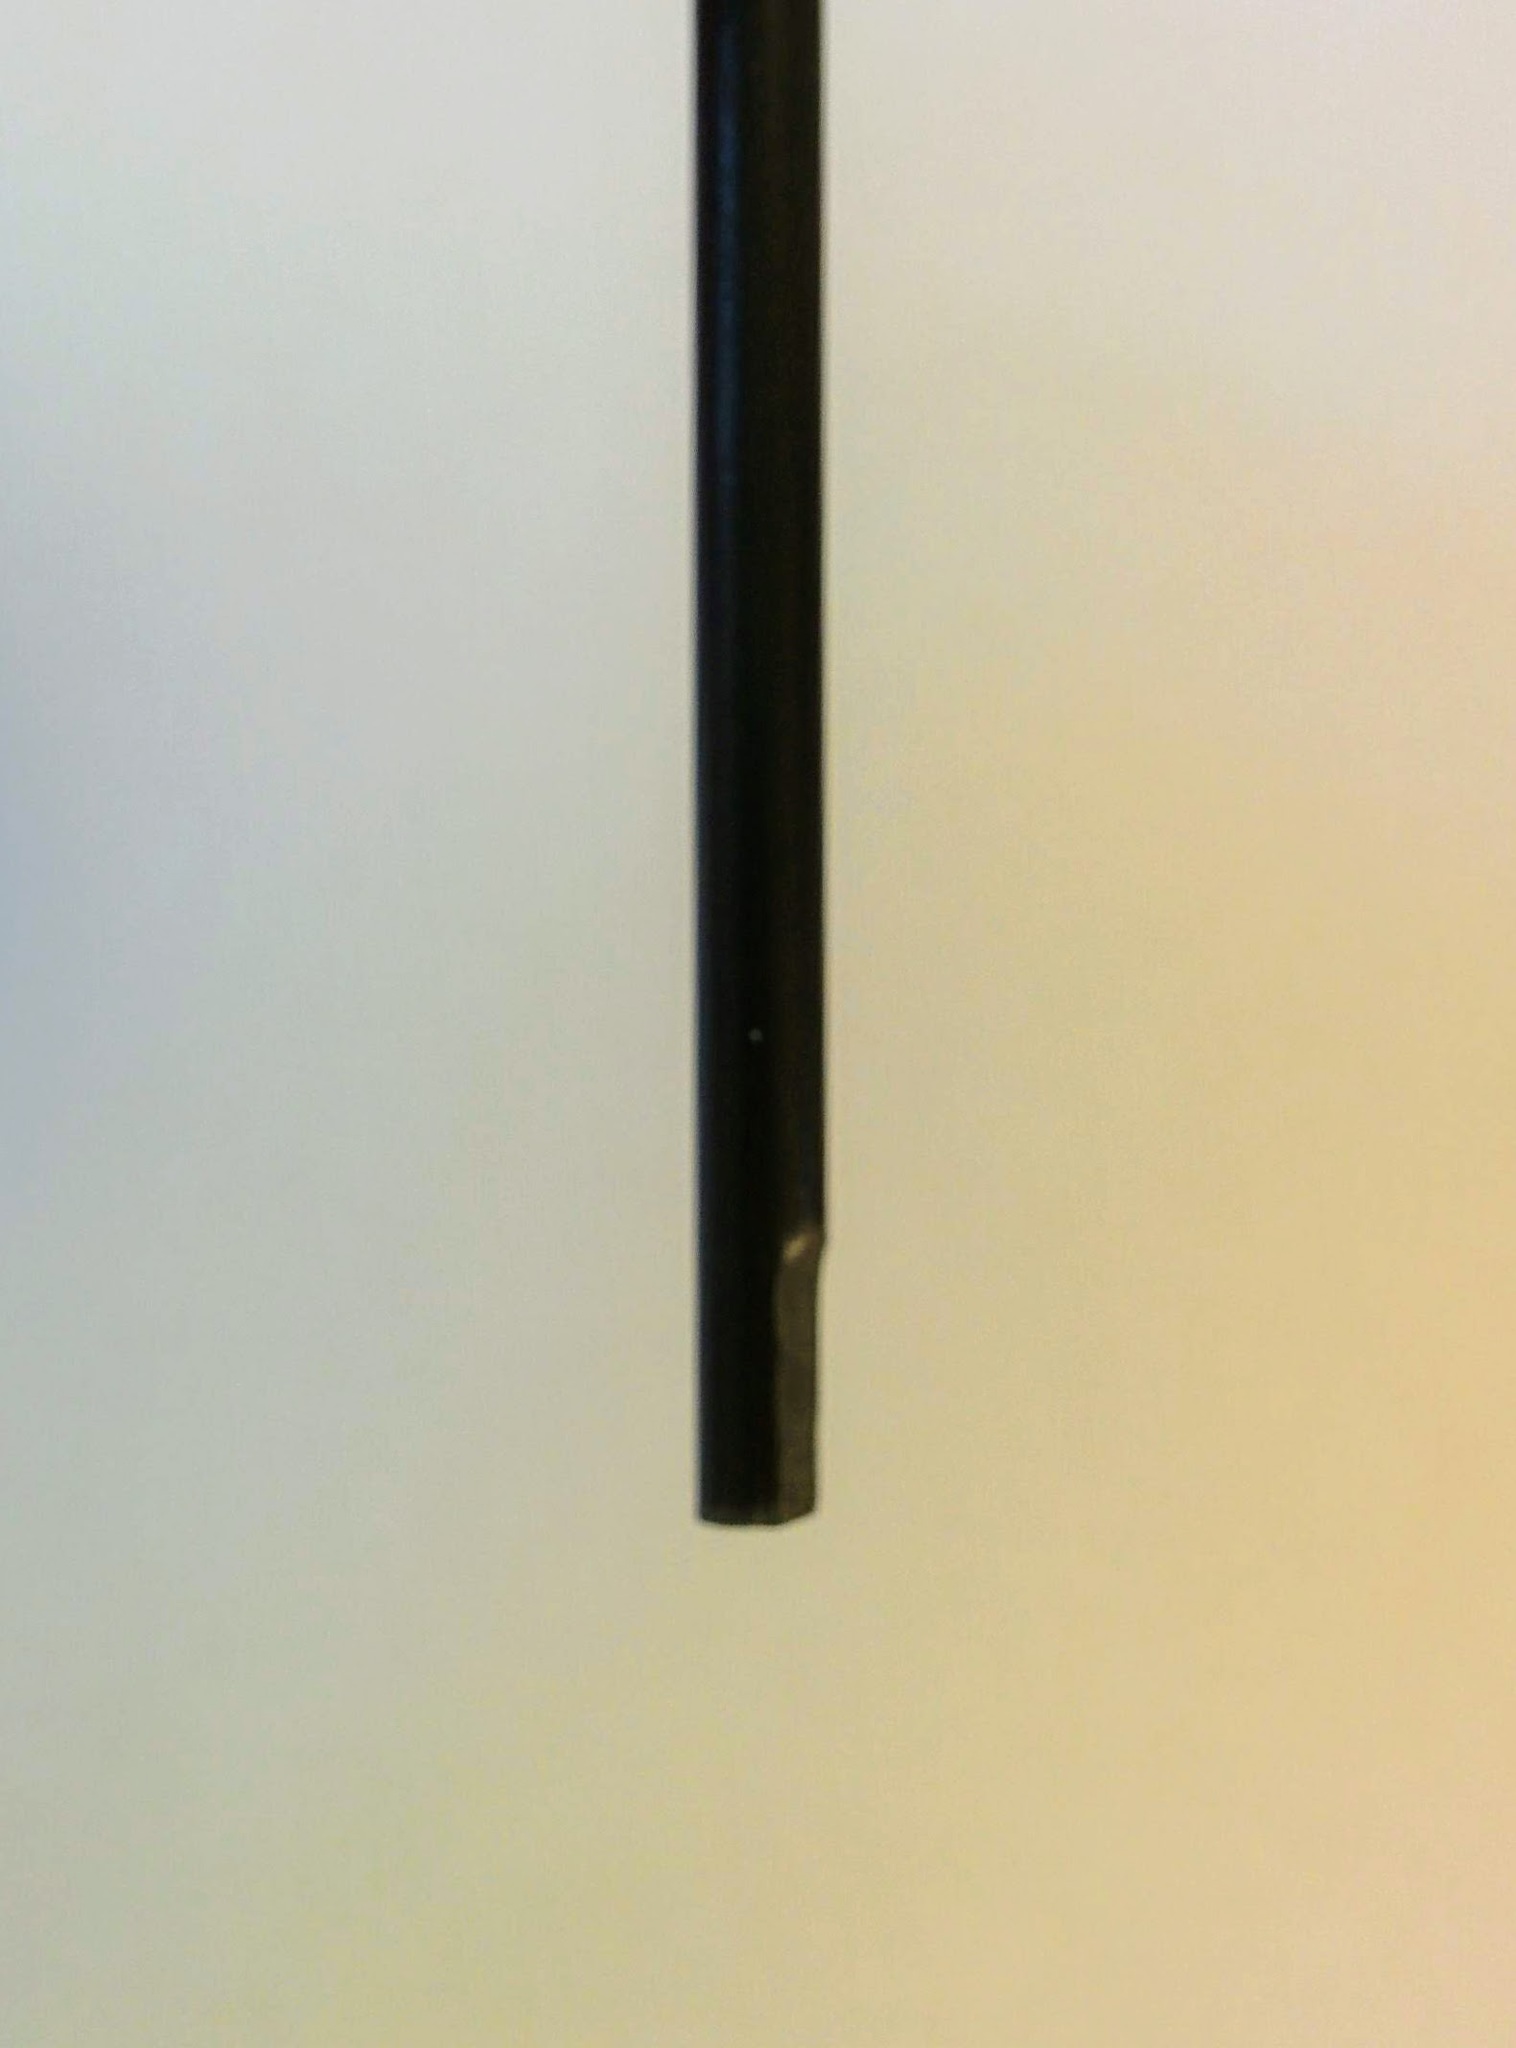
Notch (on some versions).
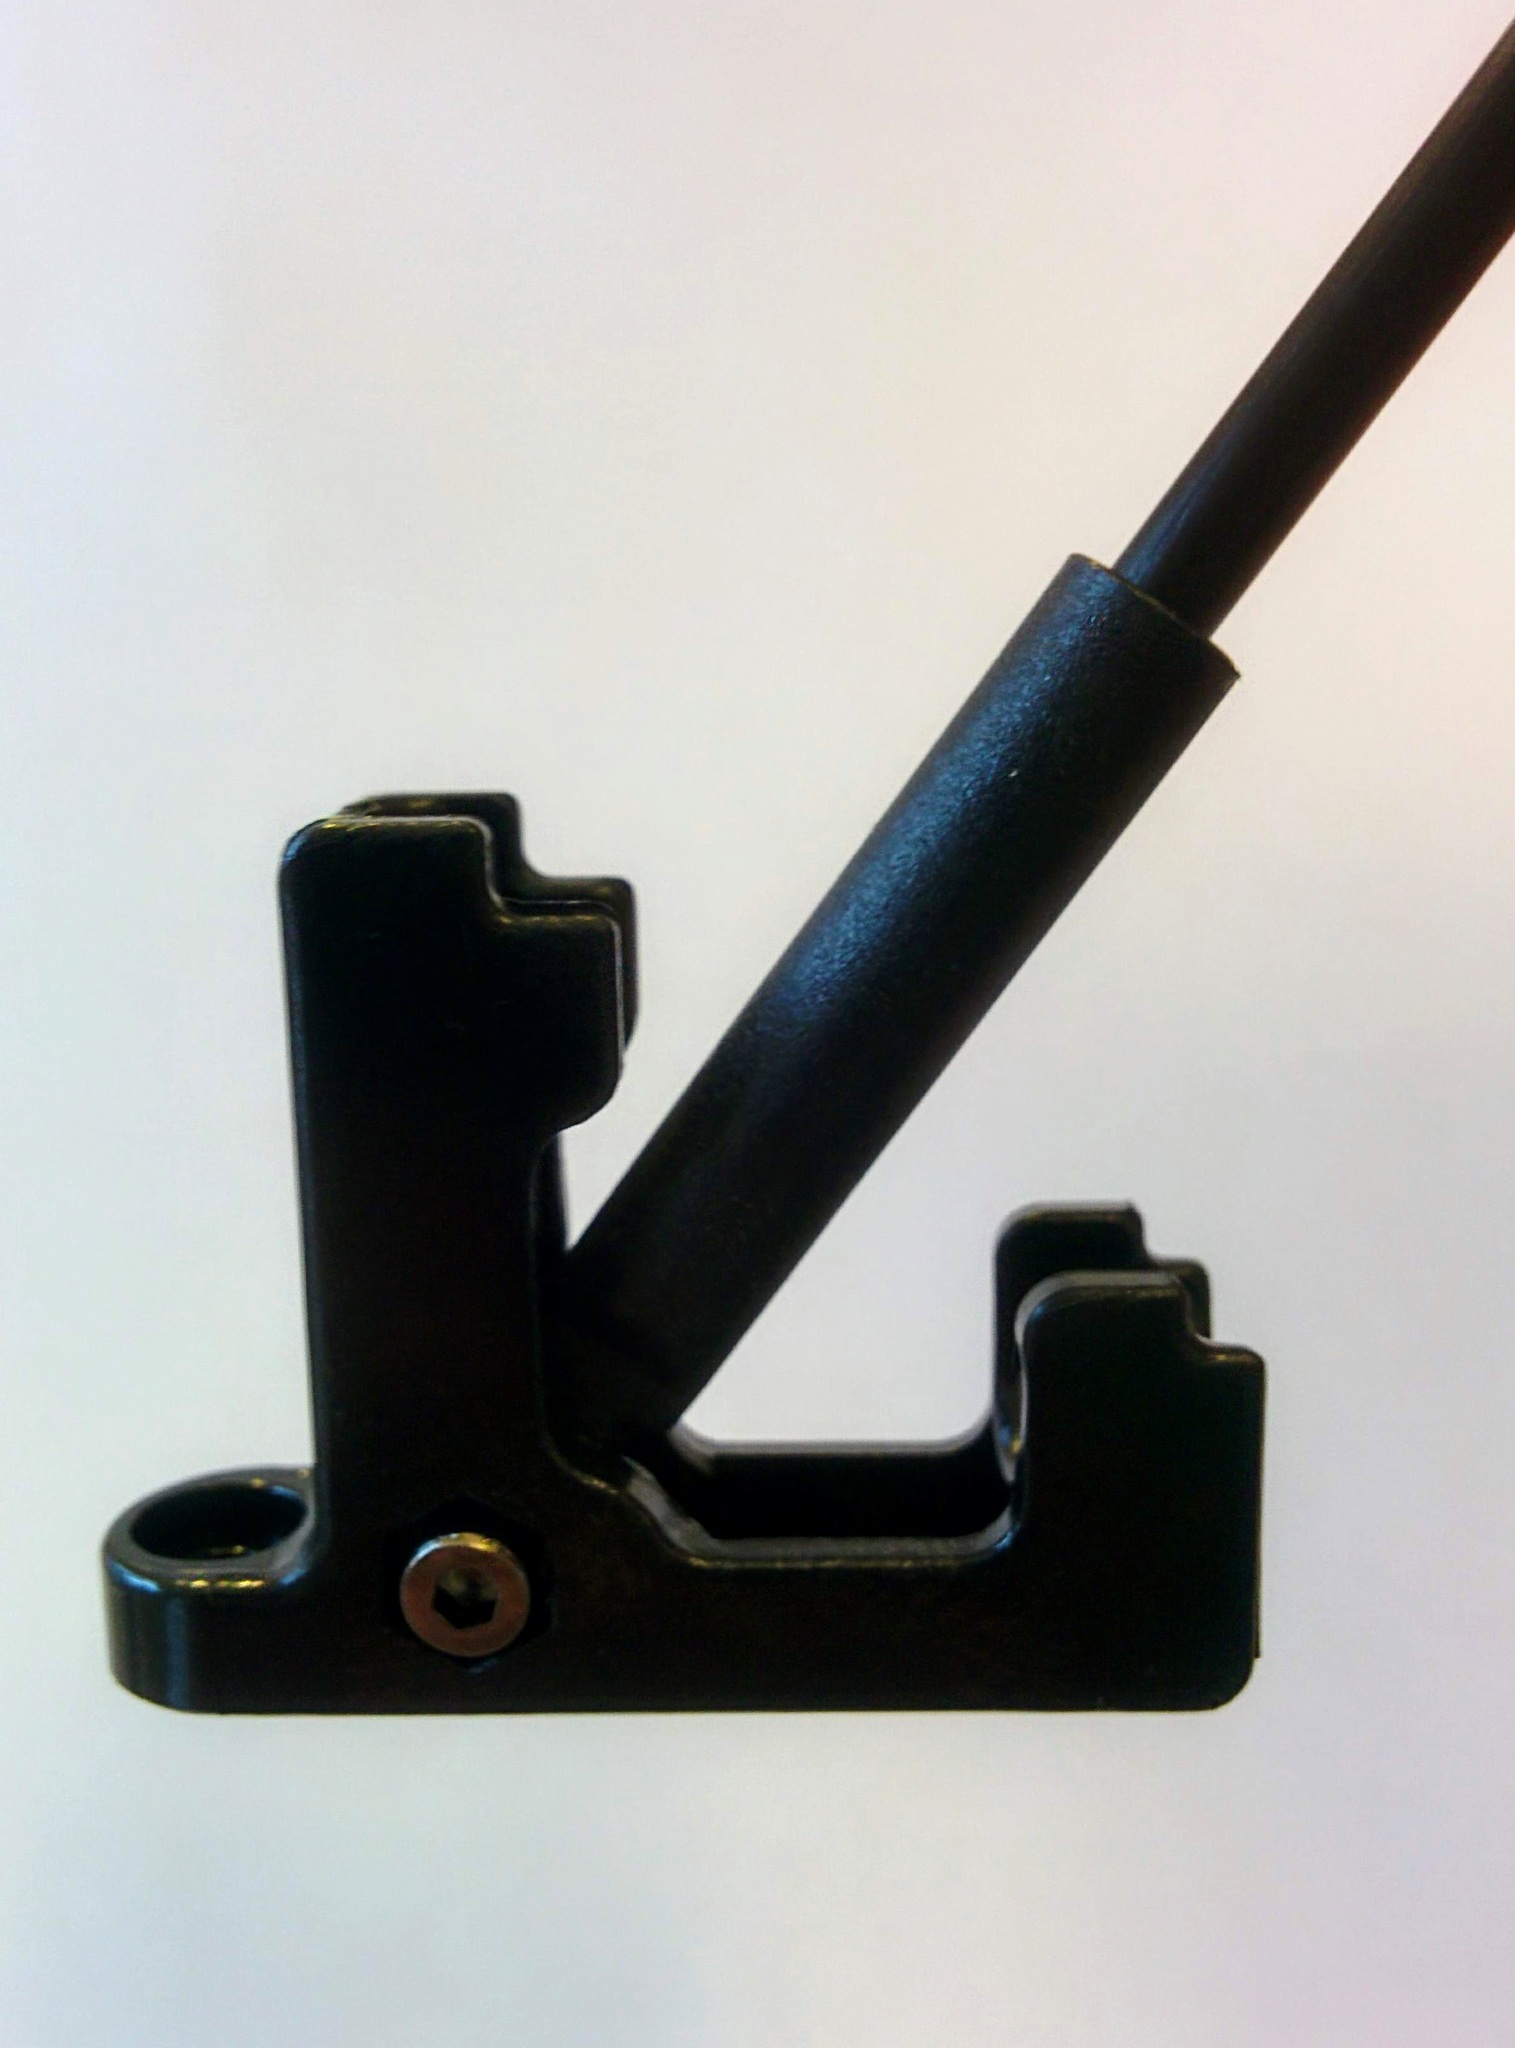
L stand
Unassembled.
Joint.
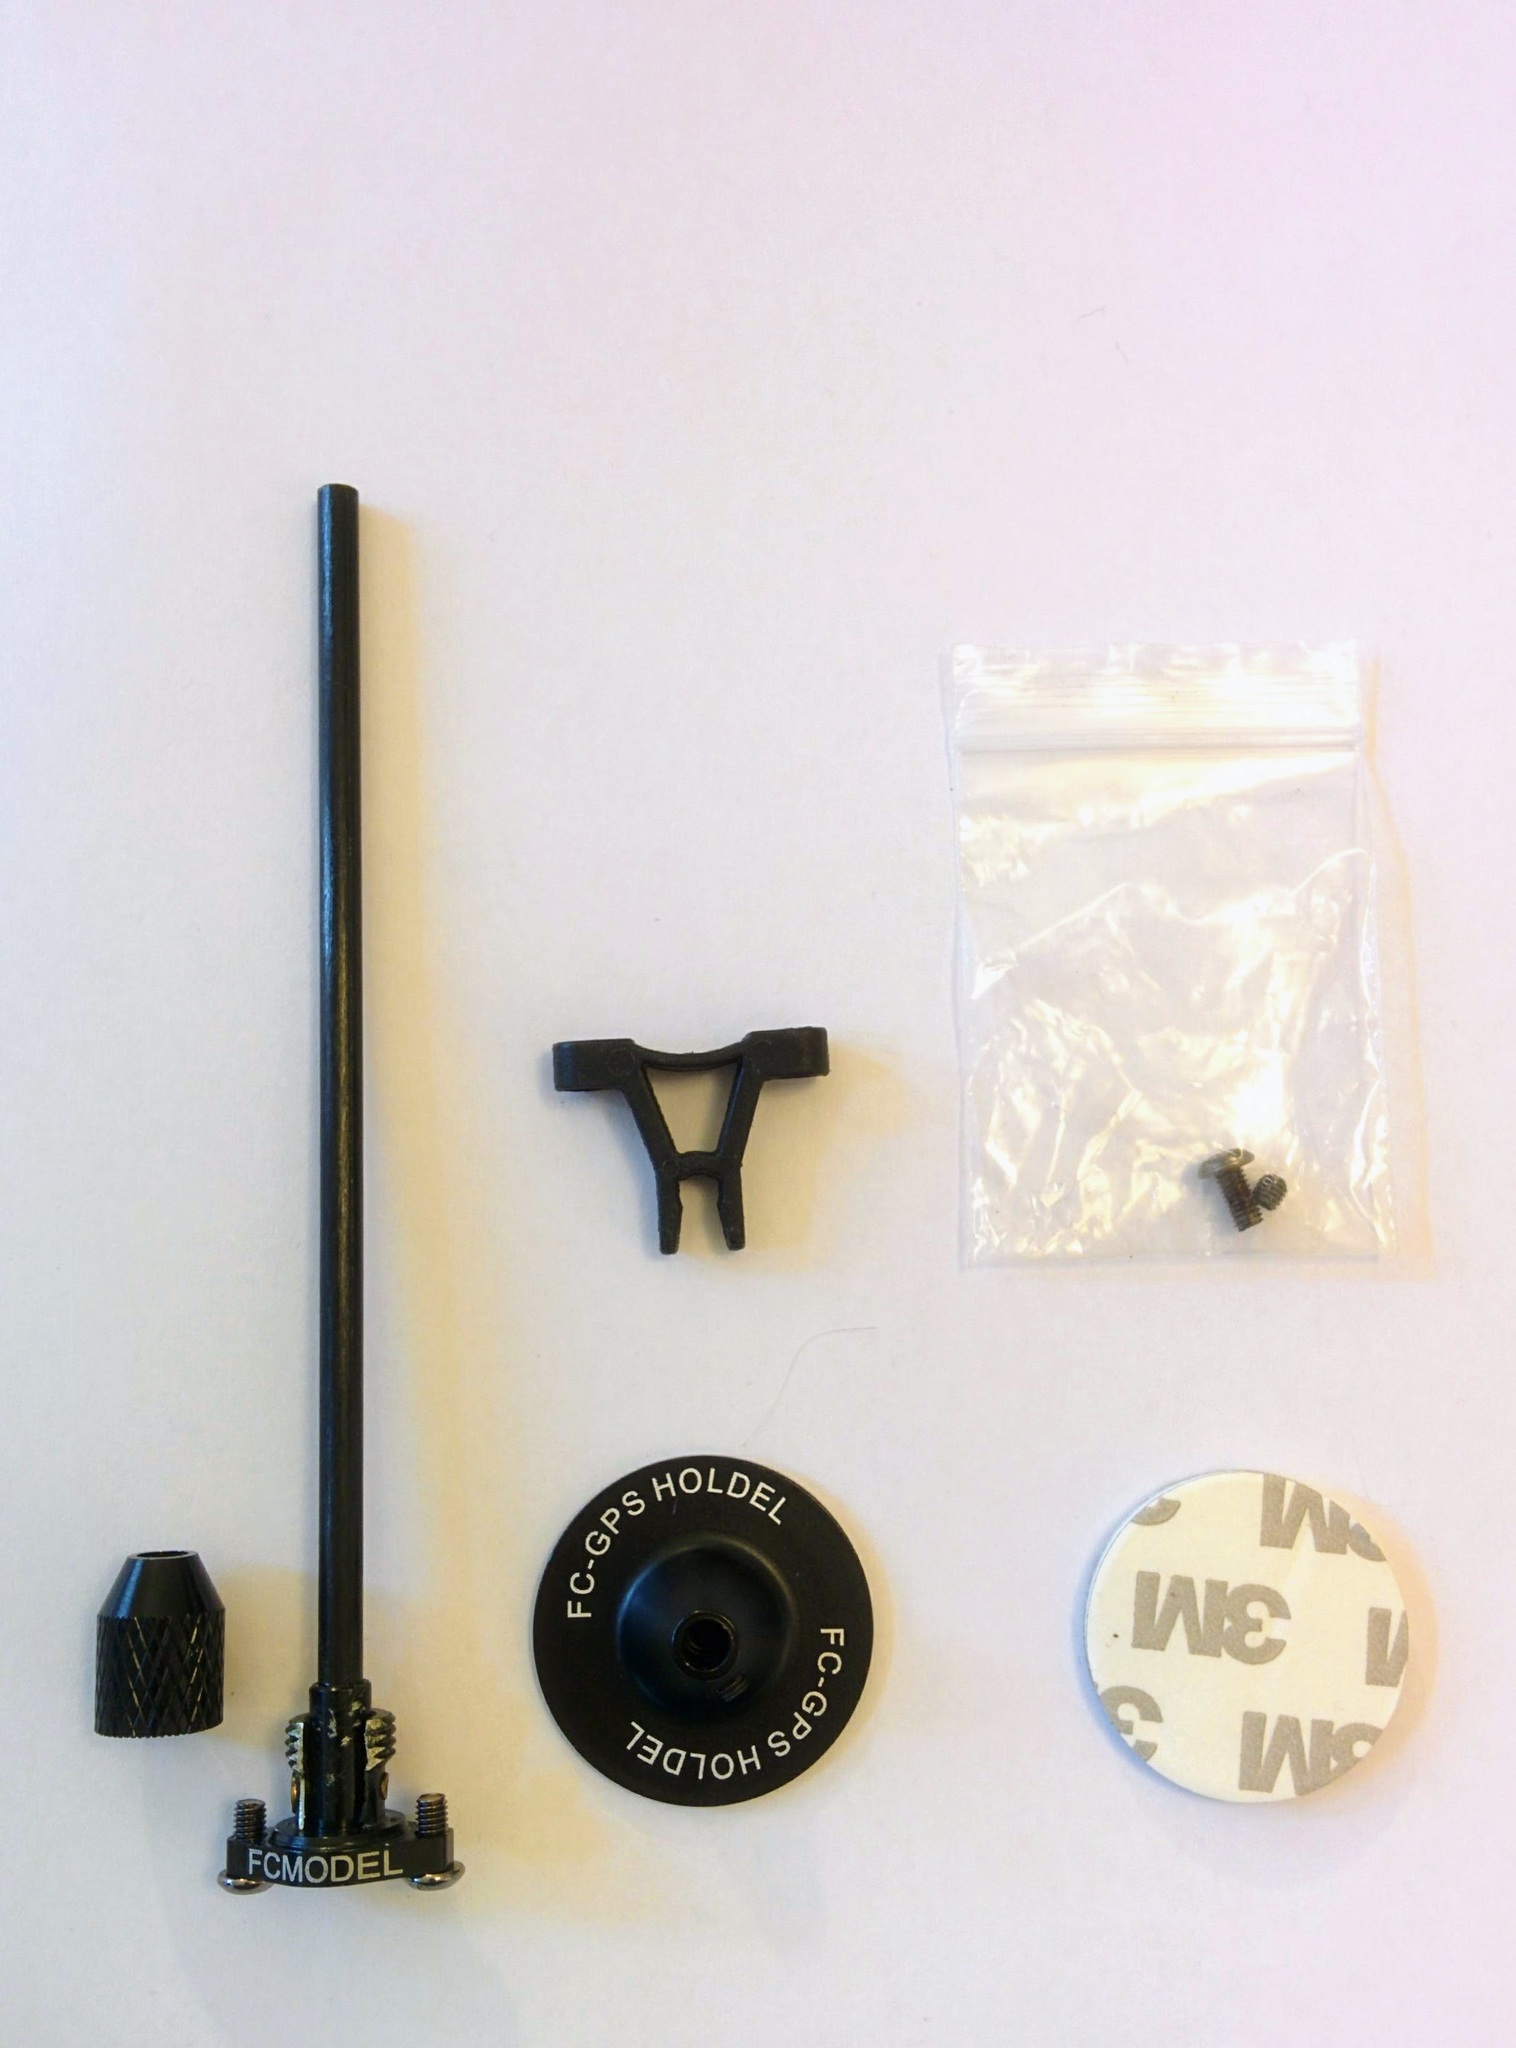
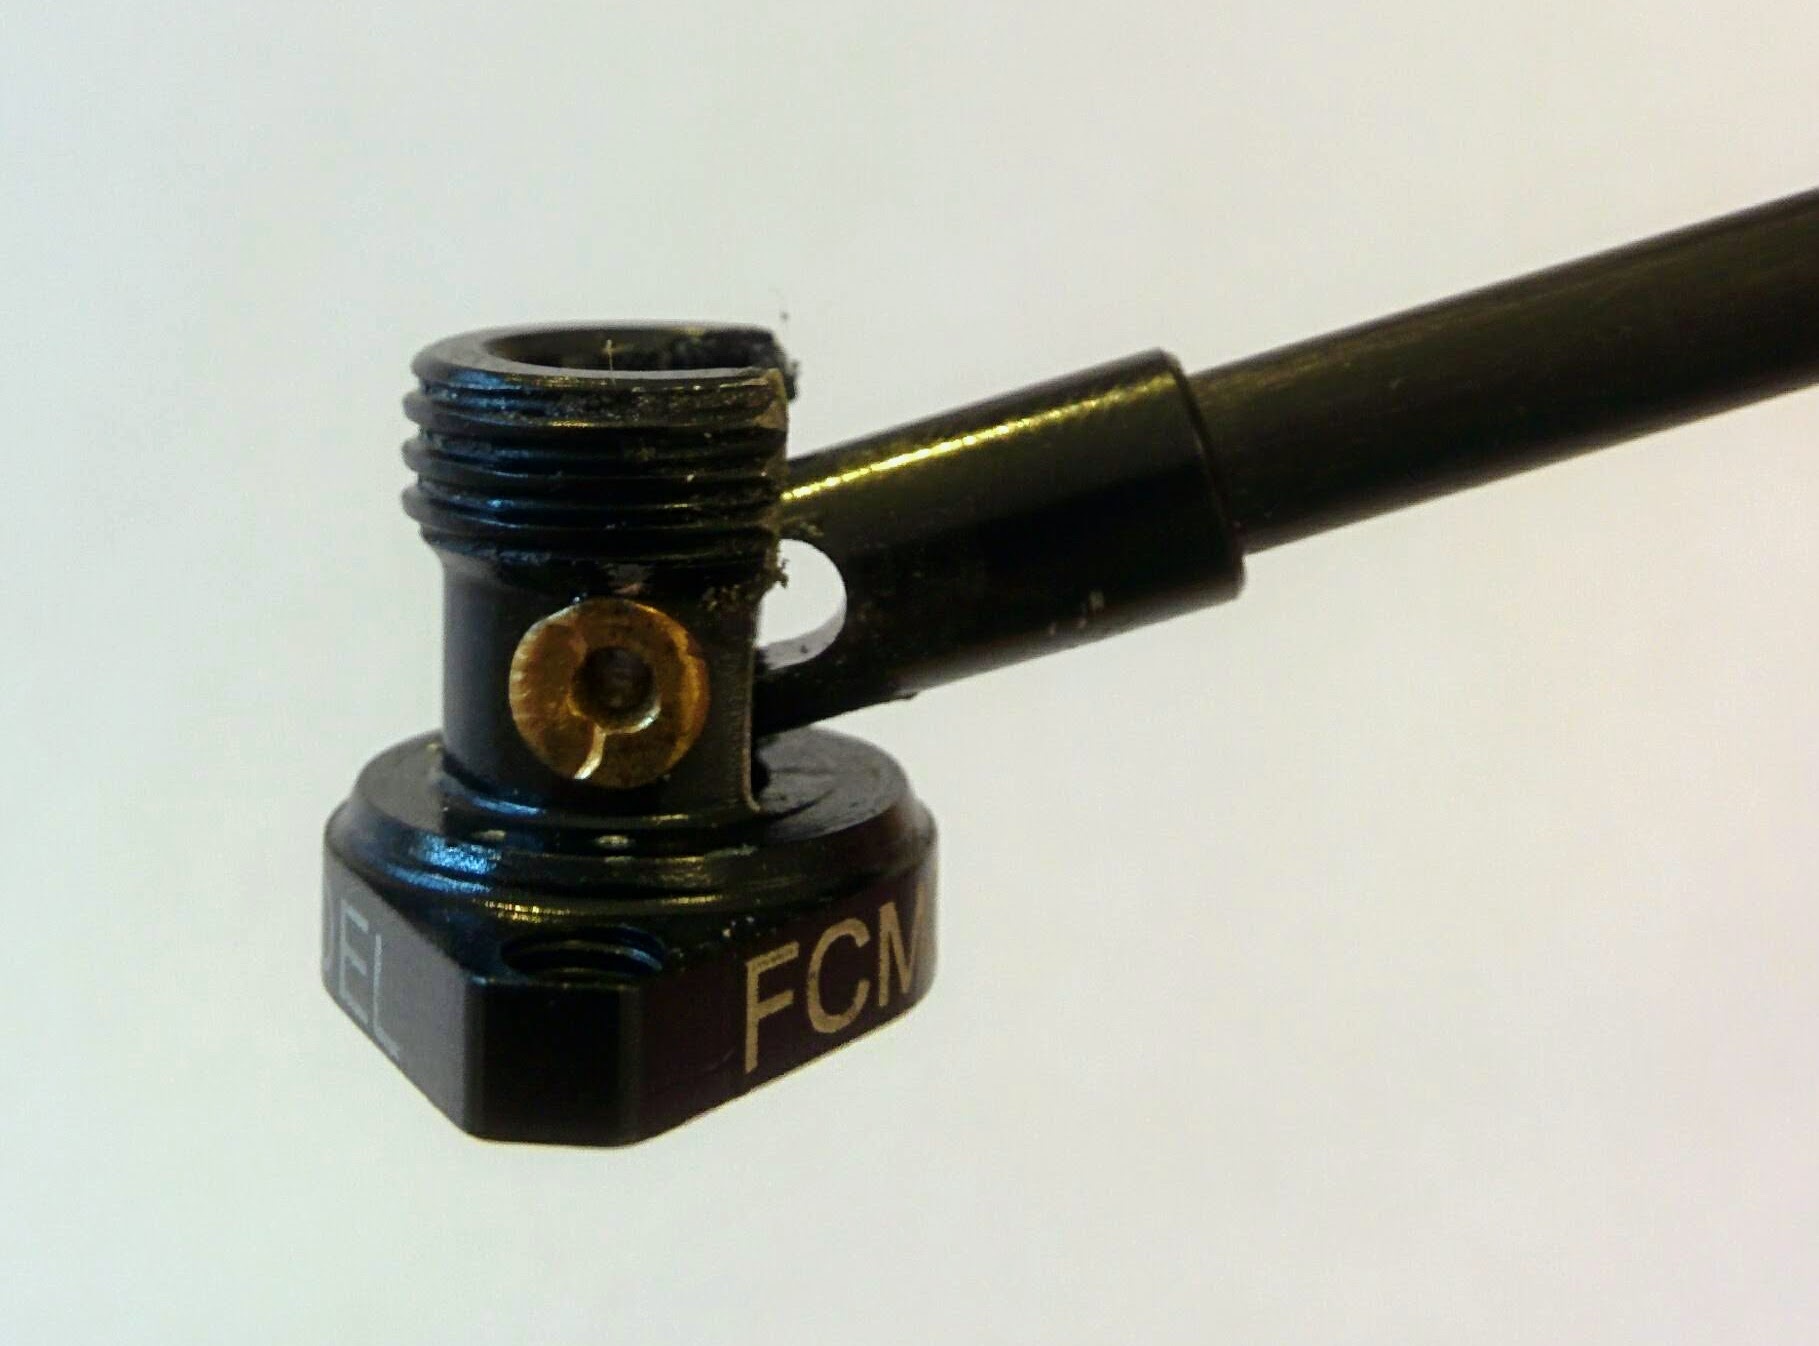
FC Model
Note the little click-down holder.
Parts.
Joint.
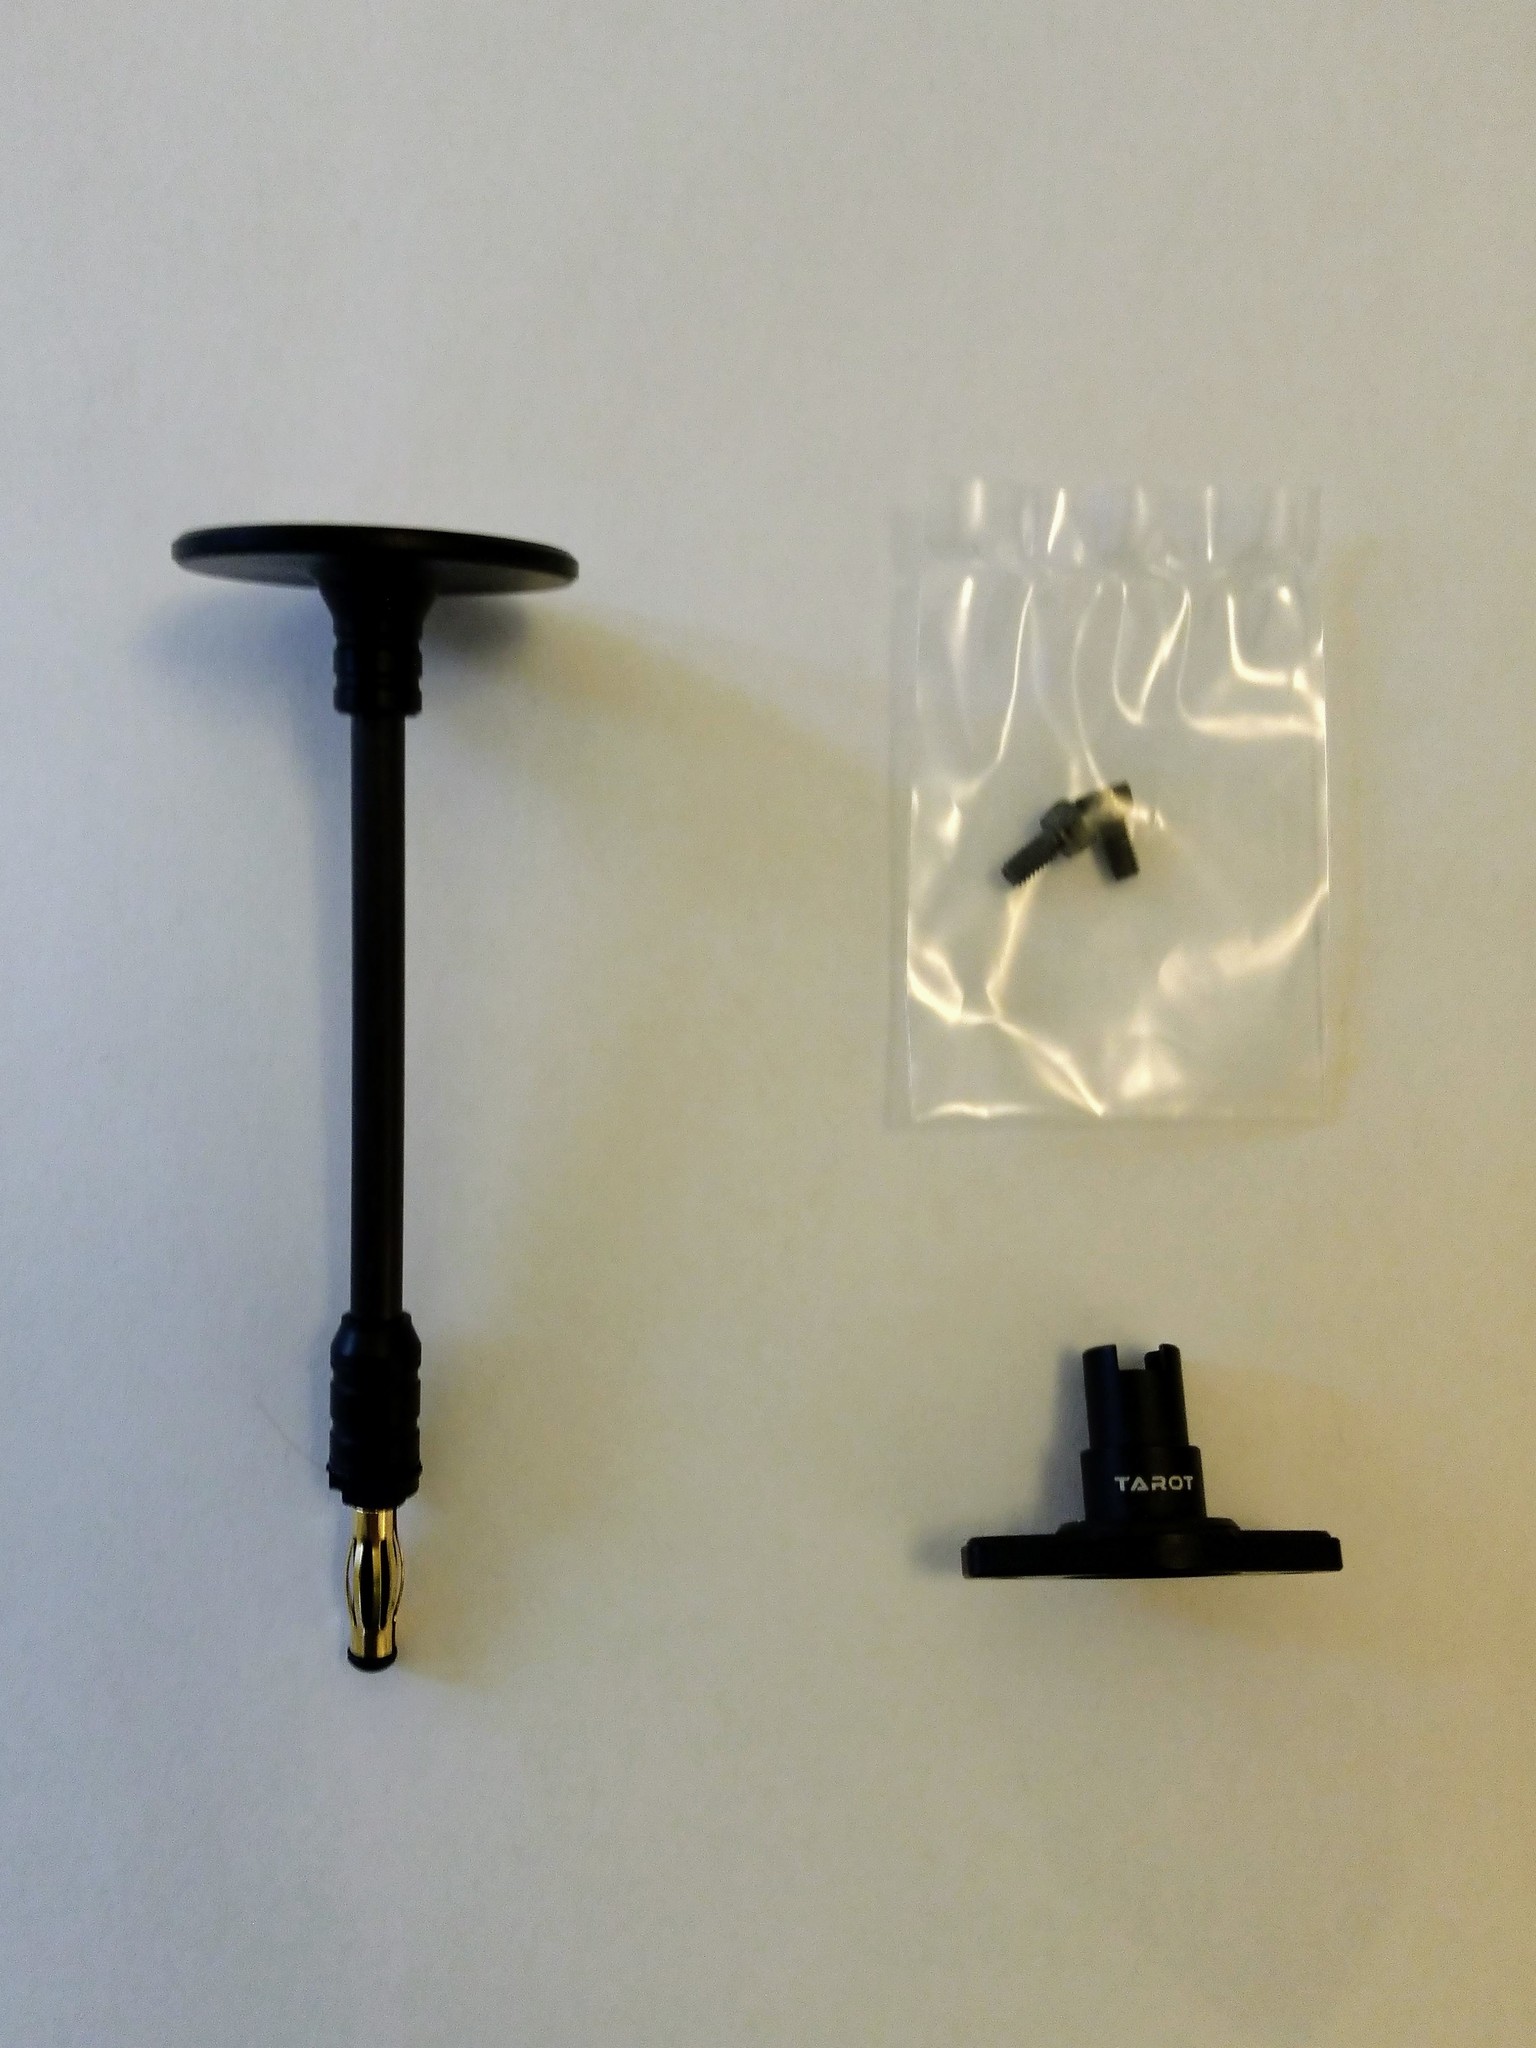
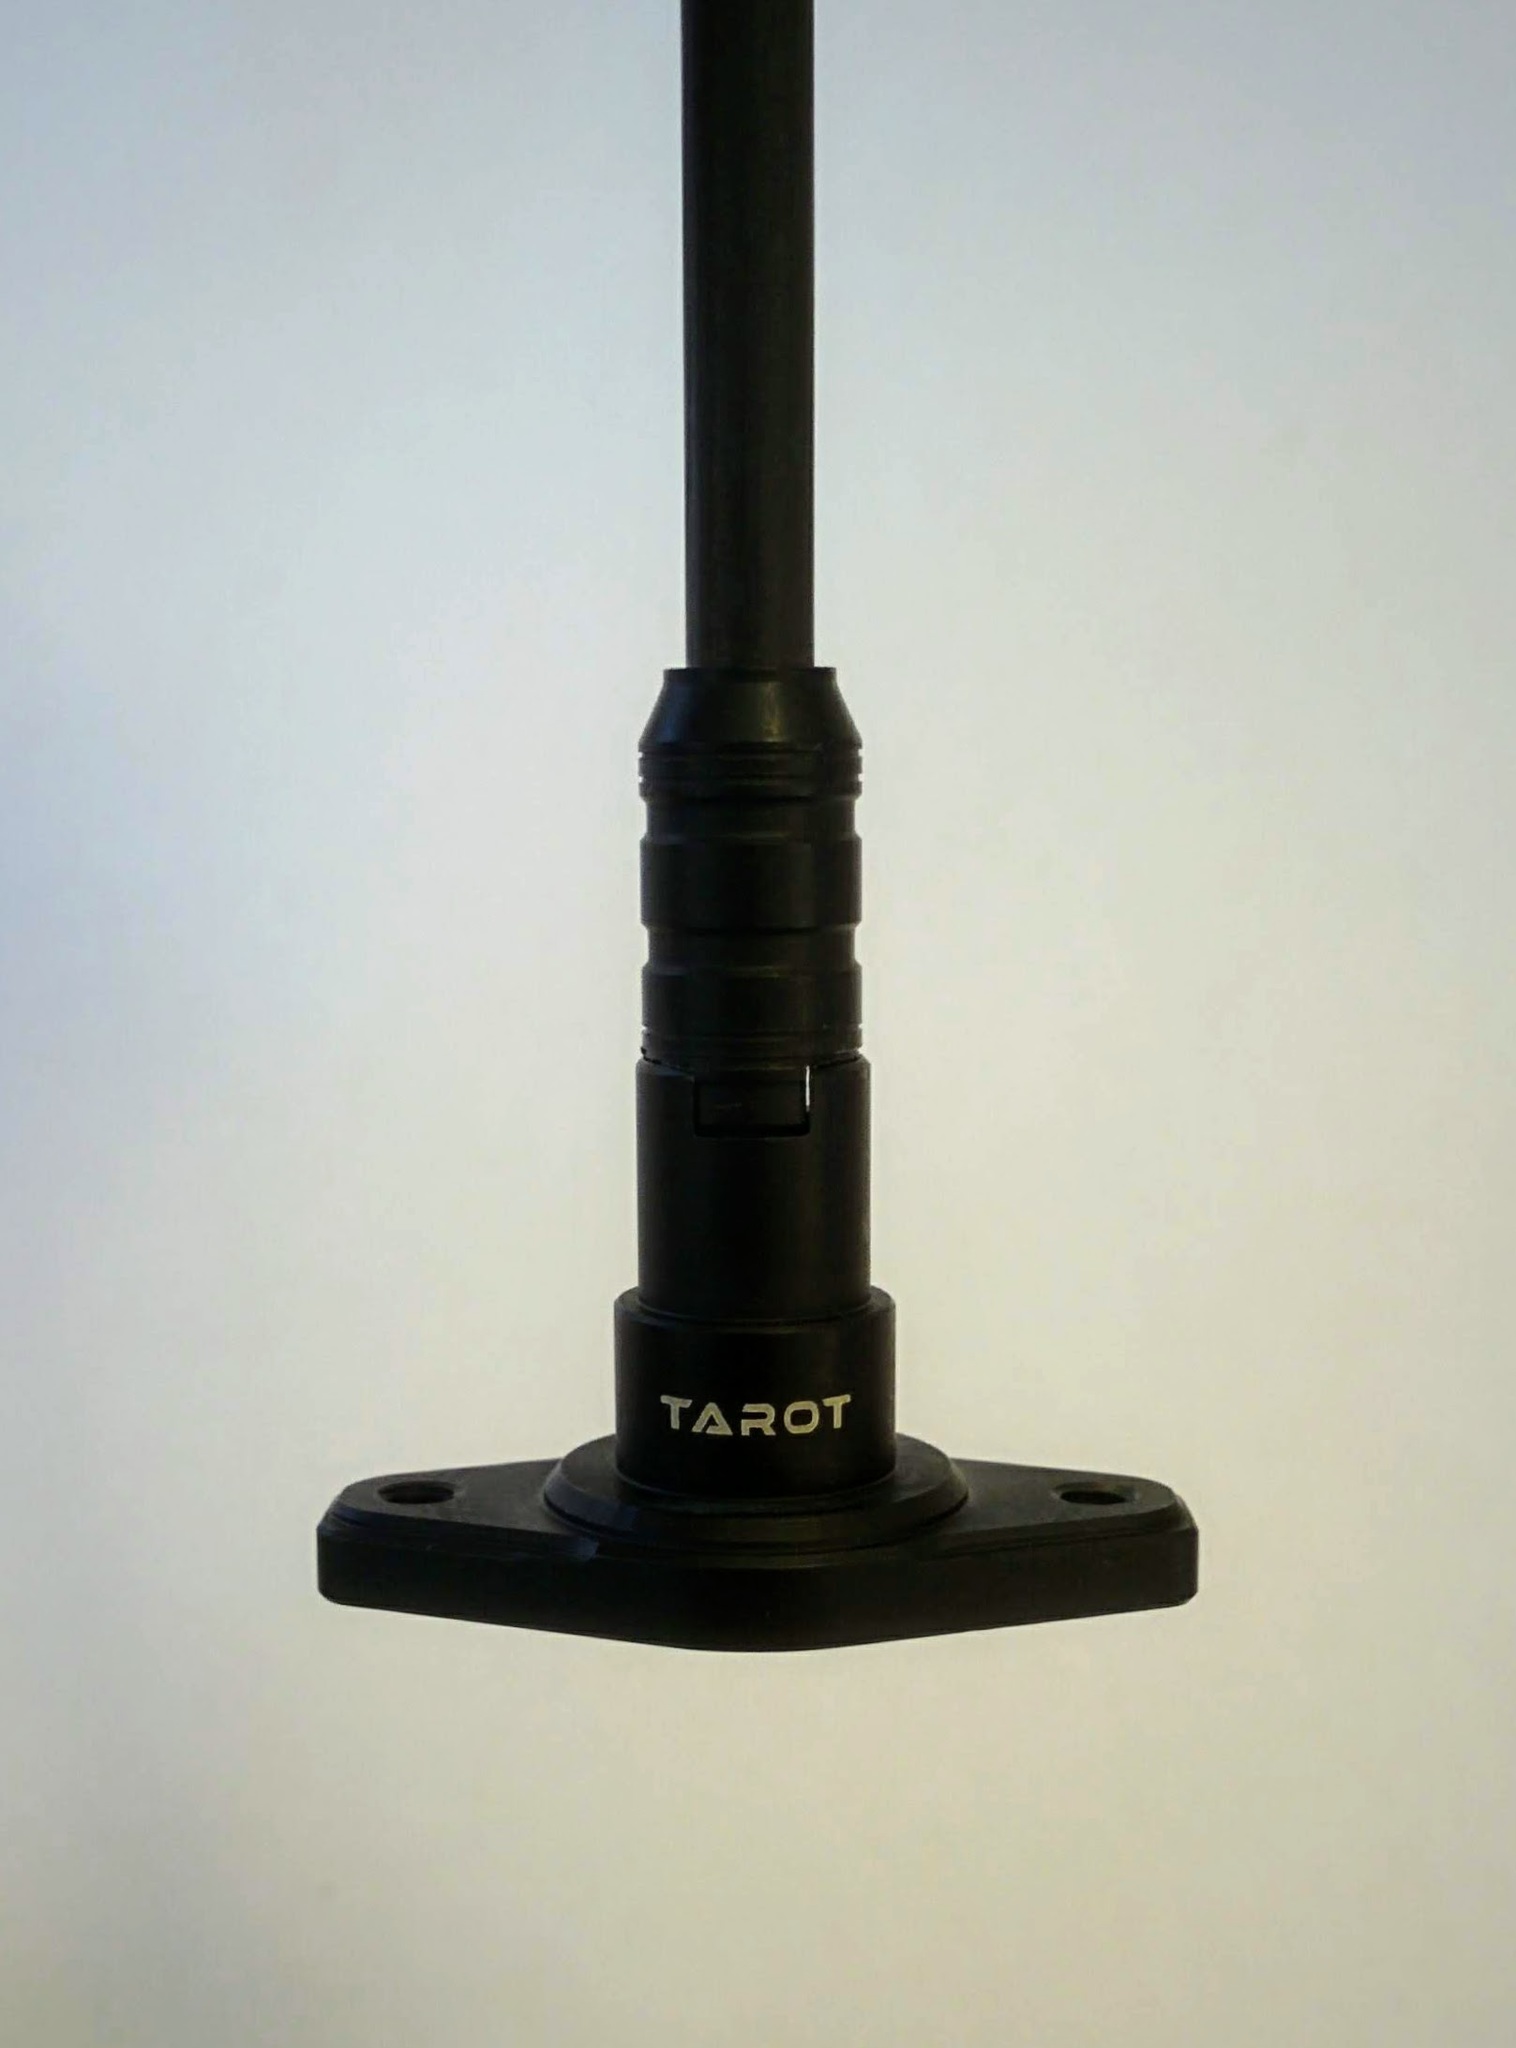
Tarot
Parts.
Assembled.
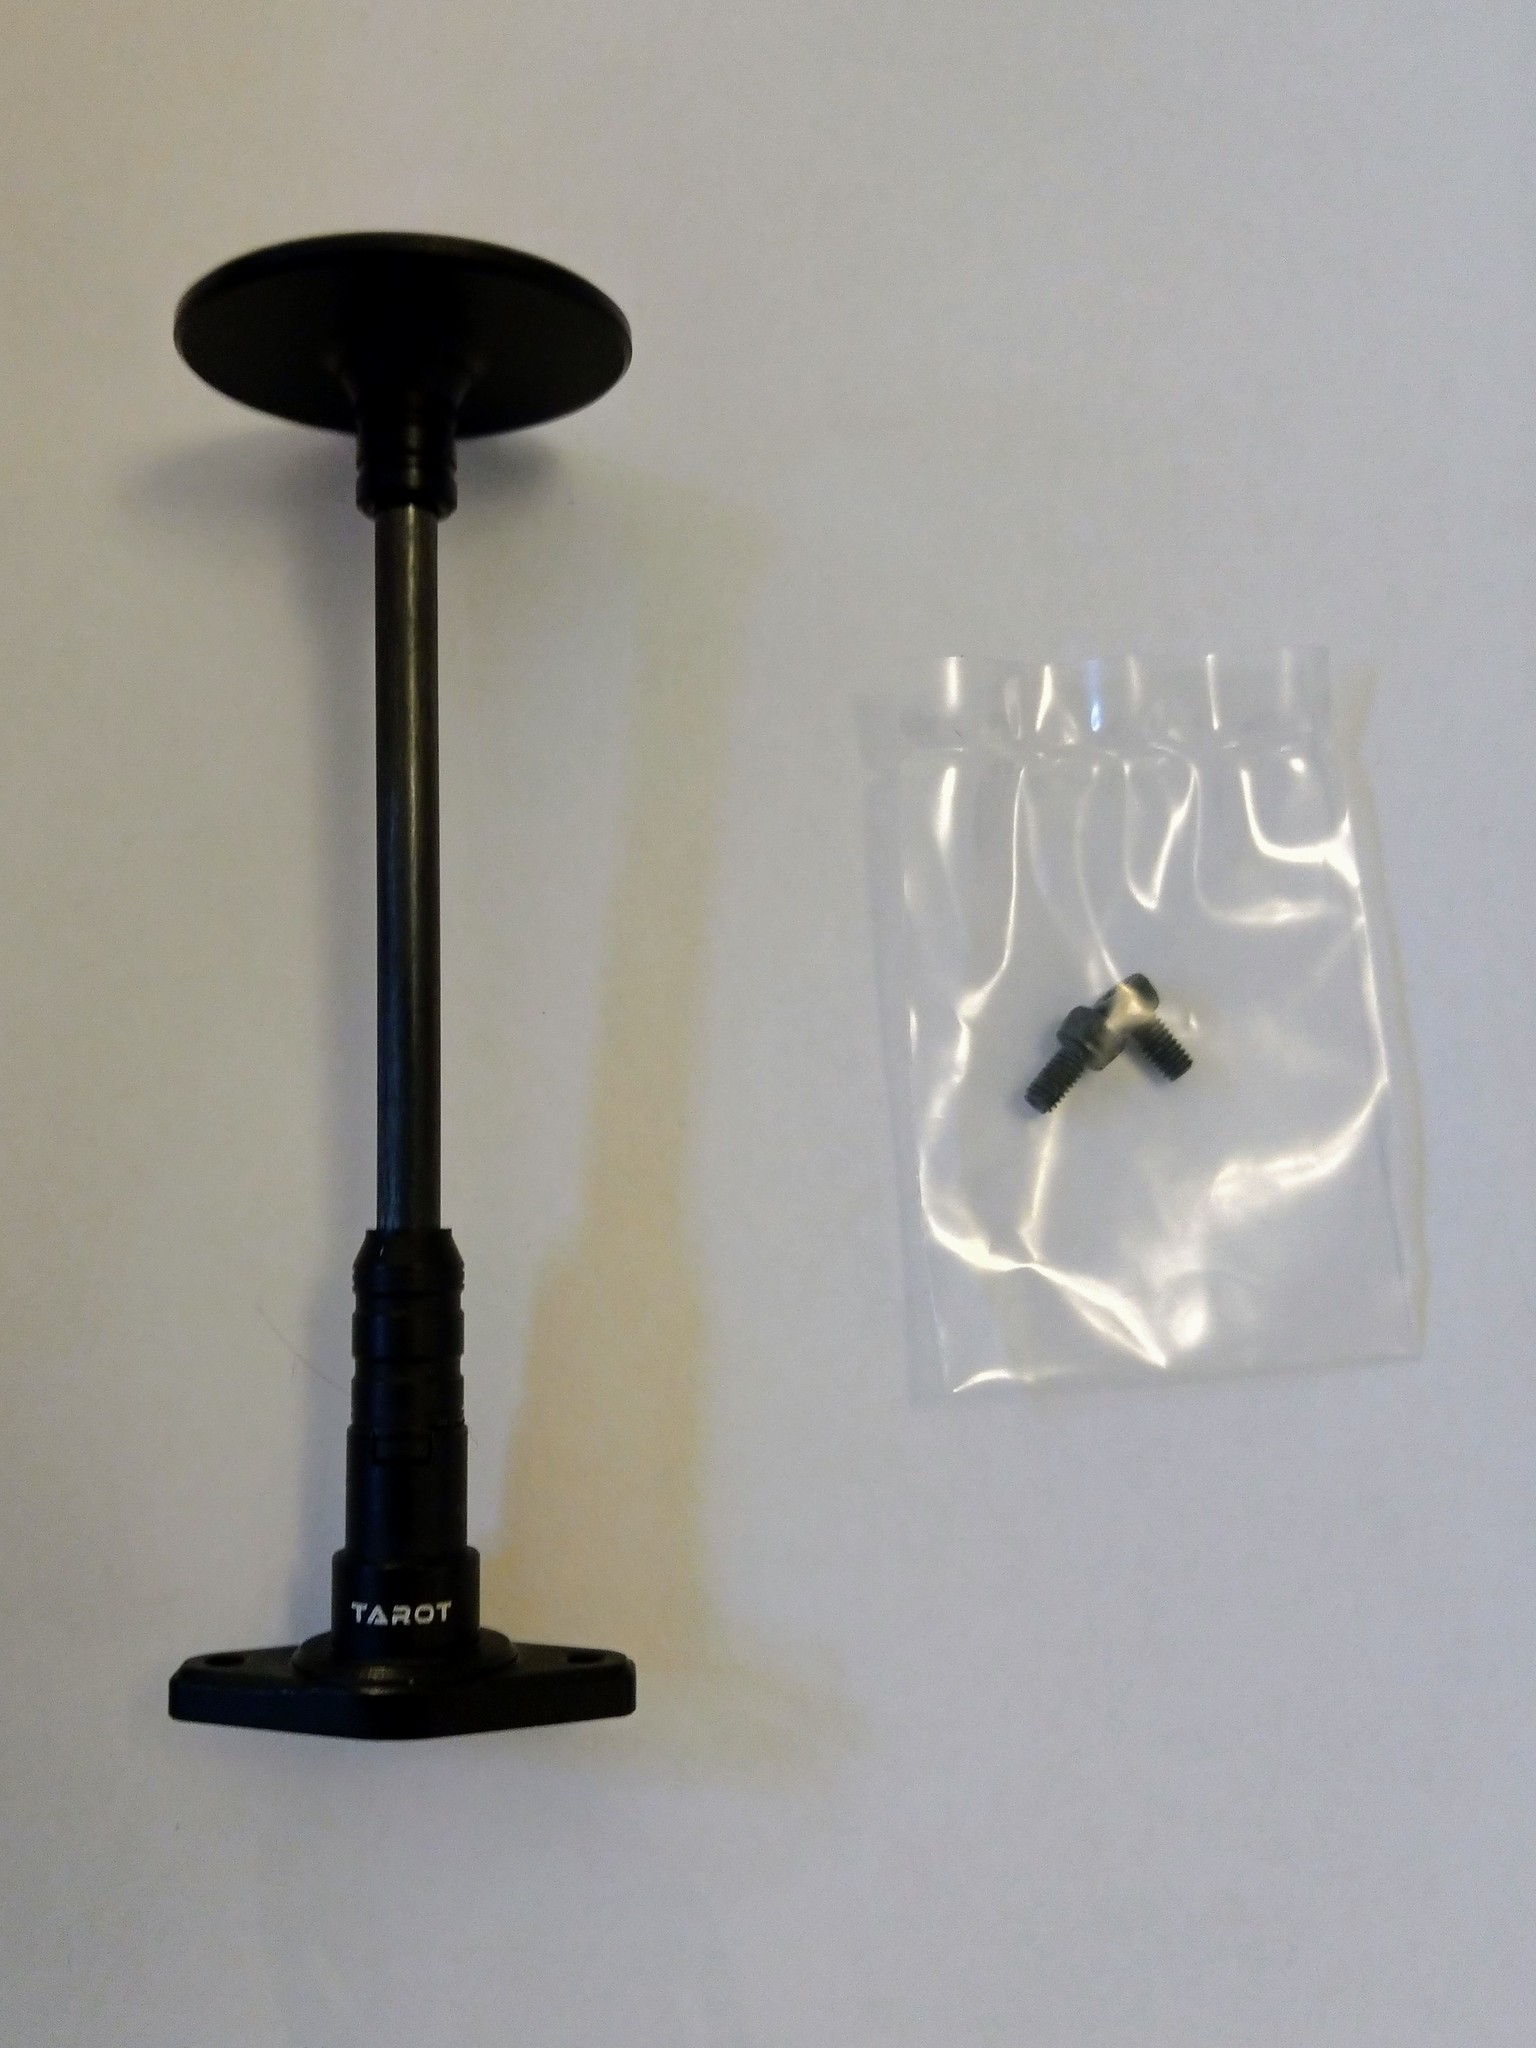
Joint.
1-bolt stand
HobbyKing now just seem to sell this stand without a mast. Stand and mast can be bought of AliExpress.
Parts.
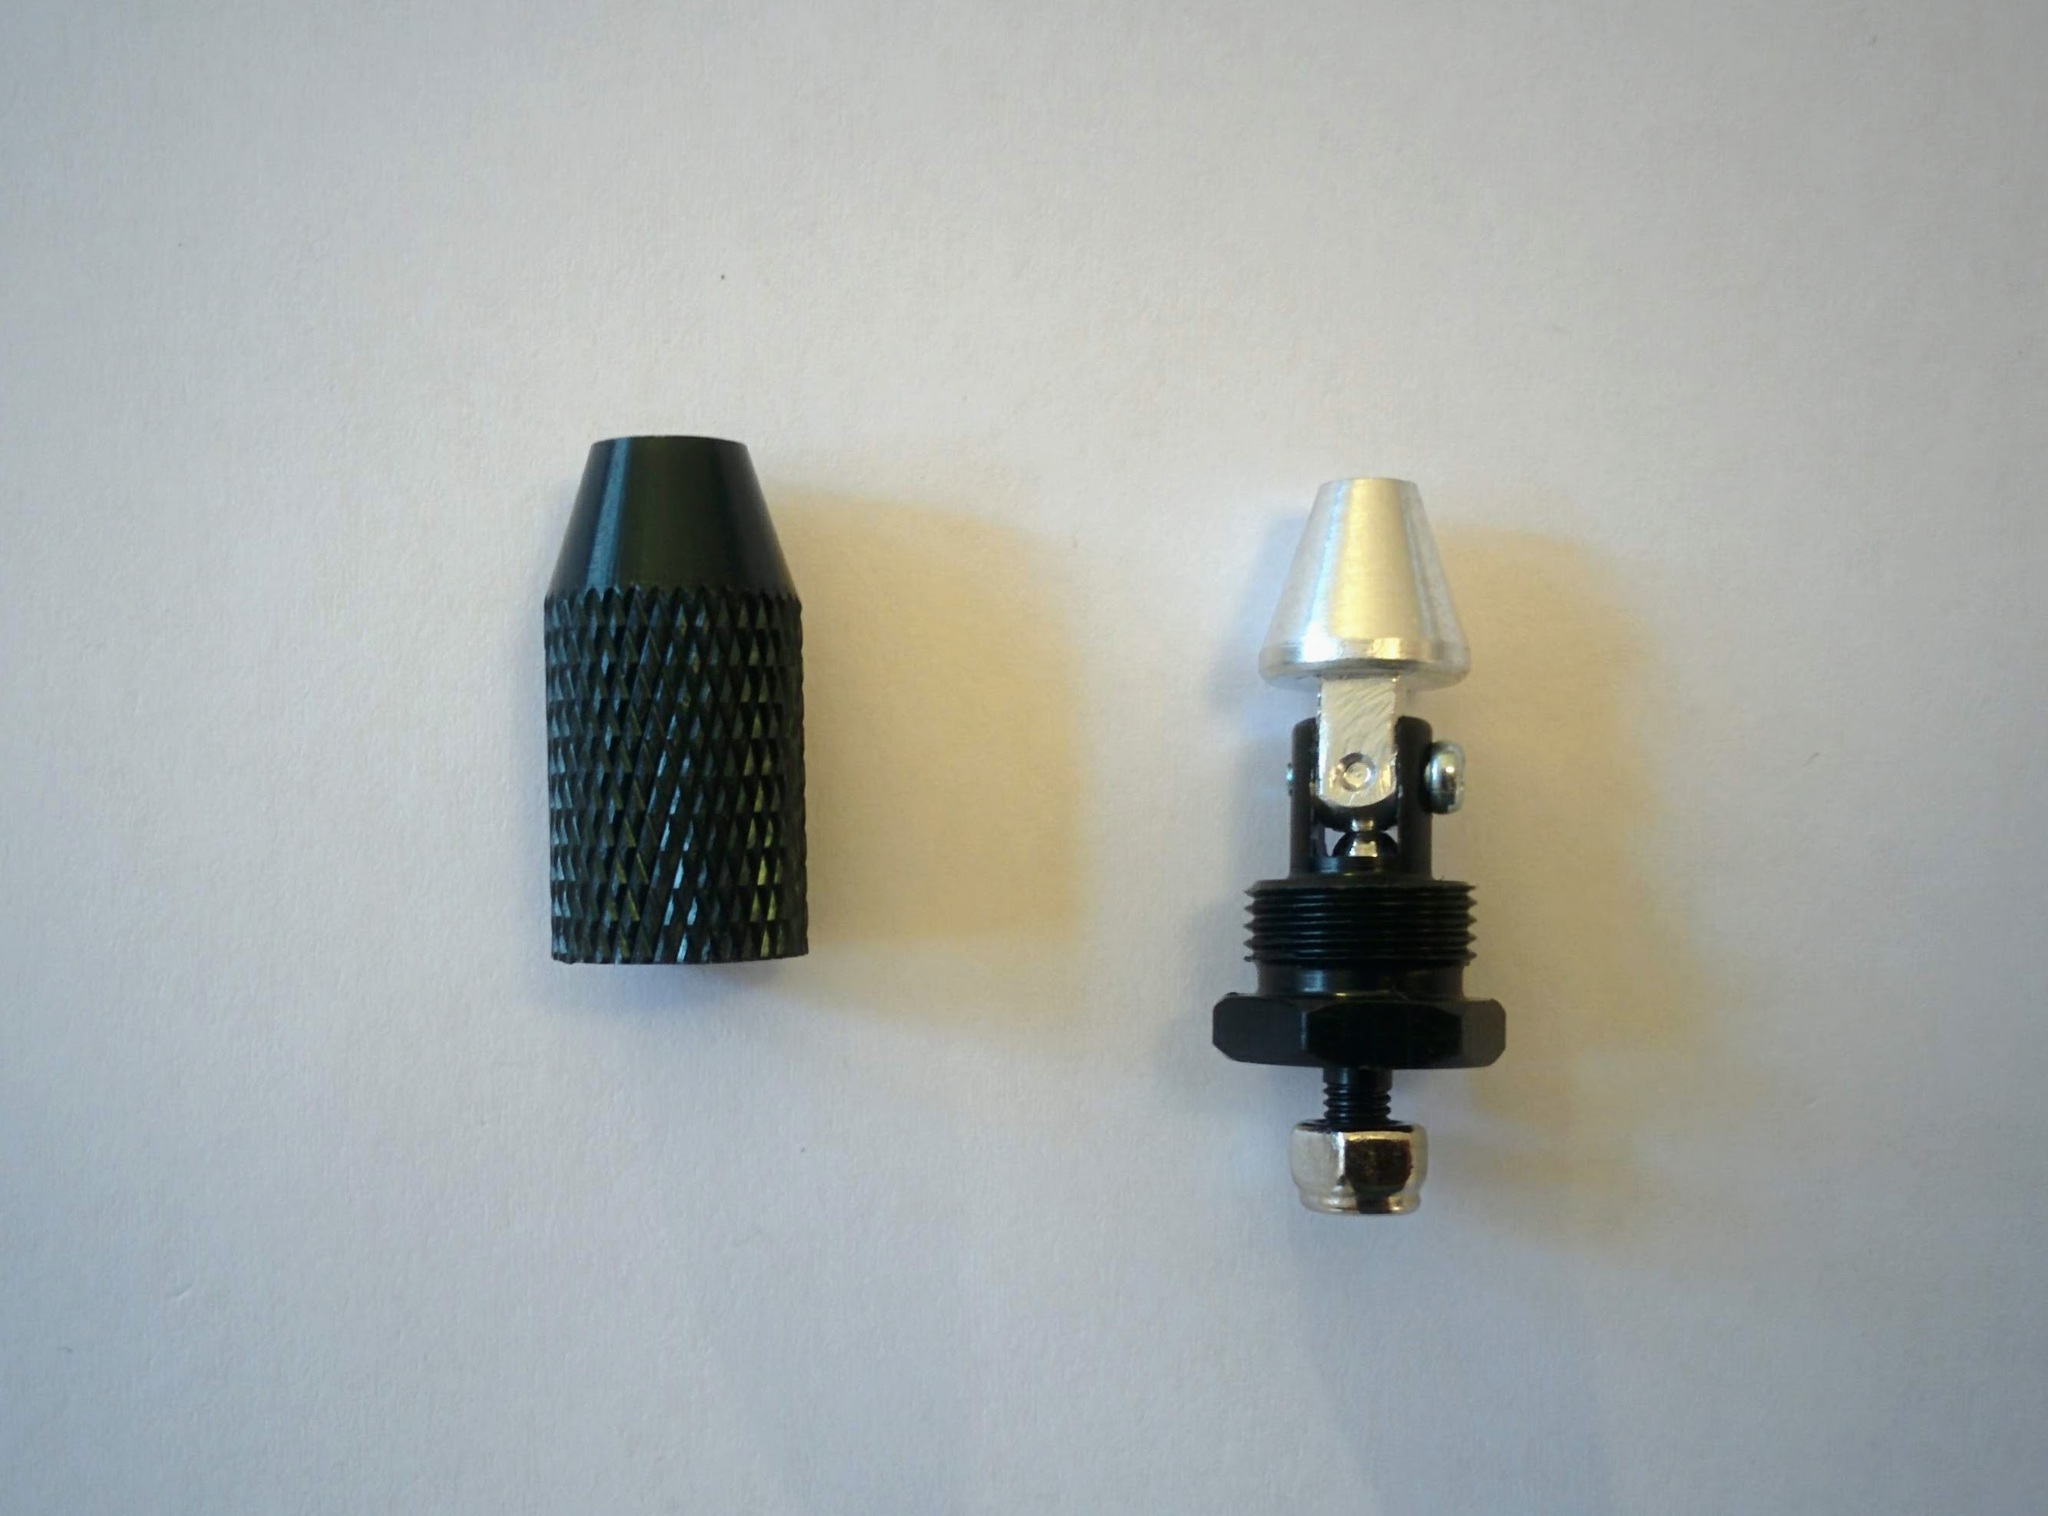
Joint.
Drying.
